How to Create a WordPress Website: Step-by-Step Guide for Beginners
Table of Contents
WordPress powers around 43% of all websites on the internet. That figure alone tells you something important: whatever kind of site you want to build, somebody has already built it on WordPress and figured out the problems along the way. The platform is mature, flexible, and genuinely accessible to people with no coding background.
This guide walks you through creating a website in WordPress from scratch, from registering a domain to going live, using the current WordPress interface. If you’ve been putting it off because the process seemed complicated, the steps below will change your mind.
WordPress.com vs WordPress.org: Choose the Right Platform First
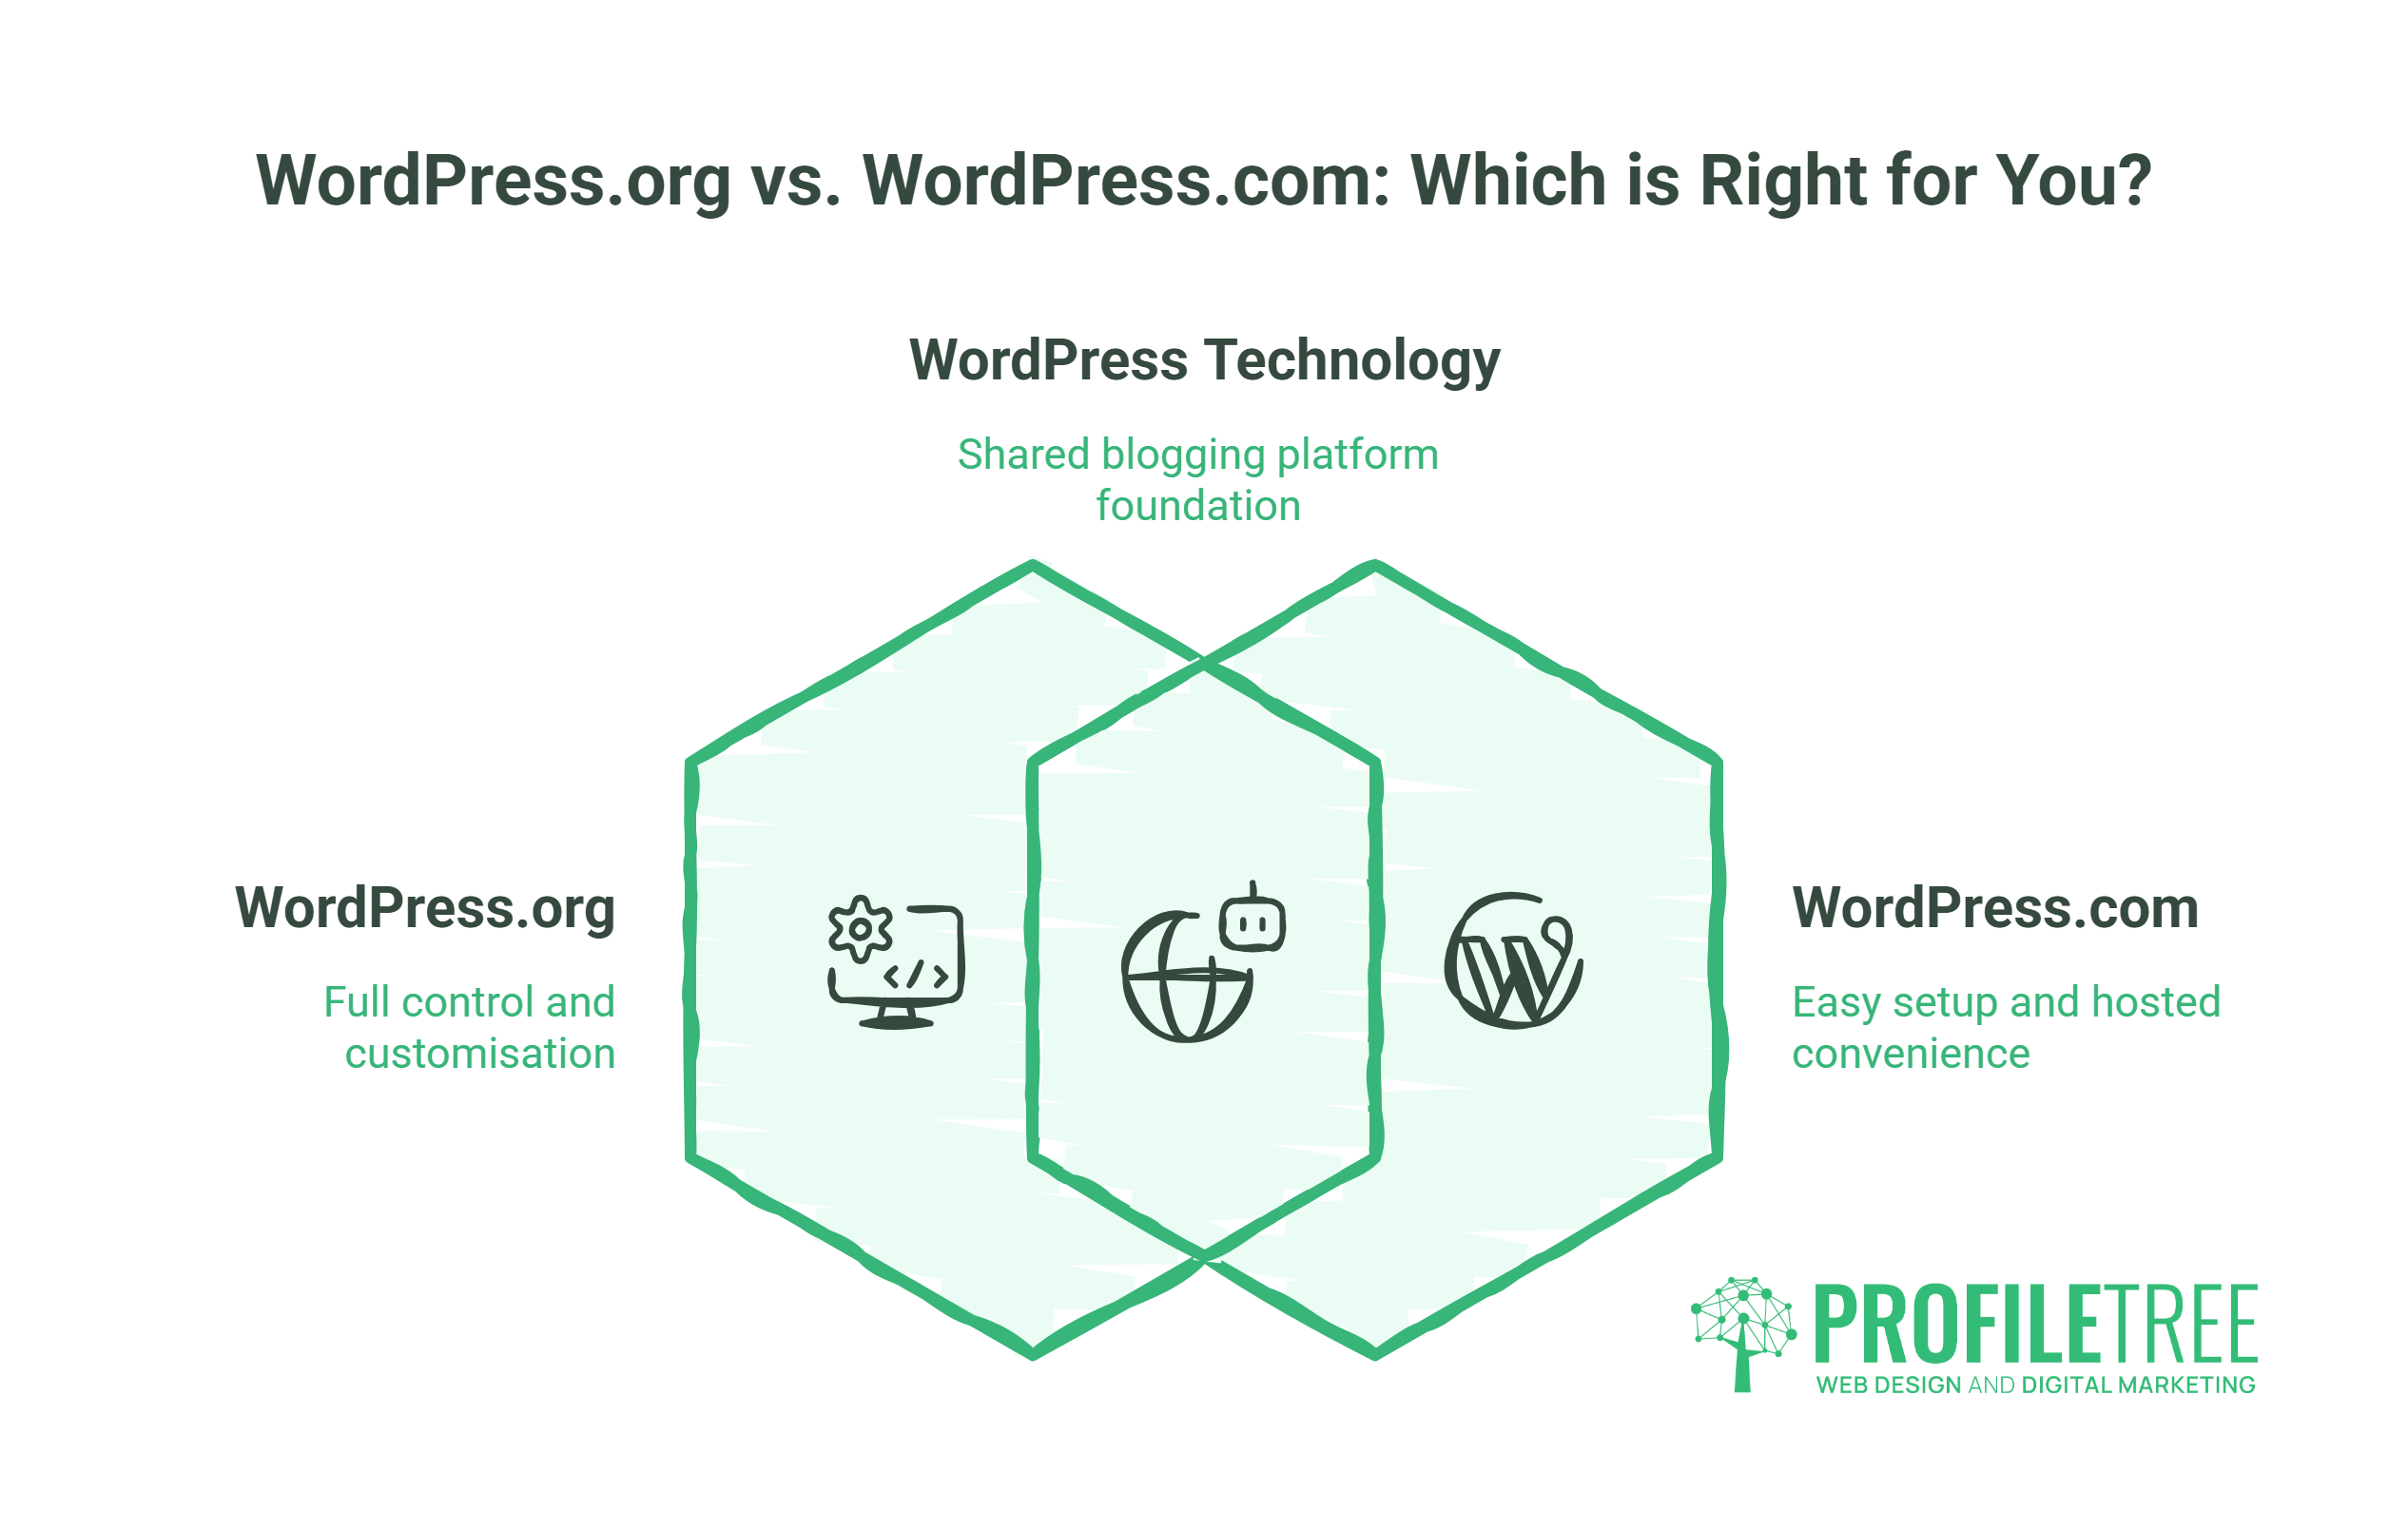
Before anything else, you need to understand this distinction, because getting it wrong means rebuilding later.
WordPress.org is the open-source software you download and install on your own hosting account. You own everything: your data, your files, your design. You can install any theme or plugin, run an online shop, or build a fully custom site. This is what professional developers use, and it’s what this guide covers.
WordPress.com is a hosted service that uses WordPress technology but controls what you can do with it. Free plans display adverts on your site. You can’t install third-party plugins without paying for a higher tier. Custom domains require a paid plan. It suits a personal blog with no commercial ambitions; it rarely suits a business.
The confusion between the two costs beginners real time. If you’re building anything for a business, a client, or a project you’re serious about, use WordPress.org.
What You Need Before You Install WordPress
Before you open a browser and search for a hosting plan, two things need to be in place: a domain name and a hosting account. Neither takes long to sort, but the choices you make here affect your site’s speed, findability, and running costs for years, so it’s worth understanding what you’re buying.
A Domain Name
Your domain is your web address: what people type to find you. A few practical points before you register one:
Choose something short, easy to spell, and directly connected to your brand or topic. Avoid hyphens where possible; they look awkward, and people forget them. For UK businesses, a .co.uk domain signals local presence and can help with local search rankings. A .com gives you a broader reach if you’re targeting international audiences. Many businesses register both and redirect one to the other.
Domain registration typically costs between £8 and £15 per year from registrars such as Namecheap, 123-reg, or your hosting provider. Be aware that renewal prices sometimes differ from introductory rates; check the renewal cost before you commit.
A Hosting Plan
Hosting is the server where your WordPress files live. The type of hosting you choose affects your site’s speed, reliability, and security.
- Shared hosting suits beginners and small sites. Multiple websites share server resources, which keeps costs down (£3–£10/month) but means performance can fluctuate. Providers like SiteGround, Kinsta, and WP Engine all offer WordPress-specific shared plans.
- Managed WordPress hosting costs more (£15–£50/month) but handles WordPress updates, backups, and security for you. If you’re not confident managing technical maintenance, the premium is worth it for a business site.
- VPS hosting gives you dedicated resources on a virtual server. It’s more powerful and more configurable, but requires more technical knowledge to manage. Most beginners don’t need it at the start.
For UK and Irish businesses, choosing a host with data centres in London or Dublin reduces latency for local visitors, which has a small but genuine effect on page speed and local SEO performance. Our guide to web hosting services for beginners covers the main options in more detail.
The Real Cost of a WordPress Site
One of the most common questions before starting is what it actually costs. Here’s a transparent breakdown:
| Setup | Annual cost (approx.) |
|---|---|
| Domain name (.co.uk) | £8–£15 |
| Shared hosting | £36–£120 |
| Premium theme (optional) | £40–£80 one-off |
| Essential paid plugins (optional) | £0–£150 |
| Total (basic site) | £50–£200/yr |
| Total (professional setup) | £200–£400/yr |
The WordPress software itself is free. You pay for the infrastructure around it.
How to Install WordPress
Most reputable hosts offer a one-click WordPress installer through their control panel, usually via cPanel or a proprietary dashboard. The process is broadly the same across providers:
Using One-Click Install (Recommended for Beginners)
Log in to your hosting control panel and look for a section labelled WordPress, Softaculous, or Installatron. Click Install, select your domain from the dropdown, and fill in three fields: your site title, an admin username (never use “admin” as your username; it’s the first thing brute-force attacks try), and a strong password.
The installer creates your database, uploads WordPress, and gives you login credentials within about 60 seconds. You’ll receive an email with your admin URL, which is typically yoursite.com/wp-admin.
Manual Installation (For Those Who Want Full Control)
Download WordPress from wordpress.org, create a MySQL database through your hosting panel, upload the files via FTP, and run the installation script by visiting your domain. The process takes around 15 minutes and gives you a clearer understanding of how WordPress works structurally. It’s worth doing once, even if you use one-click installs afterwards.
Understanding the WordPress Dashboard
When you first log in to your WordPress admin area, the left-hand menu contains everything you need. The main sections you’ll use as a beginner:
- Posts are for blog content: time-stamped articles organised by category and tag. They appear in your blog feed automatically.
- Pages are for static content: your Home page, About page, Contact page, and services. Pages don’t appear in your blog feed; they exist outside the chronological structure.
- Appearance contains your theme settings, menus, and widgets.
- Plugins are where you add new functionality to your site.
- Settings controls your site title, reading preferences, permalink structure, and more.
The first setting to change after installation: go to Settings → Reading and make sure “Discourage search engines from indexing this site” is unticked. New WordPress installations sometimes have this enabled by default; leaving it on means Google won’t index your site.
Also, go to Settings → Permalinks and change the structure to “Post name” (/sample-post/). The default numeric structure (/?p=123) is poor for SEO and readability.
Choosing and Installing a WordPress Theme
Your theme controls the visual appearance of your site. WordPress ships with default themes (Twenty Twenty-Five is the current one), and there are thousands of free and premium options available through the theme directory and third-party marketplaces.
Block Themes vs Classic Themes
This distinction matters if you want to use WordPress’s modern editing tools.
Block themes are built for Full Site Editing (FSE), introduced in WordPress 5.9 and significantly matured in WordPress 6.x. With a block theme, you can edit every part of your site, including the header, footer, and sidebar, directly within the WordPress editor using the same block-based interface you use for page content. Twenty Twenty-Five is a block theme. So are Kadence, GeneratePress (block variant), and Blocksy.
Classic themes use PHP template files and the older Customiser for site-wide settings. Many popular themes, such as Astra and OceanWP, still offer classic versions. They work fine, but they don’t give you full visual control through the editor.
For new sites built in 2025 or later, a block theme is the better long-term choice. The Customiser is being phased out, and Full Site Editing is now stable enough for professional work.
Installing a Theme
Go to Appearance → Themes → Add New. Use the filter options to browse by feature or layout. Click Preview to see how a theme looks before installing it. When you’ve chosen one, click Install, then Activate.
For detailed guidance on working with themes, our WordPress themes guide covers customisation in depth.
Customising Your Theme
With a block theme, go to Appearance → Editor. You’ll see the Site Editor, which lets you modify templates (how individual page types look) and your global styles (typography, colours, spacing). Changes made in global styles apply across the whole site.
With a classic theme, go to Appearance → Customise for site-wide settings, and use the block editor for individual page content.
Keep branding consistent: pick two or three colours that match your brand, choose readable fonts (system fonts like Inter or Source Sans perform well and load fast), and don’t over-design early on. A clean, fast theme beats a visually elaborate one that loads slowly.
Essential WordPress Plugins for New Sites
Plugins extend WordPress functionality. There are over 60,000 in the free repository, which sounds overwhelming until you recognise that most sites need only a handful.
SEO
Yoast SEO or Rank Math are the two dominant options. Both handle meta titles, meta descriptions, XML sitemaps, and structured data. Rank Math has a slightly more generous free tier; Yoast has been the industry standard longer and has more documentation. Install one, not both.
Performance and Caching
WP Super Cache or W3 Total Cache create static versions of your pages so they load faster for repeat visitors. On a shared host, especially, a caching plugin makes a noticeable difference to page speed. For image optimisation, Smush or ShortPixel compress images automatically on upload without visible quality loss.
Security
Wordfence Security provides a web application firewall, malware scanning, and login protection. Change your admin username from the default during installation, keep all plugins updated, and enable two-factor authentication for your admin account. These three steps alone prevent the majority of attacks. Our article on implementing firewalls for small business websites covers the specific threats to watch for.
Contact Forms
WPForms (free tier) or Contact Form 7 let you add contact forms to any page. WPForms has a more straightforward interface for beginners.
Backups
UpdraftPlus schedules automatic backups to cloud storage (Google Drive, Dropbox, or Amazon S3). Run a backup before any major update or change. Losing a site to a failed update or an attack hurts significantly less when you have a clean backup from the previous day.
E-commerce
If you’re building an online shop, WooCommerce is the standard. It’s free, maintained by Automattic (the company behind WordPress.com), and supports everything from simple product catalogues to complex inventory management. The ProfileTree website development team builds WooCommerce stores regularly for businesses across Northern Ireland and Ireland.
Building Your Pages
Pages are where your site’s actual content lives, and WordPress makes building them straightforward once you know how the block editor works. The steps below cover creating your core pages, setting up navigation, and making sure visitors land on the right page when they arrive at your domain.
Creating Core Pages
Every site needs at least four pages to function properly: a Home page, an About page, a Contact page, and a Privacy Policy. Go to Pages → Add New to create each one.
The block editor opens with an empty canvas. Click the + button to add blocks: Paragraph for text, Heading for section titles, Image for photos, Buttons for calls to action. Each block can be styled independently. For more complex layouts, use the Columns block to place content side by side, or the Group block to wrap sections with background colours.
The Home page is the most important page on your site. It should answer three questions within the first few seconds a visitor lands: what does this site do, who is it for, and what should I do next? Avoid long paragraphs at the top. Use a clear headline, a brief supporting sentence, and a visible call-to-action button.
Setting Up Navigation
Go to Appearance → Menus (classic themes) or Appearance → Editor → Navigation (block themes). Add your main pages to the primary navigation. Keep menus short; five or six items are usually enough for a straightforward site. Deeply nested dropdown menus frustrate mobile users and tend to reduce engagement.
Setting a Static Home Page
By default, WordPress shows your latest blog posts on the home page. To use a custom page instead, go to Settings → Reading and set “Your homepage displays” to “A static page.” Select your Home page from the dropdown.
Full Site Editing: What’s Changed in Modern WordPress
Full Site Editing changes the way you work with WordPress significantly. Before FSE, editing a header meant editing a PHP file or using a theme’s proprietary customiser. Now, with a block theme, you can click on any part of any page, including the site header, footer, and navigation, and edit it directly using the same block tools you use for regular content.
The Site Editor (Appearance → Editor) gives you access to:
- Templates: How specific page types are structured (single post, archive page, 404 page). You can modify the template for all blog posts at once, or override it for individual posts.
- Template parts: Reusable sections like the header and footer that appear across multiple templates. Edit once, update everywhere.
- Global Styles: Your site’s typography, colours, and spacing are defined in one place. Change your heading colour in Global Styles, and it updates across the whole site instantly.
- Patterns: Pre-built blocks of content (hero sections, feature grids, testimonial layouts) you can insert and modify. WordPress ships with a growing library of patterns, and theme developers add their own.
The shift toward FSE means you need a far lighter plugin footprint than you did three or four years ago. Many sites that previously relied on Elementor or Divi for visual editing can now achieve the same results natively, with better performance and less maintenance overhead.
UK Legal Requirements for New Websites
This section is consistently missing from guides written for US audiences. If you’re building a site for a UK or Irish business, these requirements apply to you.
UK-GDPR and the ICO
The UK General Data Protection Regulation requires that any website collecting personal data (contact form submissions, email newsletter sign-ups, analytics cookies) handles that data lawfully and transparently. Your Privacy Policy must explain what data you collect, why, how long you keep it, and who you share it with.
If your organisation processes personal data, you likely need to register with the Information Commissioner’s Office (ICO). Registration costs £40–£60 per year for small businesses. Failure to register when required can result in a fine. Check the ICO’s self-assessment tool at ico.org.uk to confirm whether registration applies to your situation.
For GDPR-compliant contact forms, our guide on designing GDPR-compliant web forms covers the specific requirements.
Cookie Consent
Under the UK Privacy and Electronic Communications Regulations (PECR), you must obtain consent before setting non-essential cookies. Analytics cookies (Google Analytics, for example) are non-essential. Your site needs a cookie consent banner that gives users a genuine choice. Plugins such as CookieYes or Complianz handle this for WordPress.
Pre-ticking consent boxes or making it harder to decline than to accept both violate PECR. The ICO enforces this actively.
Privacy Policy and Terms
Every site that collects any data needs a Privacy Policy page. Terms of Service or Terms and Conditions are legally optional for informational sites, but advisable for e-commerce or service-based businesses. Keep both linked in your footer.
SEO Foundations for Your New Website in WordPress
Getting SEO right from the start saves significant rework later. The fundamentals aren’t complicated, but they need to be in place before you publish.
Your Permalink Structure
Confirmed in Settings → Permalinks. Use “Post name” (/your-page-title/). This creates clean, readable URLs that include your target keywords.
Your XML Sitemap
Your SEO plugin (Yoast or Rank Math) generates this automatically. Submit it to Google Search Console and Bing Webmaster Tools so search engines can find all your pages quickly. Both tools are free.
Title Tags and Meta Descriptions
Each page and post should have a unique title tag (under 60 characters) and meta description (under 155 characters) written specifically for search. Your SEO plugin adds fields for the following below the block editor on every page. Don’t leave them blank; WordPress will use your page title and the first paragraph as defaults, which is rarely optimal.
Internal Linking
Link between related pages and posts on your site. Internal links help search engines understand which content is most important and help visitors find related information. A well-structured site links from supporting articles to its main service pages, spreading authority through the site’s architecture. Our SEO guide covering YMYL content explores how content structure affects search performance in more depth.
Your Pre-Launch Checklist
Before you make the site live, work through these steps:
Go to Settings → Reading and confirm “Discourage search engines from indexing this site” is unticked.
Check that all pages load correctly in a mobile browser. Over 60% of web traffic is now mobile; a site that looks broken on a phone will lose visitors immediately.
Test every contact form by submitting a test enquiry and confirming it reaches your inbox.
Run your site through Google PageSpeed Insights (free at pagespeed.web.dev). Aim for a score above 80 on mobile. Slow sites rank lower and convert worse.
Set up Google Search Console and submit your sitemap. This tells Google your site exists and lets you monitor which queries it appears for.
Install an SSL certificate if your host hasn’t done so automatically. Your hosting control panel will have a one-click option for Let’s Encrypt (free). Your site should load at https:// not http://. Browsers flag non-HTTPS sites as “not secure,” which damages visitor trust immediately.
Check your footer has a Privacy Policy link, cookie notice, and any legal or company registration information your business is required to display.
For a more thorough look at what to review before going live, our website launch guide covers pre-launch and post-launch steps for business sites.
Watch: Building Websites with WordPress
For a visual walkthrough of the WordPress interface and how a professional web development team approaches new builds, this video from ProfileTree covers the key concepts:
When to Get Professional Help
WordPress is genuinely manageable as a DIY project for straightforward sites: a service business with five or six pages, a portfolio, or a basic blog. The learning curve is real but not steep, and the community resources available are extensive.
There are situations where professional input saves time and money:
If your site needs custom functionality that isn’t available through plugins, a developer can build it cleanly without patching together multiple conflicting tools.
If performance is critical (a high-traffic e-commerce site, for example), a developer can optimise the server configuration, database, and code in ways that go beyond what plugins can achieve.
If you’re migrating an existing site with complex content or e-commerce data, the risk of errors during migration is high. A professional website development service handles migration with a proper testing environment and rollback plan.
“The biggest mistake we see from businesses who’ve built their own WordPress site is technical debt,” says Ciaran Connolly, founder of ProfileTree. “A site built quickly on an unconfigured shared host, with 15 plugins doing jobs that overlap, works until it doesn’t. When something breaks or needs to scale, the cost to fix is usually more than a proper build would have been.”
ProfileTree’s web development team has completed over 1,000 web projects for businesses across Northern Ireland, Ireland, and the UK. If the process outlined in this guide raises questions specific to your project, our services overview covers what a professional build involves.
Frequently Asked Questions
What is the difference between WordPress.com and WordPress.org?
WordPress.org is the self-hosted, open-source version of WordPress. You download the software, install it on your own hosting account, and have full control over your site’s design and functionality. WordPress.com is a hosted platform that uses WordPress technology but places restrictions on what you can do; free accounts display third-party adverts, and installing your own plugins requires a paid plan. For any business website, WordPress.org is the version to use.
How much does it cost to create a WordPress website?
The WordPress software itself is free. Your costs come from domain registration (roughly £8–£15 per year for a .co.uk) and hosting (£36–£120 per year for shared hosting). A basic site with free themes and plugins can be built for under £100 per year. A more polished setup with a premium theme and paid plugin licences typically runs £150–£350 per year. Custom development adds to this, but the base infrastructure is affordable for most small businesses.
Do I need to know how to code to use WordPress?
No. The WordPress Block Editor allows you to build pages visually by adding and arranging content blocks. For most business sites, you won’t need to touch any code. If you want to make specific styling changes, a small amount of CSS knowledge is helpful but not required; many themes expose style settings through their interfaces without requiring code.
How do I make my WordPress site GDPR compliant in the UK?
Start with a Privacy Policy that clearly explains what data you collect, why, and how long you keep it. Install a cookie consent plugin (CookieYes or Complianz are both well-supported) that gives visitors a genuine choice before non-essential cookies are set. Check whether your organisation needs to register with the ICO; most businesses that process personal data do. If you use contact forms, ensure they only collect data you actually need, include a link to your Privacy Policy, and store submissions securely.
Can I change my WordPress theme later without losing my content?
Yes. Your content (posts, pages, images) is stored in the WordPress database independently of your theme. Switching themes changes how your site looks but doesn’t delete content. That said, if you’ve used blocks or layouts specific to your current theme (particularly with block themes that use theme-specific patterns), some sections may need to be rebuilt in your new theme. It’s worth testing a new theme on a staging site before switching on your live site