Wix ECommerce: A Practical Guide for Small Business Owners
Table of Contents
Wix has become one of the most widely recognised website builders on the market, and its e-commerce tools have improved considerably over the past few years. For a small business owner who wants to start selling online quickly, it offers a low barrier to entry. But “quick to set up” and “right for your business” aren’t always the same thing.
This guide walks through how Wix e-commerce works, what the setup process involves, and the points at which you might find the platform starts to limit your growth. ProfileTree, a Belfast-based web design and digital marketing agency, has worked with SMEs across Northern Ireland, Ireland, and the UK on e-commerce builds ranging from simple Wix stores through to custom WooCommerce and Shopify solutions. The platform question comes up in almost every initial consultation.
What Wix E-Commerce Actually Offers
Wix provides an all-in-one website builder with a built-in store module. You get a drag-and-drop editor, hosting, SSL, a product catalogue, payment processing, and shipping configuration, all under one roof. For someone with no development experience and a straightforward product range, that combination is genuinely useful.
The platform supports digital and physical products, subscriptions, bookings, and restaurant ordering. Payment options include credit and debit cards, PayPal, and a range of regional providers. Inventory management is basic but functional for small catalogues.
Where Wix shows its limits is at scale. The template-based structure makes deep customisation difficult without developer knowledge. SEO flexibility is more restricted than on WordPress, and migrating away from Wix to another platform later is not straightforward. If you’re building something you expect to grow substantially, those constraints are worth understanding before you start.
10 Steps to Setting Up a Wix E-Commerce Store
Setting up a Wix e-commerce store follows a logical sequence. These are the ten stages most builds move through.
- Creating an account
- Choosing a template
- Adding products
- Optimising product pages
- Customising your site design
- Adding shipping options
- Editing site settings
- Creating additional pages
- Editing and reviewing all pages
- Going live
The sections below cover the steps that tend to cause the most questions or problems in practice.
Choosing a Template That Will Actually Work
Wix offers dozens of online store templates. The instinct when browsing is to pick the one that looks closest to what you want, but that’s the wrong approach. Images, fonts, and colours are all editable later. What matters at the selection stage is layout.
Look at the placement of the product grid, the checkout flow, and how the navigation is structured. A template with a cluttered layout doesn’t become clean just because you swap the photos. Choose the structural bones that match how you want customers to move through your store.
Once inside the editor, Wix uses a grid system to keep elements aligned and ensure the site scales for mobile and tablet. Keep important content within the grid boundaries. Anything placed outside them is likely to display poorly on smaller screens.
Building Your Brand Before You Build Your Site
Before touching the editor, you need a clear brand identity: a name, a colour palette, and a logo. Wix Logo Maker is a reasonable tool for this if you’re working with a limited budget. It asks a series of questions about your business type and aesthetic preferences and generates logo options based on your answers. You can iterate quickly, and the results are usable, though not particularly distinctive.
For businesses that want something more considered, Adobe Illustrator and Photoshop give you full control. Even a simple wordmark with a clear typeface and a consistent colour will outperform a generic logo maker output in terms of brand recall.
The key principle for any small business logo is simplicity. A mark that works at 16px on a browser tab and at full size on a vehicle wrap is more useful than one that only looks good in one context.
Researching Competitors Before You Design
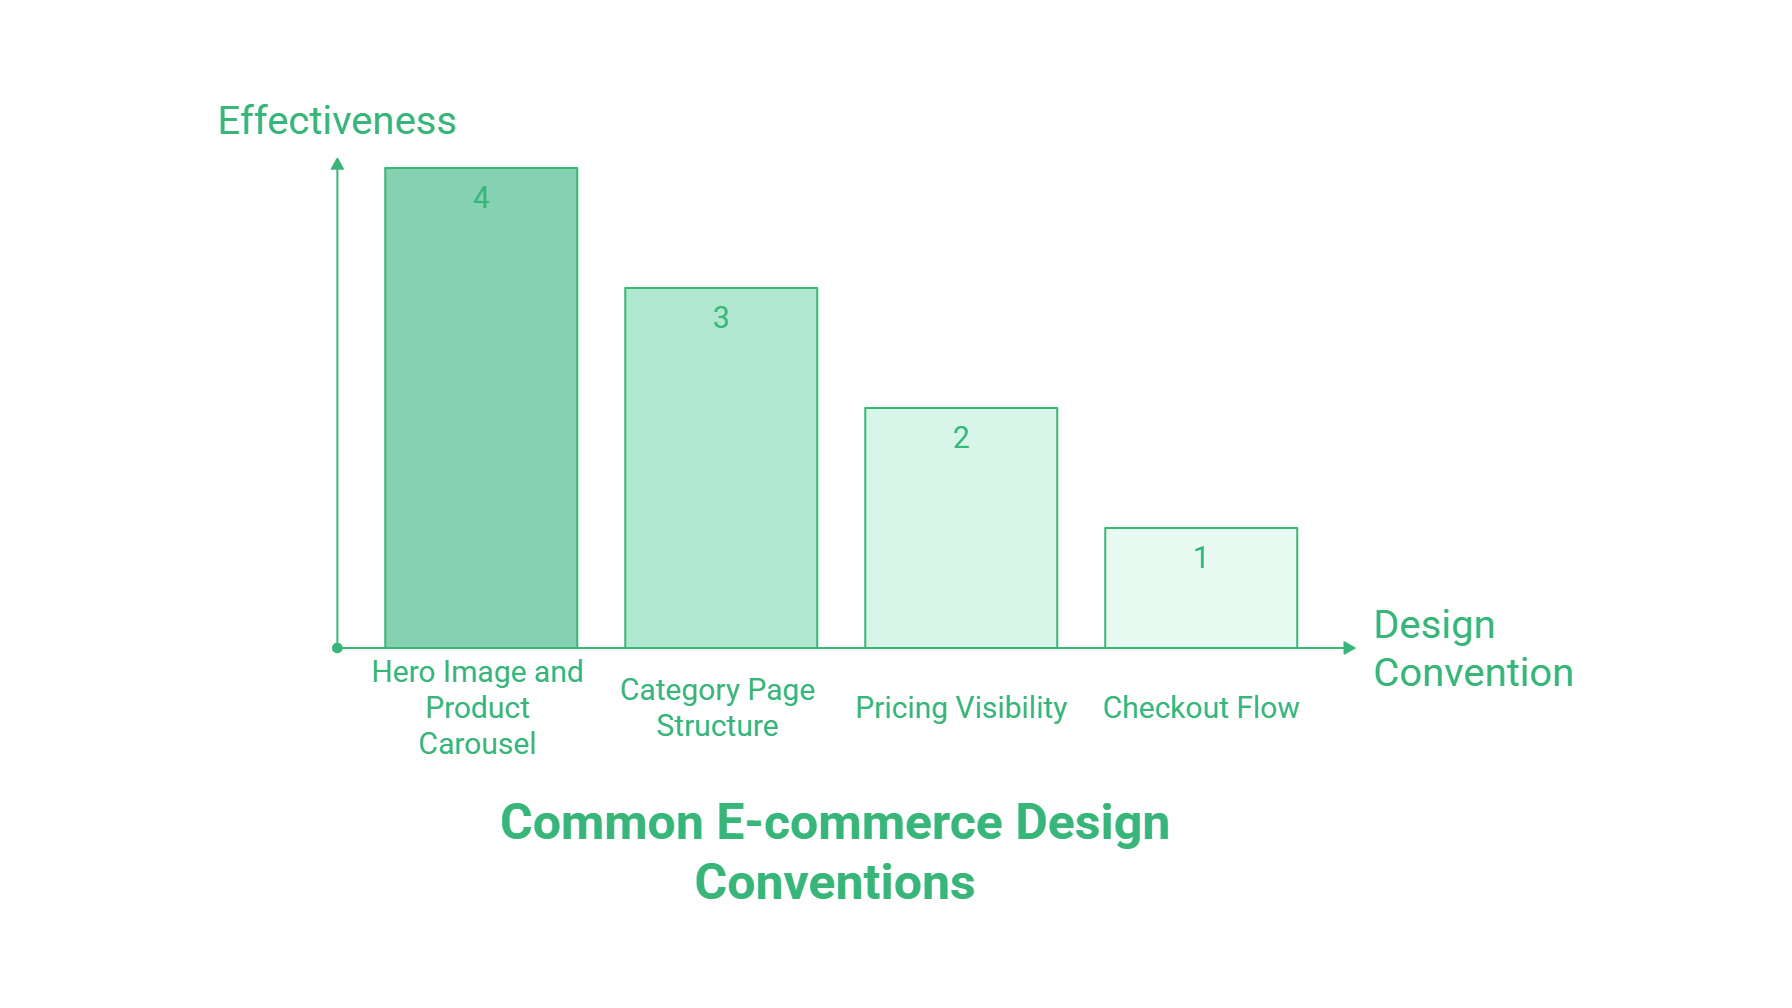
This step is frequently skipped, which is a mistake. Before you make any design decisions, spend time on sites that sell similar products. Note what they do with their homepage hero, how they display product categories, how they handle pricing visibility, and what their checkout flow looks like.
You’re not looking to copy. You’re looking to understand why certain patterns appear consistently. In most e-commerce categories, the design conventions that dominate do so because they’ve been tested and they work. Furniture sites almost universally open with a large hero image and a product carousel because that combination has proven effective at directing attention and generating clicks.
For a technology retailer, look at how Currys and Argos structure their category pages. For clothing, Boohoo and ASOS both demonstrate different approaches to filtering and product discovery. Apply what’s relevant to your context.
Adding and Managing Products
Once you’re in the editor, product management is handled through the Wix dashboard rather than the front-end editor. You can add product names, images, prices, and stock status for each item.
Wix pre-populates new stores with placeholder products. Delete these before you start adding your own catalogue. Editing placeholder content takes longer than building from scratch, and you risk publishing with demo data still visible.
The collections feature lets you group products together. A chair can sit in both a “Seating” collection and a specific range collection like “Adelaide Bespoke.” This grouping improves navigation for customers and makes the product catalogue easier to manage as it grows.
Products can be set to visible or hidden while you’re still working on descriptions, photography, or pricing. Use hidden status for anything not ready to publish rather than leaving placeholders live.
Cart, Checkout, and Payment Setup
The cart and checkout pages are often treated as afterthoughts. They shouldn’t be. Research consistently shows that cart abandonment rates are heavily influenced by checkout design. A poorly laid out or unbranded checkout creates hesitation at exactly the wrong moment.
If you’re using a Wix template, the cart and checkout will inherit the theme’s styling. If you’ve built from scratch, you’ll need to design these pages explicitly. Check them carefully before going live. They should match the rest of the site in colour, typography, and layout.
For payment methods, Wix supports connections to most major providers, including Stripe and PayPal. The setup process for each involves connecting an account and verifying your business details. Wix’s own support documentation covers the technical steps for each provider in detail.
Shipping configuration sits alongside payments in the dashboard. You can create separate rules for domestic and international delivery, including free shipping thresholds and flat-rate charges. Most UK e-commerce stores offer free domestic shipping and charge for European and international orders, which reflects the actual difference in carrier costs.
Adding E-Commerce to a Non-Store Template
If you’ve already built a Wix site on a non-commerce template and want to add a store, you don’t need to start over. Within the Wix editor:
- Go to Add
- Choose Store
- Select Add to Site
- Click Get Started
Wix will generate a store section that broadly matches your existing theme. You’ll likely need to adjust some elements to ensure consistency with the rest of the site, but the store functionality will be in place. You can then add product widgets to other pages, embed product galleries, and link from anywhere on the site to individual product pages.
When Wix E-Commerce Starts to Feel Limiting
The question we hear most often from businesses considering a move away from Wix is “at what point should I have built on something else?” There’s rarely a single moment. It tends to be an accumulation of constraints.
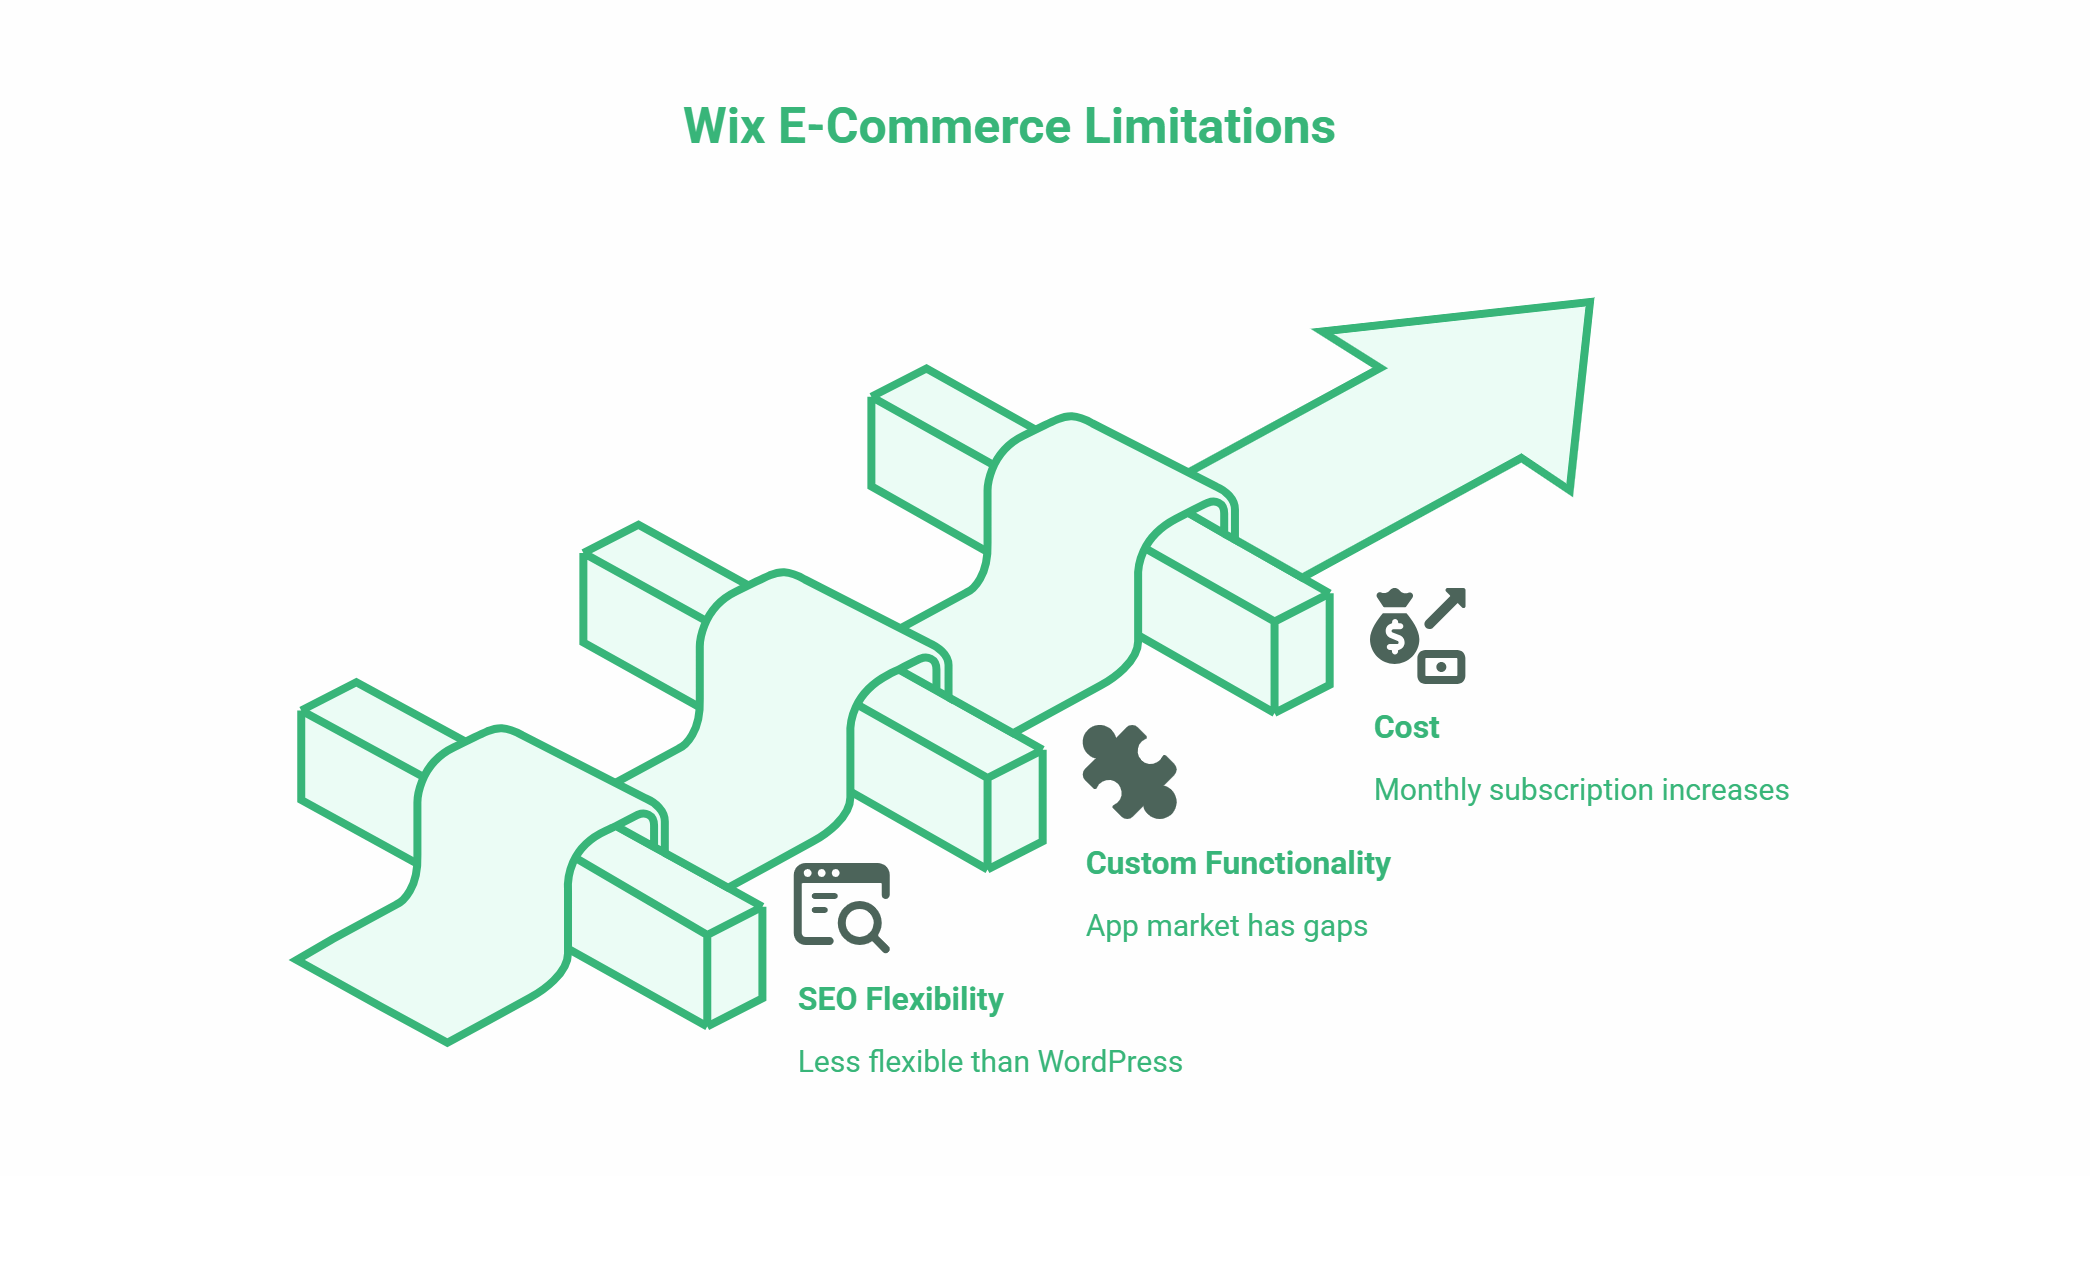
SEO is usually the first friction point. Wix’s URL structure, page speed performance, and customisation options for technical SEO are less flexible than WordPress. For businesses that rely on organic search traffic, this becomes significant as the catalogue grows.
Custom functionality is the second. If you need specific pricing logic, wholesale tiers, custom checkout fields, or integration with an ERP or accounting system, Wix’s app market has gaps. What’s available is limited by the platform’s architecture.
The third is cost. Wix charges a monthly subscription, and that fee increases if you want to remove transaction fees or access advanced commerce features. At volume, the per-transaction economics of a hosted solution can become less favourable than a self-hosted WooCommerce build with a one-time development cost.
“For businesses that are genuinely early-stage and just need to test whether e-commerce works for their product range, Wix makes sense,” says Ciaran Connolly, founder of ProfileTree. “But if you’re building with growth in mind from day one, the conversation about platform choice deserves more than five minutes. The migration cost when you outgrow a limiting platform is always higher than the investment in getting the architecture right at the start.”
Wix vs. a Custom E-Commerce Build: A Basic Comparison
| Factor | Wix E-Commerce | Custom WooCommerce Build |
|---|---|---|
| Setup time | Hours to days | Weeks |
| Upfront cost | Low (subscription model) | Higher (development fee) |
| SEO flexibility | Limited | Full control |
| Custom functionality | App market only | Unlimited |
| Scalability | Suitable to ~500 products | Suitable to tens of thousands |
| Migration complexity | High if outgrown | Low (you own the build) |
| Ongoing cost | Monthly subscription | Hosting + maintenance |
The right answer depends on where your business is right now and where you expect it to be in three years. For a side project or a small product range being tested commercially, Wix is a reasonable starting point. For a business making a serious investment in e-commerce as a primary sales channel, a custom build on WooCommerce or Shopify typically delivers better long-term value.
ProfileTree’s web development services cover both platform-specific builds and migrations from Wix to WordPress for businesses that have reached the ceiling of what a template-based builder can offer.
Frequently Asked Questions
Is Wix good for e-commerce?
Wix is a viable option for small product ranges and businesses that need to get online quickly without development support. It handles up to a few hundred products reasonably well, and the setup process is straightforward. Its main limitations are SEO flexibility, custom functionality, and the cost structure at higher volumes. For businesses with ambitions to scale, a WooCommerce or Shopify build tends to offer better long-term return.
How much does Wix e-commerce cost?
Wix e-commerce requires a paid plan. The Business tier starts at around £17 per month (as of early 2026) and removes transaction fees. The Core plan at around £11 per month includes basic store functionality but limits some features. Costs increase if you need advanced subscriptions, priority support, or additional storage. These figures are subject to change; check Wix’s current pricing page for up-to-date rates.
Can I migrate from Wix to WordPress later?
Yes, but it requires work. Wix doesn’t export products in a format that imports cleanly to WooCommerce, so product data usually needs to be migrated manually or via a third-party tool. Blog content can be exported and imported with some reformatting. Most businesses underestimate the effort involved. If you’re likely to migrate within two years, it’s often more cost-effective to build on WordPress from the start.
Does Wix e-commerce work for selling services as well as products?
Yes. Wix includes booking and scheduling functionality through Wix Bookings, which is separate from the standard store module. You can sell time-based services, accept deposits, and manage availability calendars. This is useful for trades, therapists, consultants, and other service businesses that want to take bookings and payments online.
What payment methods does Wix support?
Wix supports Wix Payments (which processes Visa, Mastercard, and American Express), PayPal, and a range of additional providers depending on your location. In the UK, Stripe integration is available. The specific providers available vary by country, so check the Wix support documentation for the current list.
How do I add products to Wix?
Products are managed through the Wix dashboard rather than the front-end editor. Go to your dashboard, select Store Products, and choose Add Product. You can upload images, set pricing, manage inventory, and assign products to collections from this interface. Products can be set to hidden while you’re working on them and made visible when ready.