WordPress Developer Belfast: When Your Website Needs Expert Hands
Table of Contents
You built your WordPress site yourself, or perhaps someone built it years ago and disappeared. Now something’s wrong. Maybe it’s slow, properly slow, the kind of slow that makes you wince when showing the site to potential customers. Maybe you’re seeing security warnings you don’t understand. Maybe the plugins won’t update, or when they do, something breaks. Maybe you just need to add functionality that seems like it should be simple but somehow isn’t.
You know you need help, but where do you turn? “WordPress developer” returns millions of results. Freelancers on Fiverr offer work for £50. Agencies quote thousands. How do you know what you actually need, and who can actually deliver it?
This is the position many Belfast and Northern Ireland business owners find themselves in. WordPress powers their online presence, roughly 43% of all websites globally run on WordPress, but when problems arise or ambitions grow, the DIY approach hits its limits.
What Does a WordPress Developer Actually Do?
There’s genuine confusion about this, partly because “WordPress” covers such a wide range of work, and partly because titles get used loosely. Understanding what different WordPress professionals actually do helps you find the right help.
A WordPress designer focuses on how your site looks. They work with themes, customise colours and layouts, arrange content attractively. Good designers understand user experience and can make your site visually appealing and easy to navigate. But they typically work within the constraints of existing themes and page builders, they’re not writing code from scratch.
A WordPress developer writes code. They build custom themes, create bespoke functionality, modify how WordPress works under the hood. When off-the-shelf themes and plugins can’t do what you need, developers make it happen. They understand PHP (the language WordPress is built in), JavaScript, databases, and server environments. When your site breaks in complex ways, developers diagnose and fix problems at the code level.
A WordPress consultant advises on strategy, which approach makes sense for your business, what’s possible within budget, how to plan for growth. Good consultants understand both the technical possibilities and the business context.
In practice, these roles often overlap. Many professionals combine design and development skills. At ProfileTree, our team includes developers who understand design principles and designers who can write code, because real projects rarely fit neat categories.
The key question is what your situation actually requires. A slow site might need a developer to optimise database queries and server configuration, or it might just need someone to remove bloated plugins and configure caching properly. A design refresh might need a developer building a custom theme, or it might just need a designer working within a quality theme framework.
Signs You Need Professional WordPress Help
How do you know when DIY isn’t enough anymore? These are the situations we see most commonly.
Your Site Is Genuinely Slow
Not just “could be faster”, actually slow. Taking four, five, six seconds to load. You’ve tried caching plugins and image compression and it’s still sluggish. Slow sites aren’t just annoying; they cost you business. Google explicitly uses page speed as a ranking factor, so slow sites get less search traffic. And visitors who wait too long simply leave, studies consistently show that conversion rates drop significantly as load times increase.
Slow WordPress sites usually have identifiable causes: poor hosting, bloated themes, too many plugins, unoptimised images, database bloat, or some combination. A developer can diagnose the specific issues and address them systematically rather than throwing solutions at the problem hoping something works.
You’re Seeing Security Warnings
Browser warnings about insecure connections. Google Search Console alerts about security issues. Your host emailing about malware detection. These aren’t problems to ignore or hope go away.
WordPress security issues typically stem from outdated core software, vulnerable plugins, weak passwords, or compromised hosting. Once a site is compromised, cleaning it properly requires expertise, simply restoring a backup often doesn’t work because the vulnerability that allowed the initial compromise remains.
If your site has been flagged for security issues, you need professional help urgently. And if it hasn’t been flagged but you’re running outdated software with no security measures, you’re borrowing time.
Plugin Conflicts and Update Failures
You try to update a plugin and the site breaks. Or you update WordPress core and suddenly features don’t work. Or you install a new plugin and it conflicts with something existing. You’re now afraid to touch anything.
This is surprisingly common. WordPress’s plugin ecosystem is powerful but chaotic, tens of thousands of plugins built by different developers with different coding standards, not always tested together. When conflicts occur, resolving them requires understanding what’s actually happening at the code level, not just randomly deactivating plugins and hoping.
A developer can diagnose conflicts, identify which plugins are problematic, find alternatives, or write custom code to achieve what the conflicting plugins were supposed to do.
You’ve Hit Functionality Limits
Your business has grown, and you need your website to do things it currently can’t. Maybe you need a booking system that integrates with your calendar. Maybe you need a client portal where customers can log in and access their documents. Maybe you need your website to connect with your accounting software or CRM.
Sometimes plugins exist for these needs and just need proper configuration. But often, business requirements are specific enough that off-the-shelf solutions don’t quite fit. Custom development fills the gap, building exactly what you need rather than compromising with generic tools.
The Design Looks Dated or Unprofessional
Your site works, technically, but it doesn’t represent your business well anymore. Visitors’ first impression isn’t the impression you want to make. The design reflects where your business was years ago, not where it is now.
This might need a full rebuild, or it might need strategic updates to an existing structure. A professional assessment can determine which approach makes sense for your situation and budget.
What Professional WordPress Work Involves
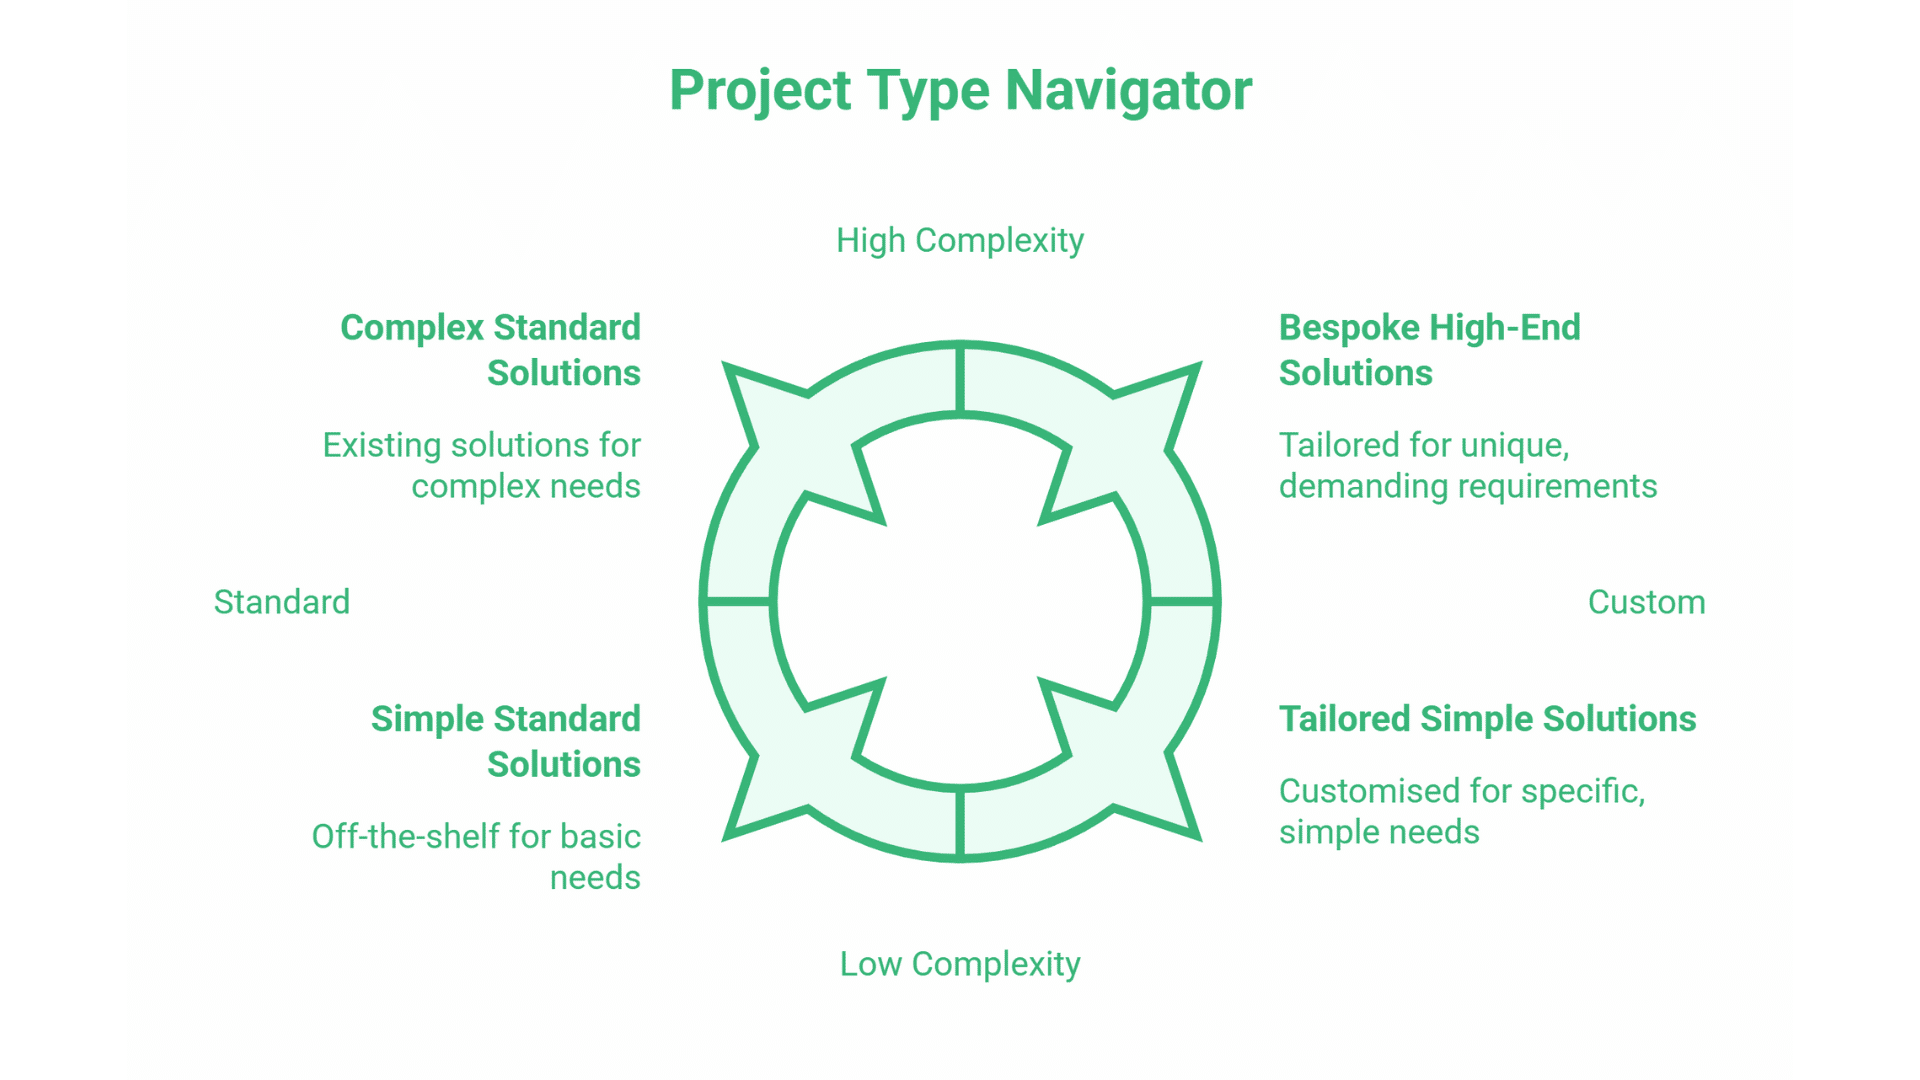
Understanding typical project types helps you know what you might need, and what to expect.
Custom Theme Development
Your site’s theme controls how it looks and, to significant extent, how it functions. Premium themes from marketplaces offer design flexibility, but they’re built to serve broad audiences, which means code bloat, features you don’t need, and constraints on what you can modify.
Custom theme development means building a theme specifically for your business. Only the features you need, structured for your content, performing without unnecessary overhead. This is the premium option, more expensive than buying a theme, but resulting in something built precisely for your requirements.
Between fully custom and off-the-shelf, there’s custom theme development using starter frameworks, beginning with a solid foundation and building your specific requirements on top. This balances efficiency with customisation.
Plugin Development
When existing plugins don’t do what you need, or when using multiple plugins creates conflicts and bloat, custom plugin development provides a solution. A custom plugin does exactly what you require, nothing more, integrated cleanly with your site.
Custom plugins are also the answer when you need your WordPress site to integrate with other systems, your inventory management, your booking platform, your membership database.
WooCommerce Development
WooCommerce turns WordPress into an e-commerce platform, and it’s powerful, but it’s also complex. Basic WooCommerce setup is manageable, but as your store grows, the requirements get more demanding.
Custom product types that don’t fit standard WooCommerce structures. Checkout modifications for your specific sales process. Integration with fulfilment systems, accounting packages, CRM platforms. Performance optimisation as product catalogues grow. These needs typically require developer involvement.
Site Migrations
Moving from one platform to another, Wix to WordPress, Squarespace to WordPress, old custom system to WordPress, requires careful handling. Content must be transferred, URLs must be mapped so you don’t lose search rankings, designs must be recreated or reimagined, functionality must be rebuilt on the new platform.
Migrations done poorly can devastate search rankings and break customer bookmarks. Done properly, they’re seamless, visitors and search engines may not even notice the change.
Speed Optimisation
Improving site speed involves multiple factors: hosting environment, theme efficiency, plugin overhead, image handling, caching configuration, database optimisation, code delivery. True speed optimisation addresses all relevant factors systematically, measuring impact at each stage.
Quick wins are often available, better caching, image compression, removing unused plugins, but substantial improvement usually requires deeper work. A developer can audit your site, identify the specific bottlenecks, and address them in priority order.
Ongoing Maintenance and Support
WordPress sites need ongoing attention. Core software updates, plugin updates, theme updates, all require testing and sometimes troubleshooting when conflicts arise. Security monitoring catches problems before they become crises. Regular backups provide recovery options when needed.
Many businesses lack time or expertise for proper maintenance. Professional maintenance services handle this systematically, keeping sites secure, updated, and performing well.
Finding the Right WordPress Help
The challenge isn’t finding WordPress developers, they’re everywhere. The challenge is finding reliable professionals who deliver what they promise.
Local vs Remote
Remote work is entirely viable for WordPress development. Much of the work is technical, requiring access to your site rather than physical presence. Remote developers can be excellent choices, and working remotely expands your options significantly.
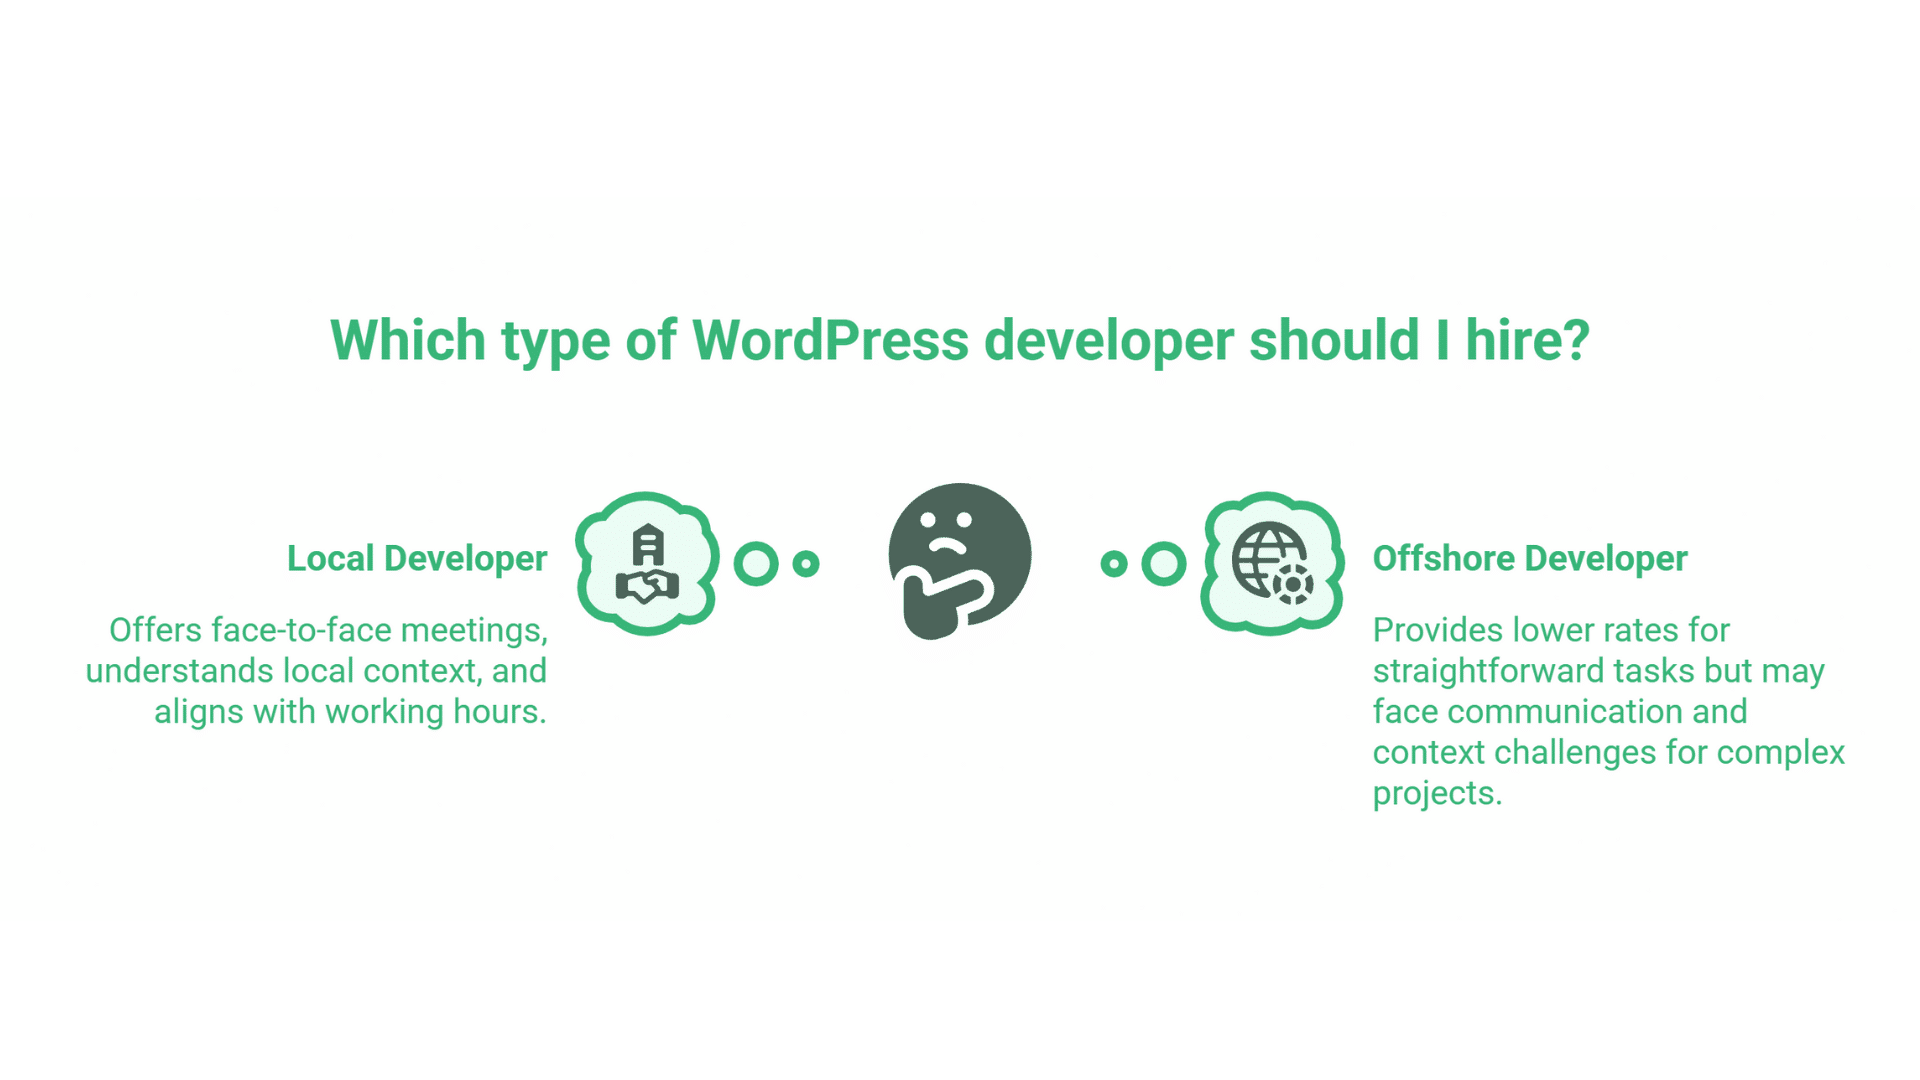
That said, local developers offer advantages. Face-to-face meetings help when discussing complex requirements or reviewing work in progress. Local developers understand local context, the business environment, the customer base, local compliance requirements. When you need quick turnaround or have urgent problems, time zone alignment matters.
For businesses in Belfast and Northern Ireland, a local WordPress developer means someone who understands the Northern Ireland business landscape, can meet when needed, and responds during your working hours.
Evaluating Developers
Look at their portfolio, specifically, sites similar to what you need. A developer who’s built corporate brochure sites may not be the right fit for complex e-commerce. Ask to see examples of relevant work.
Check whether they explain things clearly. The technical work is important, but so is communication. If you can’t understand what a developer is proposing or why, working together will be frustrating.
Ask about their process. How do they handle projects? What happens if scope changes? How do they test work? What happens after launch? Professional developers have clear processes; amateurs wing it.
Look for evidence of ongoing learning. WordPress evolves constantly, what worked three years ago may not be best practice now. Developers who stay current with WordPress development are more likely to build sites that remain solid over time.
The Offshore Question
Developers overseas, particularly in Asia, offer significantly lower rates than UK developers. This raises an obvious question: why pay more?
Sometimes you shouldn’t. For straightforward work with clear specifications, basic theme installation and configuration, simple plugin setup, offshore developers can deliver effectively at lower cost.
For complex work, the calculation changes. Communication difficulties multiply with complexity. Understanding UK business context, UK compliance requirements (GDPR particularly), UK customer expectations, this matters more as projects get more sophisticated. Timezone differences mean questions take a day to resolve rather than an hour. If something goes wrong, you have limited recourse.
The honest answer: offshore developers can work well for defined, straightforward tasks. For complex projects, ongoing relationships, and situations where understanding context matters, local developers typically deliver better outcomes despite higher rates.
Working With ProfileTree
We’ve built WordPress sites for Northern Ireland businesses across industries, professional services, tourism, retail, manufacturing, healthcare. We’ve rescued sites that previous developers broke, migrated businesses from platforms that limited their growth, and maintained sites for clients who’d rather focus on their actual business than wrestle with WordPress.
What should you expect if you work with us?
Clear Assessment
We start by understanding what you actually need, which isn’t always what you initially think you need. Sometimes a business approaches us wanting a complete rebuild when targeted fixes would achieve their goals more cost-effectively. Sometimes what seems like a small update actually requires more extensive work than expected. Honest assessment before starting saves time and money.
Transparent Pricing
WordPress development costs vary enormously depending on what’s required. Simple fixes might take an hour or two. Custom theme development might take weeks. We provide clear quotes before work begins, explain what’s included, and communicate if scope changes.
For context: small fixes and troubleshooting typically cost £75-150. Plugin configuration and setup ranges from £150-500 depending on complexity. Custom functionality development varies with scope but typically starts around £500 for modest features. Full custom theme development ranges from £2,000-8,000+ depending on complexity. Speed optimisation projects typically range £300-800.
These are ranges, not guarantees, your specific situation determines actual costs. But you’ll know what you’re committing to before we start.
Ongoing Support Options
One-off projects are fine, we’re happy to fix your immediate problem and hand the site back to you. But many clients want ongoing support: someone to call when something goes wrong, someone keeping the site maintained and secure, someone available as their business needs evolve.
We offer maintenance packages that include updates, security monitoring, backups, and support hours. For businesses that prefer not to think about their website infrastructure, this removes that burden entirely.
Communication Throughout
You’ll know what’s happening with your project. We don’t disappear for weeks and emerge with something you didn’t expect. Regular updates, clear explanations of technical decisions, and responsiveness when you have questions, this is how professional relationships should work.
FAQs
How much does a WordPress developer cost in the UK?
UK WordPress developer rates typically range from £40-120 per hour depending on experience and location. Agencies generally charge more than freelancers but often deliver more reliable project management and availability. Project-based pricing is common for larger work, expect quotes based on scope rather than hourly estimates for substantial projects. Simple fixes might cost under £200; full custom websites range from £2,000-15,000+ depending on complexity.
How do I find a good WordPress developer?
Look at their portfolio for work similar to your needs. Check reviews and testimonials, but also ask for references you can actually contact. Ask how they handle communication and project management. Ensure they explain technical concepts clearly, if you can’t understand their proposals, working together will be difficult. For UK businesses, consider whether local presence matters for your situation.
Can I fix WordPress problems myself?
Sometimes, yes. Many WordPress issues have documented solutions available through searching. Basic updates, plugin management, and content changes are manageable for most people willing to learn. But some problems, security breaches, complex conflicts, database issues, performance problems, require expertise to diagnose and fix properly. If you’ve spent hours troubleshooting without progress, professional help usually costs less than more of your time.
What’s the difference between WordPress.com and WordPress.org?
WordPress.com is a hosted service, your site lives on their servers with their limitations and pricing tiers. WordPress.org is the software itself, which you install on hosting you control. Most professional WordPress developers work with WordPress.org (self-hosted WordPress) because it offers complete flexibility. If you’re on WordPress.com, particularly free or lower tiers, you may need to migrate to self-hosted WordPress before certain development work is possible.
How long does WordPress development take?
Simple fixes might take hours. Plugin installation and configuration typically takes days. Custom functionality development varies with complexity, a week to several weeks for significant features. Full custom websites typically take 4-12 weeks from initial brief to launch, depending on complexity and how quickly content and feedback are provided. Rushed timelines are possible but usually cost more.
When You’re Ready
If your WordPress site needs professional attention, whether that’s fixing problems, improving performance, adding functionality, or a complete rebuild, we’re here to help.
The first step is a conversation. We’ll understand what you’re trying to achieve, assess what’s actually needed, and provide clear options with transparent pricing. No obligation, no pressure, just an honest assessment of how we can help.
For Belfast and Northern Ireland businesses who want WordPress expertise they can trust, ProfileTree has delivered consistently for over a decade. Get in touch to discuss what your site needs.