Have you ever wondered how to build up an e-commerce website with Wix? You may put up a store on the Wix platform to display your products for customers to view, browse, and then buy the things right from your website.
This is an excellent alternative to sell your products online without paying third-party fees to have them shown on marketplaces run by companies like Amazon or Etsy. It’s incredibly simple to put up your store, configure the products on the back end, handle all the stock, classify your products, and then accept payments online with Wix.
The latest payment options that customers would prefer to utilise when making purchases on your website are supported by Wix. They use services like PayPal, Stripe, bank transfers, and Apple Pay. Wix elements and widgets make it incredibly simple to add various store widgets and customise the website however you like. Additionally, they provide a large selection of templates that you may utilise to construct your Wix e-commerce website.
How to Start for Beginners?
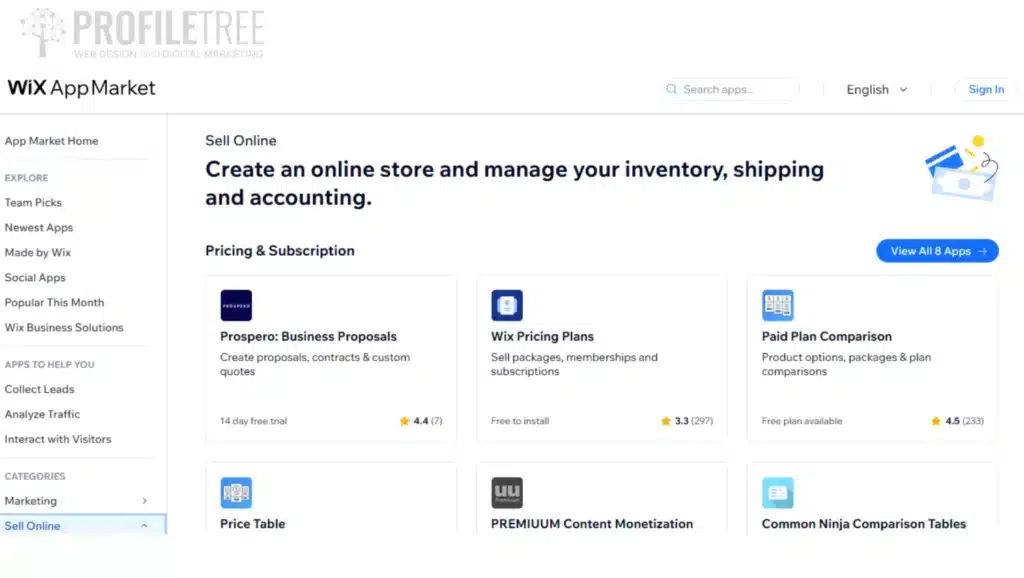
You should open the site in your editor to integrate the shop app into the website. Then, to include the Wix shops application, you can either find it in the app store or it can be under Wix Business Solutions. If you still need help locating something there, type it into this page’s search box and select Wix stores.
Your product page, shop page, cart page, and thank you page are all available. All of these pages are necessary to show off your products and ensure that your customers have a positive online shopping experience from your homepage to the product pages to the checkout.
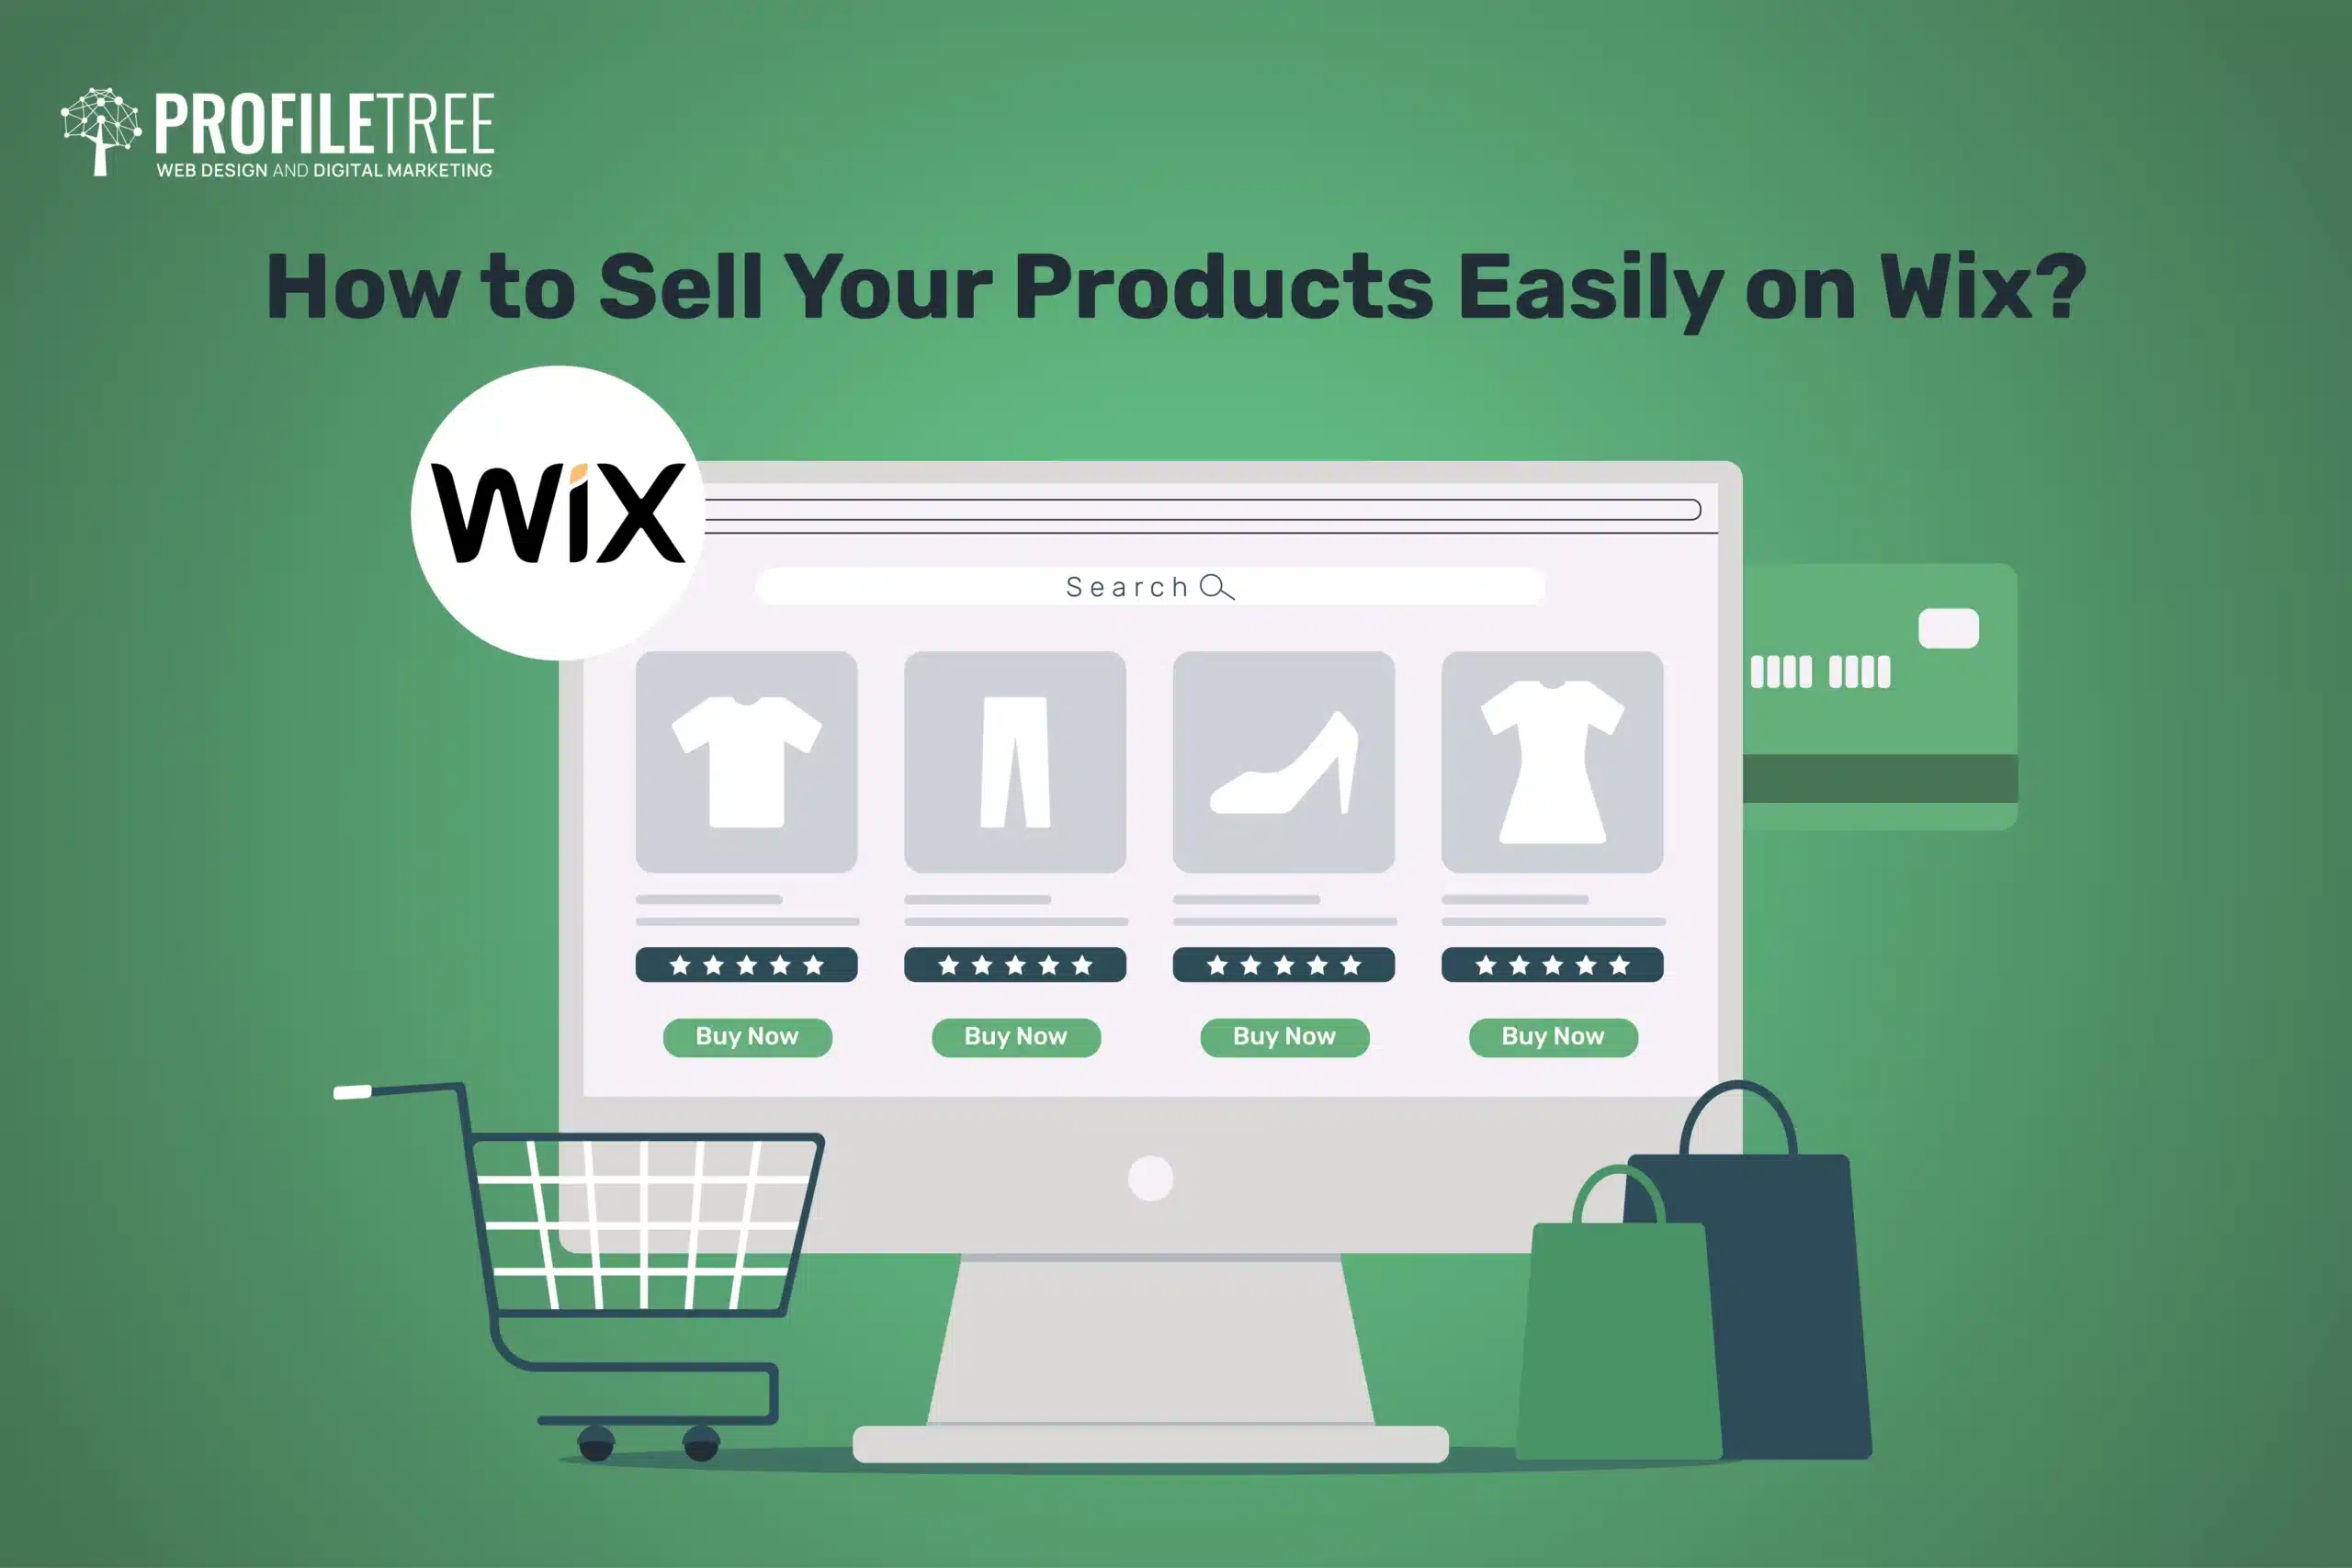
You can add items like product galleries as a table or a grid. Then, you’ll notice that the store tab and clicking on it will display all of the widgets linked to the business. Additionally, you can add widgets for products and currency converters.
It’s quite simple to click and drag them onto your page, just like any other element, to build it precisely how you want. New templates are also available. As a result, rather than having to develop it yourself, a whole part can be added to your website. Wix creates the store section for you in the same way that they handle any other sections.
Types of Products
You will only have products when you first install Wix stores. Wix, therefore, creates placeholder products. These are fictitious goods that are used to allow you to preview how the goods will appear on the front end before adding any goods. So, you can see where the image, price, and title go, and if you want to modify anything, you can do so.
However, all the products currently featured on your website can be found under the products tab. Additionally, this offers a general idea of how many and what kinds of products you have, making it simple to see their name, type, price, inventory, and other details.
So, it provides you with a broad overview. Additionally, it implies that if you ever needed to edit an existing product on this site, all you had to do was go to the products section, find the item you wanted to change and change it. And it will display all of the product information. So, to add a new product, you need to add a new product under the products tab. You will then choose between tangible goods and a digital file.
Tangible Goods
Therefore, Wix gives you the choice to sell two separate product types. Physical products are, therefore, tangible items that you would need to post out or that a customer would need to collect. Examples of such things are T-shirts, accessories, food, and anything else that is a tactile good. Make sure to include it as a tangible product after that.
Digital Products
A digital file is the alternative. These are pictures, videos, PDFs, ebooks, and other similar items that customers can download after making a purchase and don’t require shipping or anything else. You don’t have to bother about delivering anything individually since when someone buys the product, they instantly receive it by email rather than you having to send it to them personally.
The Back end of Physical products
It is where you enter all the product details by going through each field individually.
Title/ Name of the product
You should enter the product title first, then the name of the goods, whether you’re selling food, clothes, or other items.
Media
The photos are the next item you should add. And it would be best if you were careful to choose photographs that appropriately represent the product. You can upload your files using the Wix media library, or You may also use Wix media.
The more accurate they are online, such as the images, the less likely someone will need to return anything. The maximum number of photos you can add to each product on Wix is around 15. You may also include videos with your content. Therefore, you can also upload a video describing the products or showing them worn.
Product Description
The following action you should take is to provide the product details. These are fundamental details, such as the name and the description. Therefore, the description will appear directly on the product page. Additionally, you want to make sure that the description is as accurate as you can make it. So, if it’s a clothes item, make sure you’re writing about size, dimensions, material, and other relevant information. You can bold and italicise specific words inside the description. You can modify the colour of it and format it using these formatting choices. You can also link the description with Additional information sections.
Labels
Following that, you can add a label as ribbon text. All it entails is the addition of a small label to the product on the product page to make it stand out. Therefore, if you have the label for new arrival, the little label with the words new arrival will appear on the goods itself. Alternatively, whether the item is a best seller or on sale, a little something to distinguish this particular product and boost sales of it, but whatever it is, you must enter that data in the ribbon before entering the description.
Additional Info
These sections enable you to highlight specific portions of the single product page. For example, if you would like to add another area, such as delivery methods for this particular product or product care instructions, it would appear in its section with a separate title. Therefore, whatever title you give it—for instance, “How to care for your product”—will appear on the single product page as a new part, and you can format it as you choose, just like the description field above.
Cost
The cost is the next element you should include. This could be done differently based on how you’re marketing these goods. There will be one price if the product is only available in one configuration, such as one size or one colour.
Discount
The sale price or the discount can be entered in the text box. Therefore, if there is a 10% discount, the sale price will be calculated automatically. You can even apply a pound discount. You may write in the discount amount, and it will appear on the website as a discounted item with whatever the discount is, depending on what kind of discount it is. You can also display the cost per unit.
Customers can view the pricing based on predetermined amounts of it. They can see how much it would cost to purchase a specific quantity of the product.
The price of the items and the profit margin are the other factors which are calculated, but customers will only see this if it is for back-end use.
Variety of Products
The other issue with price is that, occasionally, you can sell a product even though customers can choose from various sizes, colours, and other options. Those products could be priced differently. Wix enables you to create multiple variants for a single product and then allows you to price and supply each option separately. But you must specify the base price before going to the product choices page.
It would help if you also typed the option’s name. You can, therefore, type in the name of any choice, regardless of whether it is a colour, size, weight, or other option. Size and colour can be adjusted in Wix.
Once the option has been entered, you must type the available options if the Wix list of available colours doesn’t include the colours you have. You can also add your colour preference in the text box.
You can request that a list be displayed. Connecting photos to each colour option is one thing you can do. And customers will find this to be incredibly helpful.
Quantity
The second step is to manage price and stock because pricing may vary depending on your choice, as can stock levels.
Additionally, you can input specific SQ numbers after that. The items’ status can also be changed, whether in or out of stock. You can track inventory if you want to go incredibly detailed.
Therefore, you can click track inventory and give unique inventory numbers for each product, rather than staying in or out of stock or marking it as in or out of stock. So that you can set various stock numbers for the product and know exactly how many of each product is still available. People will only overbuy or purchase what you have that way, too. And it means you won’t need to visit and keep track of which items are available and which are out of stock.
You can enter the precise amount, the exact amount you have, or the exact amount you want to sell and leave it at that.
Weight
The shipment weight is the other option you have. While customers might not notice this, it simply implies that you can charge a different amount for specific things that weigh more than a particular amount for delivery. Therefore, you can add shipping weights and then build up a rule that says if the item they’re purchasing weighs more than a specific amount, you can set a different price. If not, if the shipment weight won’t interfere with delivery or anything like that, then you can leave it blank.
Customised Orders
This will be advantageous for items that allow for some customisation. For instance, if customers choose to have their names embroidered on the product, you can provide that option. You can add a feature called Custom Text.
This is helpful if you include customisation options in your product because it allows customers to complete the process when placing their order and saves you the hassle of following up by email if they don’t.
Preorder
The only decision here is whether or not you want to permit your consumers to order this product before its release or after it runs out of stock.
This can be advantageous for viral things that may sell out rapidly or return to stock quickly, but you know you can replenish the supply. Thus, it permits preordering. Let customers know when this product will be delivered or dispatched. Then, you can also specify a preorder limit. Therefore, you can set the limit if you only want 50 customers to preorder the goods.
Set Up a Subscription
This will be advantageous for goods that customers may purchase every month. Additionally, you can set up a subscription that will charge your clients monthly or any other recurring basis they can control within their accounts.
You can also include a discount after that. So that clients who buy this product can receive a discount on the standard product price. Either they can set up a subscription and receive a discount if they choose to add this product as a subscription, or they can buy this one time only.
Final view
In an online store, you must check the page before people may see it. Thus, you can prepare the product without worrying about users visiting it before it’s available.
Categorisation
Consequently, you can group your products into many categories. Wix enables you to create specific product pages for clothing, ebooks, food, or whatever else you offer and then show them on your website to help visitors browse them more easily.
It also implies that you may add various filters to the shop page so that users can view and explore your products more conveniently because they can filter by multiple categories.
Branding
Another option is to type in the brand name. Therefore, entering the brand name may enhance your SEO exposure if the product you’re selling is branded. If someone searches for a specific brand on a search engine, your website will know that you sell things with that brand, so you can mention that there.
Digital File
It’s quite similar to adding a physical file if you want to add a digital one.
For instance, the product’s name. Anything could be this.
- An image file if the image is the one that’s being looked after. JPEG, PNG, and GIF are the image file types.
- A sound file. This might be an MP3 file.
- The associated document files. You can submit a zip file for a paper, PDF, or PowerPoint presentation.
Customers will receive an email and links to download their products on the thank you page. They can, therefore, check their file in their email and log in to the Wix membership section using their email address to find it there.
Similarities between physical and digital products
Like before, you would enter the product’s information, including the name. A ribbon is an additional option. You can include a summary. Both pictures and movies can be added to each of them. Additionally, you can have more information parts. The pricing is then added as usual.
Users won’t be able to view the price of the things, just like with physical products. The tracking of goods and transportation comes next. Since digital files don’t require delivery, they are only considered storage.
The SEO settings remain unchanged.
The setup of payments and delivery is the other thing that is required. Different payment options are available to you. You can accept card payments via Wix payments, a payment mechanism. You can also accept Apple Pay with this.
Account Verification
And after that, you should finish setting up. So, all you’re doing is entering some account information. Additionally, these specifics include information about your company and your accounts. You should choose the appropriate business type and enter any relevant personal data. You must upload a photo ID and indicate your address. You may enter your home address instead if you need a company address. And to add a few more details about the company. Upload your bank account information lastly.
You might also have to provide certain bank statements. Once you’ve filled them all out, all you need to do is submit the form; Wix will need some time to check your data and IDs, among other things.
This shouldn’t take too long—possibly a day—but if there are any problems, use the help icon at the bottom to check for any difficulties using the account details you provided for verification.
Payment
Once your application has been approved, choose the payment option you like by clicking on it. You can use PayPal to collect payments, and you’ll use that connection to link PayPal to Wix.
When you use PayPal on your Wix site, Wix won’t charge you anything extra. Naturally, PayPal will keep its commissions. Just be mindful of that. Therefore, PayPal receives the fees you pay rather than Wix. If you choose to use Wix as a payment option, Wix won’t charge you anything. However, Wix does charge a fee of around 1.9% and 20p every transaction if you choose to utilise their payment system. Additionally, it costs 1.9% and 20p for Apple Pay transactions.
So, no payment fees are associated with PayPal. If you choose not to utilise the Wix payments, you may use PayPal, but we want to ensure you know the associated costs.
Accepting manual payments is an additional option. As a result, you can now accept cash, checks, and other types of payment. You would choose the type of payment—for example, cash payment, offline payment, or cash on delivery—and then you would need to include instructions for how customers can make their payments.
Shipping and Delivery
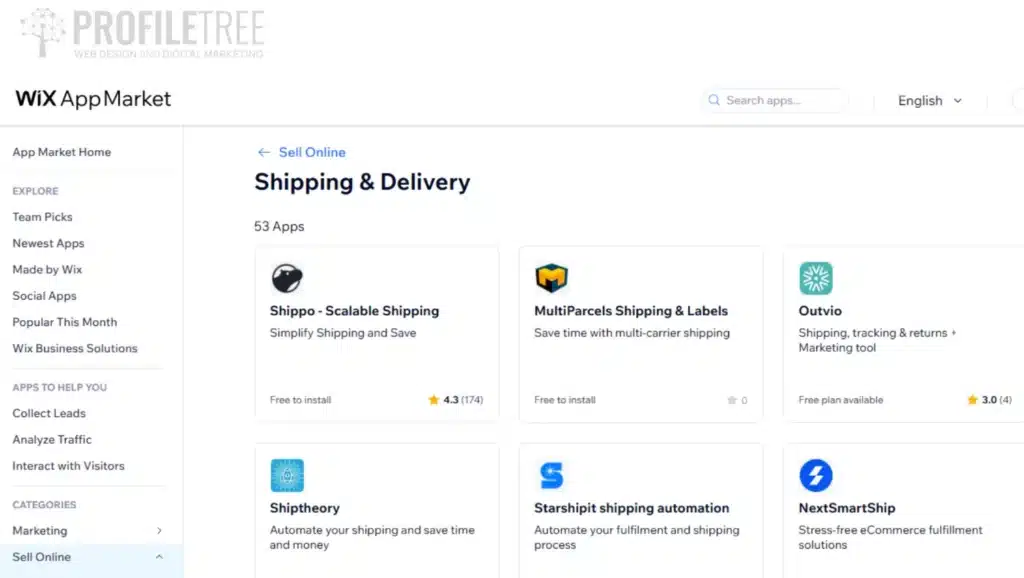
You must provide the shipping regions. In essence, regions are the places you’re willing to ship to. Additionally, it would help if you categorised the areas with similar regulations.
And it implies that you can establish various shipping policies for different geographical areas. The consumer will only see selections based on their delivery address and the shipping options you’ve chosen for that, depending on what it is. There are several ways to set up shipping charges. Select free shipping and give it a name if you want to offer free shipping to everyone in every region, regardless of their purchase.
Free shipping is what they will see at the checkout. After that, you may optionally specify a delivery window by saying something like “delivery estimated within three to five days” or “three to five working days” if you know the period.
Additionally, you can rate it. However, you won’t be able to give it a rate if you choose free shipping. It will never change from zero to zero. If you wish to charge for shipping, a flat cost is what you should do. And you decide how much the consumer will be paid; it’s essentially a flat cost that will be added at the end of their order.
A notification stating that we don’t ship here will appear if someone types in a delivery address that doesn’t fall into either of these two categories. You can arrange for pickup. The address where they must pick up their order would be entered. The projected ready time and pickup instructions would then be forfeited.
Product Widgets
As you can see from the prior edition of the product section, you can also add product widgets. When you add a product section, you can see that the products are shown by default in order of when they were most recently added.
It’s a pretty effective technique to show out items you want to promote more, items you know people are looking for, or even your best-selling items. You can use any category to do it. You can add any products to categories, featured items, or top sellers and then show those products as a collection on your website’s homepage or any other page.
Additionally, there is a section for sorting and a section for filters. You can also include a lot of other things in and around this.
Add to Cart
The add-to-cart procedure can then be modified as well. Adding something to your cart will currently open a tiny version of your cart. You can also display a success pop-up with the words “Successfully Added to Cart” and either take you immediately to the cart page or keep you on the shop page.
Generally, informing the user when they successfully add something to their shopping cart is a good idea. Users may find it frustrating if your Add to Cart button takes them straight to the cart page because they might not be ready to go there and prefer to stay and look around a little longer. As a result, select either the Show Success pop-up or the Open Minicart option.
Layout
The layout is the next thing you change. Consequently, you must keep the precise order in which items are displayed. Still, you can change other aspects, such as the number of columns and rows, the distance between the rows and columns, other similar factors, and how the photos are resized.
Changing this layout is flexible, but it’s not quite as drag-and-drop as some of the other widgets may be.
Filter
The filters are the other item. This is crucial if you want to make it as simple as possible for consumers to browse between each of your products and have a lot of products on your website. A good approach to do that is through filters. And it implies that they may easily access the filters once they see this lengthy list of products. And by clicking on the items, they require; they will only see what they want to see.
Sort
The Sort filter is the following action you should take. As a result, you can let several clients sort this list of products. They can sort by name, A to Z, newest, price, low to high, and price, high to low. Whether you want people to be able to sort by all of these or perhaps just by the newest or prices is up to you.
However, it’s still useful, especially if you sell a lot of goods. They make it simpler for people to move between them.
Now that you’ve created your product page and shop page, you’ve also made the back-end settings for your payments and fulfilment, as well as instructions on creating all of your products.
Wix Payment Plans
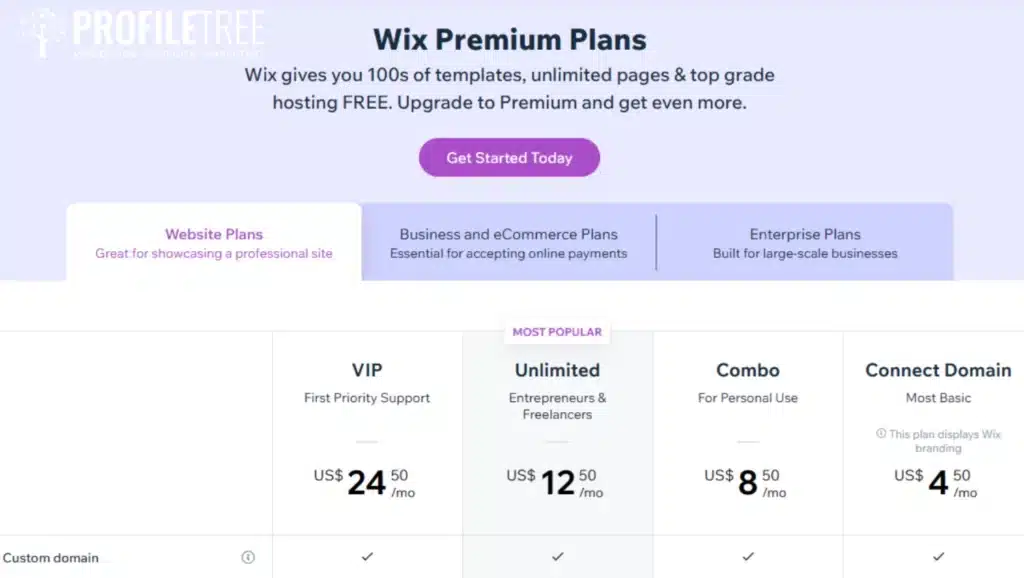
The next step is to select a Wix payment plan so that Wix can finally host your website and connect it to your domain. As you are aware, Wix offers a variety of plans. Therefore, it is divided into the basic website plans, suitable for simple brochure-style websites, and the business and e-commerce plans, which are obviously for your e-commerce website. Then there are the enterprise plans, which are slightly more elaborate and custom websites for which Wix will need to be contacted for a quote.
It would help if you chose a business and e-commerce plan because it is an e-commerce site, and you will be collecting payments online. They, therefore, provide the basic, unlimited, and business VIP plans. The storage space between these three differs the most.
Basic Plan
The business basic plan offers the least storage space (20 GB), followed by VIP with 50 GB. And that depends on how many products and general content are on the website. It will take up a lot more storage space if you have a lot of videos. If you discover that you don’t have that much, you can get by with just the 20 GB.
Therefore, you can upgrade at any time if you choose the business basic plan with 20 GB and discover that as you add more and more products, you truly require more storage space.
You are not confined to the 20 GB. Or you can drop back to the basic plan if you’ve been paying for the business unlimited and notice you’re far below the 35 GB and only need a little to change your plan as necessary.
Business Unlimited
When using Business Unlimited, it occasionally makes sense to use a deal up to its expiration. Therefore, how you utilise it and which plan is best for you is entirely up to you.
Business VIP
Priority customer support is another benefit of the business VIP that you do not receive from the other two. As a result, you can receive help from Wix with every Wix package you have. It’s very simple to submit a ticket and have them call or email you back, depending on your preference. If you have any problems with Wix—including issues with payments, billing, account information, or even editing your site—you can always schedule a call with them, submit a ticket at any time, and they’ll get back to you and walk you through how to fix it.
You receive 24/7 customer service with unlimited and basic plans so that you can send a ticket anytime, and they will respond. They’ll respond to you quicker if you choose the priority customer care.
Fill out your information before completing the checkout to buy the plan formally. When everything is to your satisfaction, your plan will be connected, and the next step is to secure your domain. That makes your website active, ready to collect payments, and ready to let users buy whatever you have set up from your website.
Your product page, shop page, cart page, and thank you page are all available. Each page is necessary to showcase your products and guarantee that your customer has a positive online shopping experience from your home page through the product pages and checkout.
That’s it. You set up all of the product pages. The product-specific page is established, and the shop page is also ready. Ensure that the website’s front end is an easy way for visitors to browse through all of your products and buy what they want and need. You can do this by adding different pages for your categories.
To learn more about WIX for email marketing, check out this article: WIX Email Campaign Tutorial and 3 Tips for Success
