Automated Emails: When Wix Falls Short and What SMEs Do Instead
Table of Contents
Wix does a lot of things well. For most small businesses, it gets a site live quickly, looks professional, and handles the basics without requiring a developer. The email automation tools built into the platform are genuinely useful when you’re starting out. But “starting out” is the operative phrase. Once your contact list grows, your sales pipeline gets more complex, or you need to send more than 200 emails a month without paying for an additional subscription, the limitations become hard to ignore.
This guide explains what automated emails are, how they work, and which workflow types every SME should have running. It also covers the practical ceiling Wix places on email automation and what the options look like when you need more — whether that means a third-party integration, a platform migration, or a custom-built workflow tied to your wider digital strategy.
What Are Automated Emails?
An automated email is a message sent by a system rather than a person, triggered by a specific action, event, or time condition. When someone subscribes to your mailing list and receives a welcome message within seconds of signing up, that is an automated email. When a customer abandons a shopping cart and gets a reminder an hour later, that too is automation. Nobody pressed send. The system did it, based on rules set in advance.
Automated emails sit between two other types of email you probably already use: manual emails, which you write and send to individuals, and bulk campaigns, which go to your entire list at once. Automated emails have the reach of bulk campaigns and — when done properly — the relevance of manual ones. That combination is why triggered emails consistently outperform broadcast campaigns on open rates and conversion.
The distinction matters for how you think about your email setup. A monthly newsletter is a campaign. An order confirmation is a transactional email. A three-part welcome sequence that adapts based on whether the recipient clicks your pricing page is an automated workflow. Each requires different tools, different legal treatment, and a different level of setup effort. Understanding which type you’re building before you start saves a significant amount of rework.
For more on how to use email effectively as a business tool, ProfileTree has a broader guide covering the foundations of professional email communication.
How Automated Email Workflows Work: Triggers, Delays, and Actions
Every automated email workflow has three components: a trigger, a delay, and an action. Get these three elements right, and the system handles the rest.
The trigger is the event that starts the workflow. It could be a form submission, a purchase, a page visit, a date (like a contact’s anniversary or subscription renewal), or an absence — for example, a contact who hasn’t opened an email in 90 days. The trigger is where most of the strategic thinking happens. The more precisely you define it, the more relevant the email will be.
The delay is the gap between the trigger and the send. Some emails should go immediately — an order confirmation, a password reset, a download link. Others benefit from a wait. A cart abandonment reminder sent after 20 minutes performs differently to one sent after 24 hours. A re-engagement email sent after 90 days of inactivity lands differently to one sent after 30. The delay is not an afterthought; it is part of the strategy.
The action is the email itself. This includes the subject line, the content, the call to action, and increasingly — with more advanced platforms — the dynamic elements that change based on what the system knows about the recipient. A basic action sends the same email to everyone who triggers the workflow. A sophisticated one adapts the content based on purchase history, location, or previous engagement.
Most email automation platforms also allow for conditions: branching logic that sends different emails depending on what a contact does (or doesn’t do) after the first message. If someone opens email one but doesn’t click, send version B of email two. If they clicked the pricing link, skip the education sequence and go straight to the conversion email. This branching structure is where the real performance gains are — and it is also where basic platforms start to struggle.
The Five Sequences Every SME Should Have Running
If you’re starting from scratch, these five workflow types cover most of the lifecycle value that automated emails can deliver. Build these before anything else.
1. The Welcome Sequence
A welcome sequence goes out to new subscribers immediately after they sign up. Its job is not to sell — it is to set expectations, demonstrate value, and build enough trust that the next email gets opened. Three emails across five to seven days is a reasonable structure: email one introduces who you are and what to expect; email two offers something genuinely useful (a resource, a guide, an insight); email three invites a soft next step. Open rates on welcome emails are typically three to four times higher than regular campaign emails, because the contact has just expressed interest. This is not the moment to waste.
2. The Abandoned Cart Sequence
For e-commerce businesses, an abandoned cart sequence is almost always the single highest-returning automation to set up. A contact adds products to their basket and leaves without completing the purchase. The first reminder, sent within an hour, recovers a meaningful percentage on its own. A follow-up at 24 hours, and a third message at 72 hours with a modest incentive, can significantly increase that rate. There are important legal considerations for this sequence under UK law — covered in the compliance section below — but the commercial case is clear.
3. The Post-Purchase Sequence
A post-purchase sequence begins after a transaction completes. It starts with the order confirmation (a transactional email, not a marketing one), then moves into genuinely useful follow-up: shipping updates, usage guidance, review requests, cross-sell recommendations at an appropriate interval. Businesses that treat the post-purchase period as an opportunity rather than a formality consistently see higher repeat purchase rates and better review scores. Most CMS platforms handle the transactional part natively; the strategic follow-up usually requires a dedicated tool.
4. The Re-engagement Sequence
Every email list has a proportion of contacts who signed up, read one or two emails, and then went quiet. A re-engagement sequence targets these inactive contacts before they become a deliverability problem. A two or three-email sequence — typically starting with a direct “we haven’t heard from you” message and ending with a clean opt-out offer — serves two purposes: it wins back a portion of lapsed contacts, and it cleans the list of those who genuinely aren’t interested. A smaller, engaged list outperforms a large, unresponsive one on every measurable metric.
5. The Lead Nurture Sequence
For service businesses, the lead nurture sequence is often more valuable than any e-commerce workflow. A contact downloads a guide, registers for a webinar, or submits an enquiry form. They’re interested, but they’re not ready to buy. A nurture sequence keeps the conversation going over weeks or months, providing relevant content, addressing common objections, and surfacing the right case study or service page at the right moment. The goal is to be the obvious choice when they are ready. This sequence is where an understanding of your own sales cycle and customer objections matters more than the platform you’re using. https://www.youtube.com/embed/2S-qDAX7GE0 ProfileTree on building effective digital marketing systems for SMEs.
What Wix Does Well — and Where It Hits Its Limits
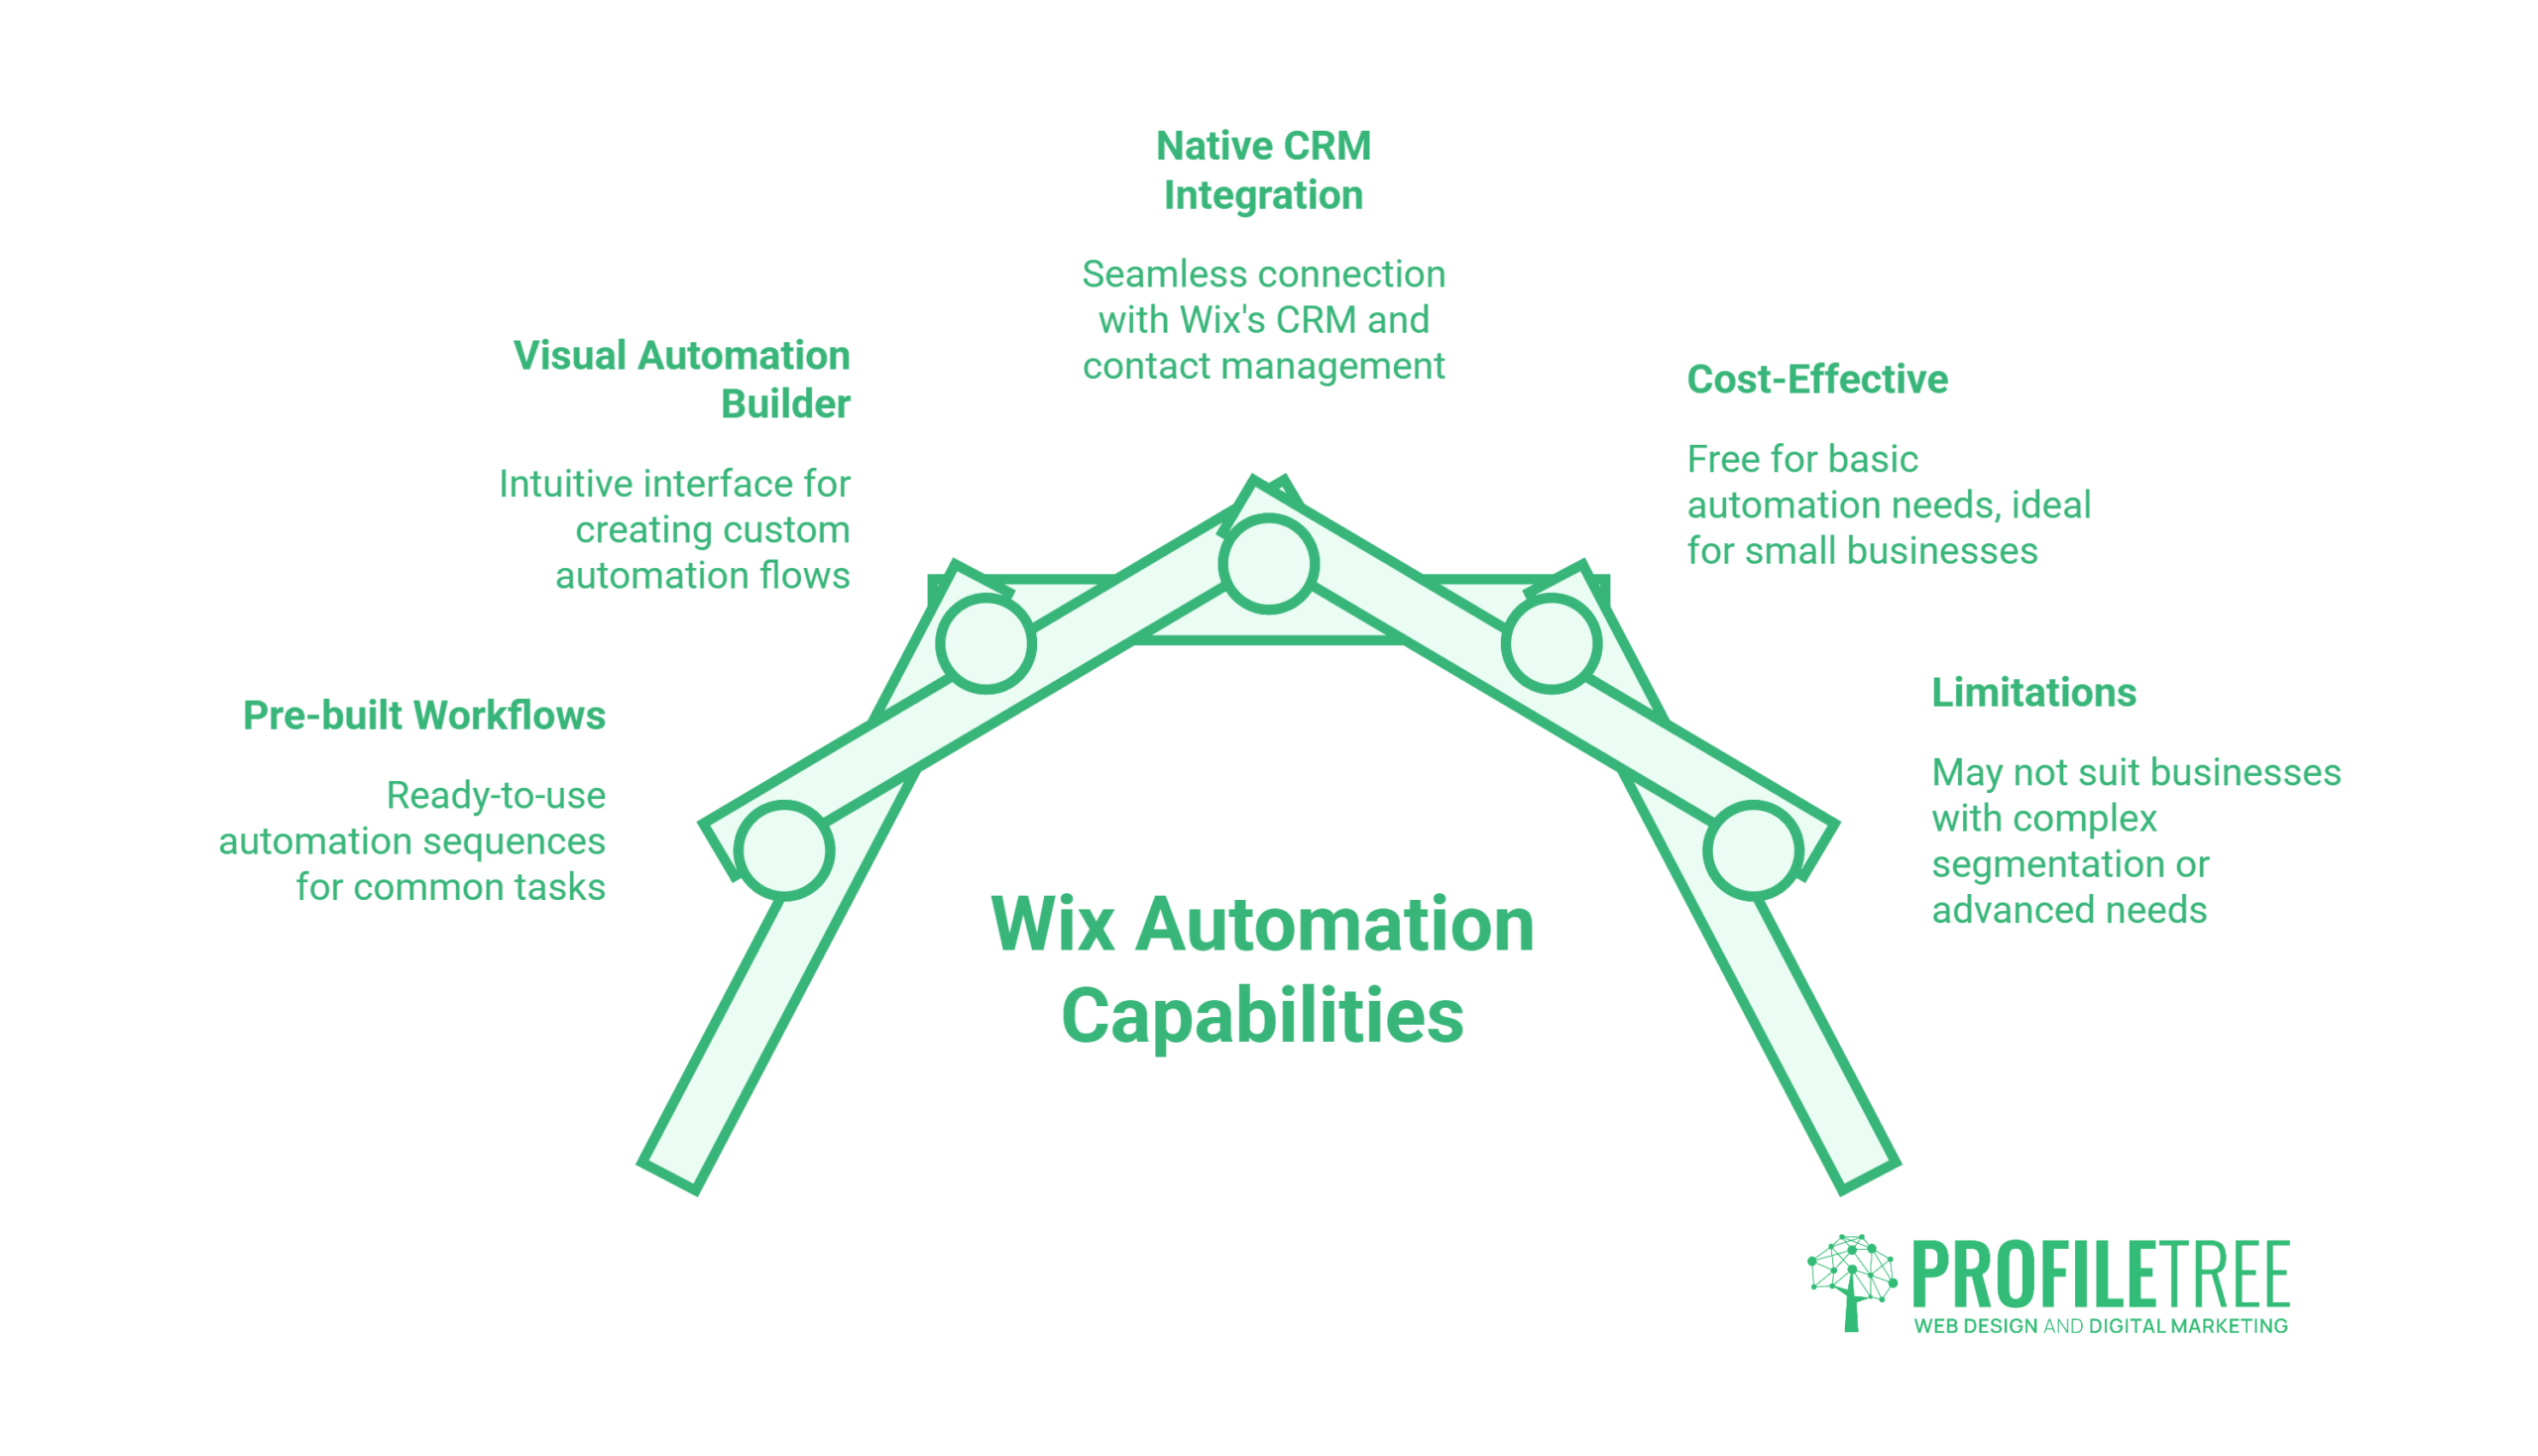
Wix’s built-in automation tools are a legitimate starting point for small businesses. The platform offers pre-built workflows for common scenarios (cart abandonment, form submissions, booking confirmations), a visual automation builder, and native integration with Wix’s own CRM and contact management. For a business with a small list, simple triggers, and no need for advanced segmentation, this is often enough to get started without spending anything extra.
The constraints become visible as a business grows. These are not edge cases — they are structural features of how Wix’s email tools are designed:
| Limitation | Detail | When it becomes a problem |
|---|---|---|
| Monthly send cap (free) | 200 emails per month on the free tier | Immediately, for any business with more than a handful of active contacts |
| Automation limit (free) | Two active automations without an Ascend subscription | As soon as you want more than a welcome email and a cart reminder |
| No native A/B testing | Cannot split-test subject lines, content, or send times within the platform | When you need to improve performance beyond initial setup |
| Limited branching logic | Conditional paths within workflows are basic compared to dedicated platforms | When your sequences need to adapt based on recipient behaviour |
| No cross-channel coordination | Email automation is siloed from SMS, push notifications, or advertising | When you want joined-up messaging across channels |
| List segmentation depth | Segmentation options are limited relative to standalone email platforms | When your audience is large or diverse enough to need targeted sub-lists |
None of this makes Wix a poor choice for a startup or micro-business. The limitations listed above only matter once you’ve grown past the point where Wix’s tools were designed to help. The real risk is staying on the native tools past that point — accepting lower performance because switching platforms feels complicated.
For businesses already on Wix and looking to expand their automation capability without migrating their website, the most common path is integrating a third-party email platform through the Wix App Market. Our guide to connecting apps to your Wix website covers how these integrations work in practice. Mailchimp and Omnisend both have native Wix integrations; Brevo and ActiveCampaign connect via Zapier or custom code. For businesses where the website itself also needs to evolve, that is a separate conversation — one worth having before locking in a long-term email platform choice.
The Wix and Mailchimp integration is one of the more established options and is worth examining closely if you’re at the point of needing more from your automation setup.
Moving Beyond the Platform: How Agency-Built Workflows Work
For many SMEs, the decision is not just which email platform to use — it is how to connect their email automation to everything else: the CRM, the website forms, the e-commerce data, the customer service interactions, and the advertising audiences. This is where a platform-level tool starts to show its limits, and where thinking about the whole system rather than the individual tool starts to matter.
Ciaran Connolly, founder of ProfileTree, sees this pattern consistently: “SME often buy an email platform before they’ve defined what they want automation to do. The tool becomes the strategy, rather than the other way round. The businesses that get the most from email automation are the ones that map the customer journey first and then choose tools that serve it.”
An agency-built workflow typically starts from the customer journey rather than the platform’s feature set. The questions are different: where does a lead first encounter the business? What does the ideal path from first contact to repeat customer look like? What are the most common points at which potential customers disengage, and what information would change that? The answers to these questions determine the workflow structure. The platform choice follows.
This approach is more involved than setting up pre-built templates, but it produces materially better results — particularly for businesses in competitive sectors or with longer sales cycles. For a Belfast-based professional services firm, the right automation system looks quite different to what works for a Wix-hosted e-commerce shop selling consumer goods. The underlying principles (triggers, delays, actions, segmentation) are the same, but the implementation needs to fit the specific business context.
ProfileTree’s content marketing and digital strategy services include email workflow planning as part of a broader customer acquisition and retention strategy — not as an isolated tool setup, but as a component of how the business communicates with prospects and customers across every touchpoint.
There is also an AI dimension worth addressing. The next generation of email automation tools — already available in platforms like ActiveCampaign, Klaviyo, and HubSpot — uses machine learning to adapt email content, timing, and sequencing based on individual contact behaviour, rather than relying on manually defined “if/then” rules. A static welcome sequence sends the same email to a first-time visitor and to a returning contact who just read three case studies. An AI-driven workflow identifies the difference and adapts accordingly. For high-volume lists, the performance gap between rule-based and AI-driven automation is significant. Our overview of AI in digital marketing covers how these tools are being applied in practice.
Automated Emails and UK GDPR: What UK and Irish SMEs Must Know
UK businesses operating email automation are subject to two overlapping regulatory frameworks: the UK General Data Protection Regulation (UK GDPR) and the Privacy and Electronic Communications Regulations (PECR). Most email marketing guides written by US-based SaaS platforms gloss over this entirely. For businesses in the UK and Ireland, the legal basis on which you send automated marketing emails is not optional compliance box-ticking — it is a practical risk.
The ICO (Information Commissioner’s Office) has been active in enforcement, averaging approximately 1.4 formal penalties per month in recent years. Fines under UK GDPR can reach £17.5 million or 4% of global annual turnover. PECR fines are capped at £500,000 — but a single incident can trigger both regimes simultaneously. For an SME, this is a material exposure.
The compliance landscape for automated emails breaks down most clearly when you distinguish between email types:
| Email type | Example trigger | UK GDPR legal basis | PECR consent required? | Opt-out required? |
|---|---|---|---|---|
| Transactional | Order confirmation, password reset, booking reminder | Contract performance or legitimate interest | No | No (but should not contain marketing content) |
| Marketing — existing customer | Cart abandonment, cross-sell, re-engagement | Soft opt-in (PECR) or explicit consent | Soft opt-in sufficient if conditions met | Yes — clear unsubscribe required |
| Marketing — new prospect | Welcome sequence, lead nurture | Explicit consent | Yes — explicit opt-in required | Yes — clear unsubscribe required |
| B2B outreach | Cold outreach to business email addresses | Legitimate interest (with conditions) | Different rules apply for corporate subscribers | Yes |
The soft opt-in rule under PECR is particularly relevant to abandoned cart emails. It allows businesses to send marketing emails to existing customers without a fresh explicit opt-in, provided four conditions are met: the contact’s details were obtained during a sale or negotiation of a sale; the emails only relate to similar products or services; the contact was given the opportunity to opt out when their details were collected; and every subsequent email includes a clear unsubscribe option. If any of these conditions are not met, the soft opt-in does not apply, and you need explicit consent.
The ICO’s enforcement history shows a pattern of specific failures that are common and avoidable: purchasing email lists without verifying the source consent; re-emailing contacts who have unsubscribed (often due to data sync failures between systems); and using soft opt-in for products unrelated to the original transaction. All three are relevant to automated email setups because the automation runs without human oversight — if the underlying data is wrong, the wrong emails get sent and the business carries the liability.
For a broader grounding in how digital marketing law applies to UK businesses, the ethics and legalities of digital marketing overview covers this alongside data privacy, advertising standards, and consumer protection obligations. Businesses in regulated sectors should also review the digital marketing compliance guide for financial services for sector-specific requirements.
Businesses operating in Ireland fall under the remit of the Data Protection Commission (DPC) rather than the ICO, but the underlying legal framework — derived from the same EU GDPR — is comparable in its requirements for consent, record-keeping, and unsubscribe handling.
Frequently Asked Questions
What is an automated email?
An automated email is a message sent by a system based on a predefined trigger, rather than manually by a person. Common examples include welcome emails, order confirmations, cart abandonment reminders, and re-engagement messages. The trigger could be an action (a form submission, a purchase), a behaviour (visiting a specific page), or a time condition (30 days since last purchase).
Can you automate emails in Gmail for free?
Gmail itself does not include native email automation for marketing workflows. For basic automation — such as sending a templated response when an email arrives with specific keywords — Google Apps Script can be used to build simple triggers and actions within a Google Workspace environment. For actual marketing automation (sequences, triggers based on website behaviour, segmentation), you need a dedicated email marketing platform. Many have free tiers: MailerLite offers 12,000 emails per month free; Brevo allows 300 emails per day on its free plan. Neither requires a Gmail account.
Do automated cart abandonment emails require consent under UK GDPR?
Not always. Under PECR, the soft opt-in exemption may allow cart abandonment emails to existing customers without fresh explicit consent, provided the customer’s details were gathered during a sale or negotiation of a sale, the emails relate to similar products, the customer had a clear opportunity to opt out at the point of data collection, and every subsequent email includes an unsubscribe option. If your cart abandonment sequence targets users who browsed but are not existing customers, you need explicit consent. This is one of the most commonly misunderstood areas of UK email law.
How do I automate emails from Google Sheets?
Google Sheets can be connected to email automation tools via Zapier or Make (formerly Integromat), which trigger emails when a row is added or a cell value changes. For developers, Google Apps Script allows direct Gmail API calls from a spreadsheet, though this approach is limited to individual or transactional sends rather than full marketing workflows. For small-scale use cases — sending a notification when a form response is logged, for example — this works well. It is not a substitute for a dedicated email platform when sequences, segmentation, or high-volume sends are involved.
What is the difference between an autoresponder and email automation?
An autoresponder is a basic sequential send: email one on day one, email two on day three, email three on day seven, regardless of what the recipient does. It’s a linear queue. Email automation uses dynamic triggers and conditional logic — the sequence adapts based on whether someone opened, clicked, purchased, or went quiet. Modern email automation has largely superseded autoresponders for anything beyond the simplest welcome sequences.
Getting Email Automation Right
Automated emails are not a feature you set once and leave alone. They reflect how well you understand your customers’ journey, and that understanding needs to evolve as the business does. Wix’s built-in tools are a reasonable starting point — but they are designed for simplicity, not scale. The businesses that get the most from email automation are those that treat it as a strategic system: mapping the customer journey first, choosing tools that serve that journey, staying on the right side of UK and Irish data law, and reviewing performance regularly.
If your current email setup has hit its ceiling, or you’ve never properly mapped what your automation should be doing, ProfileTree’s digital strategy service can help you build a system that works across your whole marketing operation — not just the inbox.
Is it possible to send a copy of the automated email to yourself as well as to the email filled in on the form?