Why use WIX? WIX is a superb web builder designed to help users build stunning websites. From blogs to WIX E-commerce sites, it can create the perfect site to suit your needs.
And with the likes of the WIX Editor and the WIX ADI, it has never been as easy to build a website with no experience.
Our video shows how to build a stunning WIX E-commerce website, a website that is designed to sell products online. This can be a website solely for selling products or one part of a larger website.
Table of Contents
10 Steps to Creating a WIX Ecommerce Store
You can essentially think of setting up a WIX E-commerce store in – a 10-step process. These steps are:
Creating an account,
Choosing a template,
Adding products,
Optimising product pages,
Customising your site,
Adding shipping options,
Editing your website settings,
Creating new pages,
Editing pages,
Going live.
We’ve detailed how to do each of these in the video above. With that in mind, let’s look at how to create a truly effective WIX E-commerce site.
How to Create a Brand for Your Website
The first place to start when building any website is the branding of the site. This includes the name of the site, the site colours and also the logo. The logo should be designed appropriately for your site and your branding.
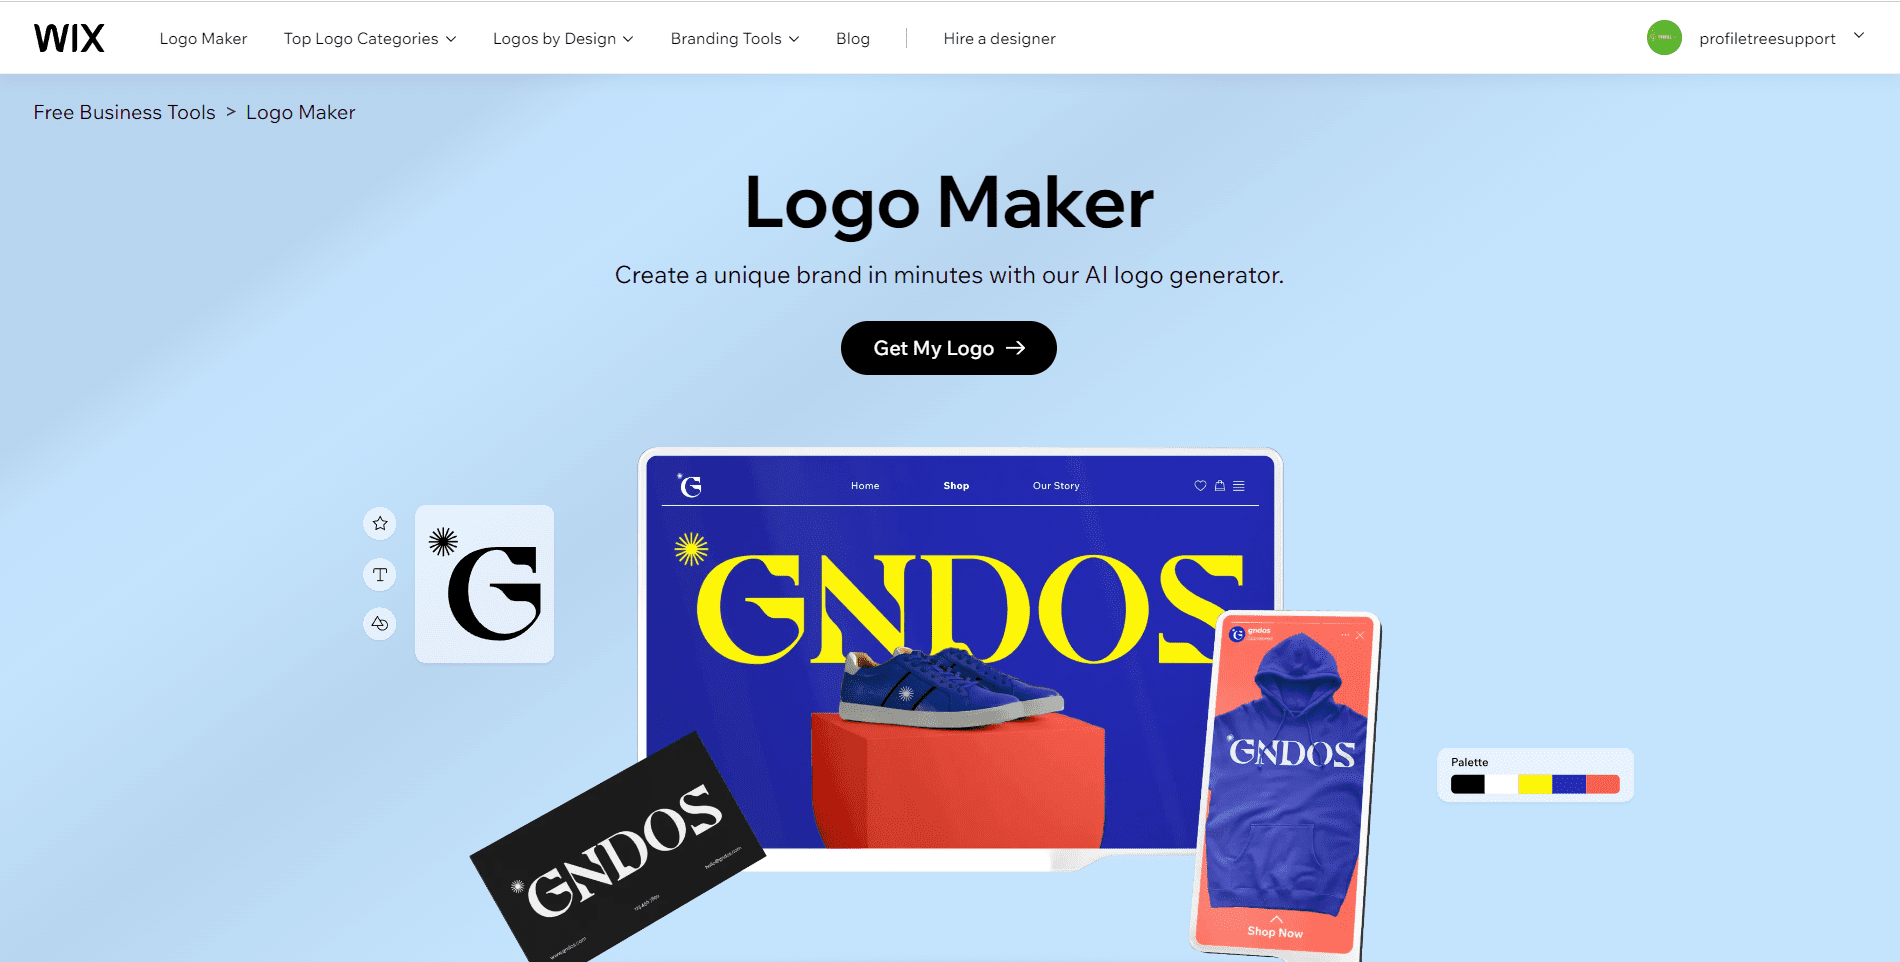
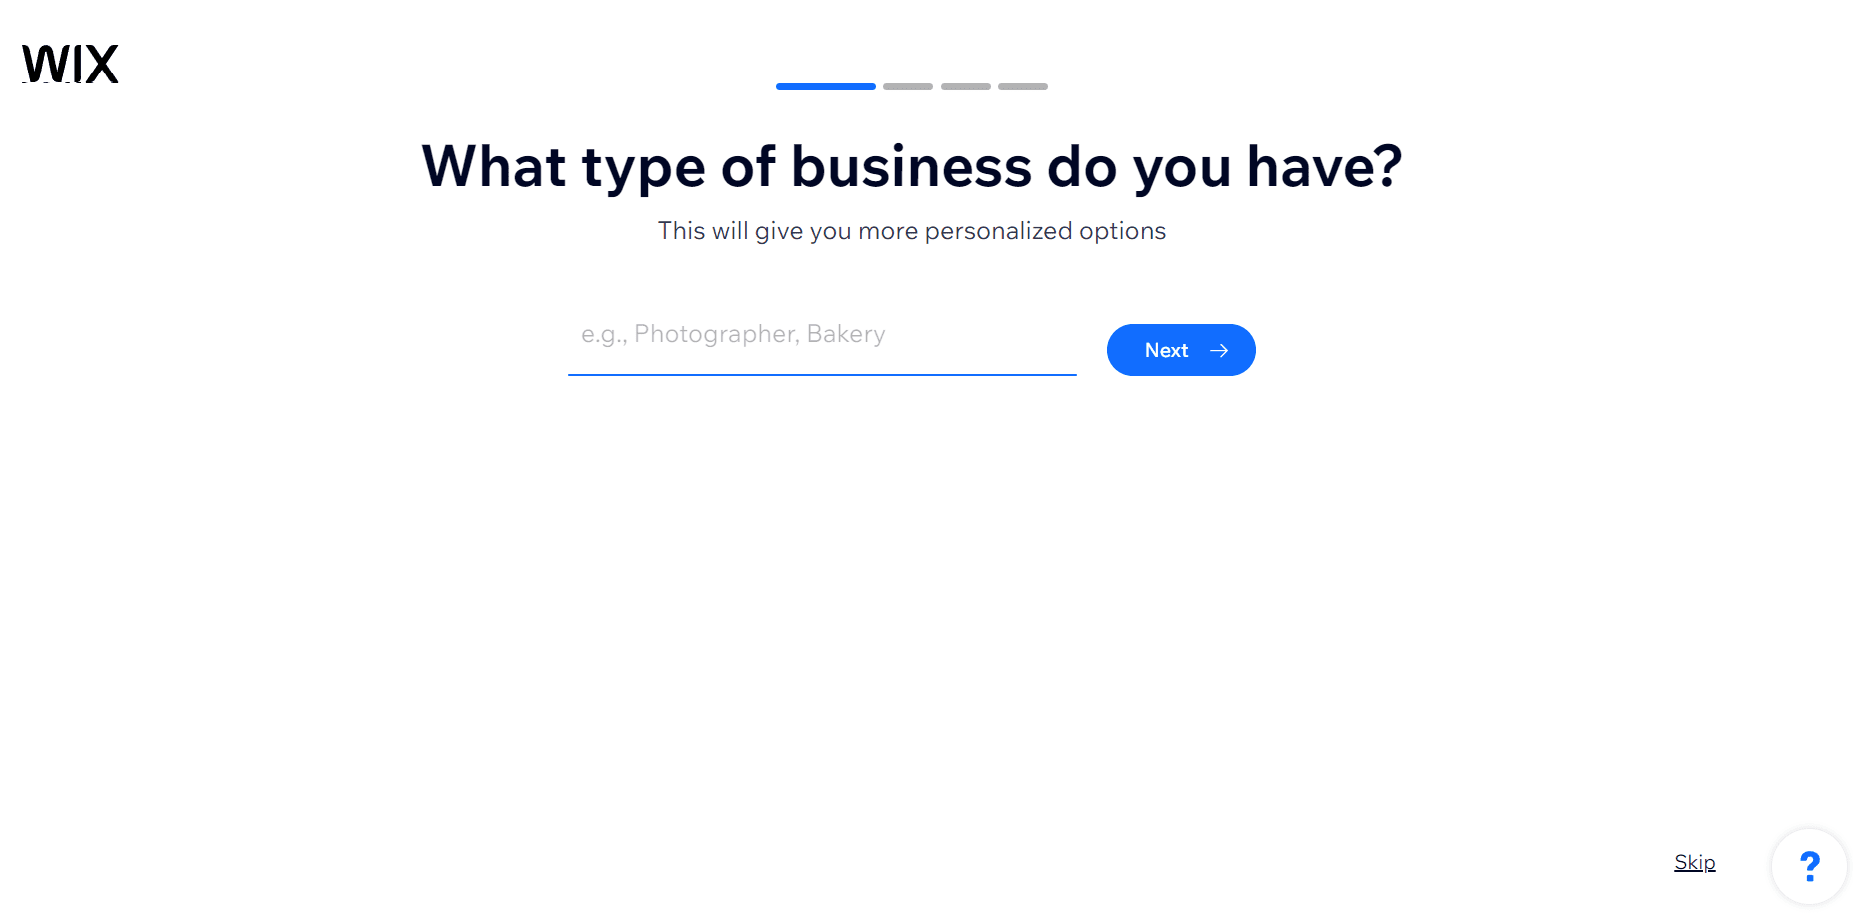
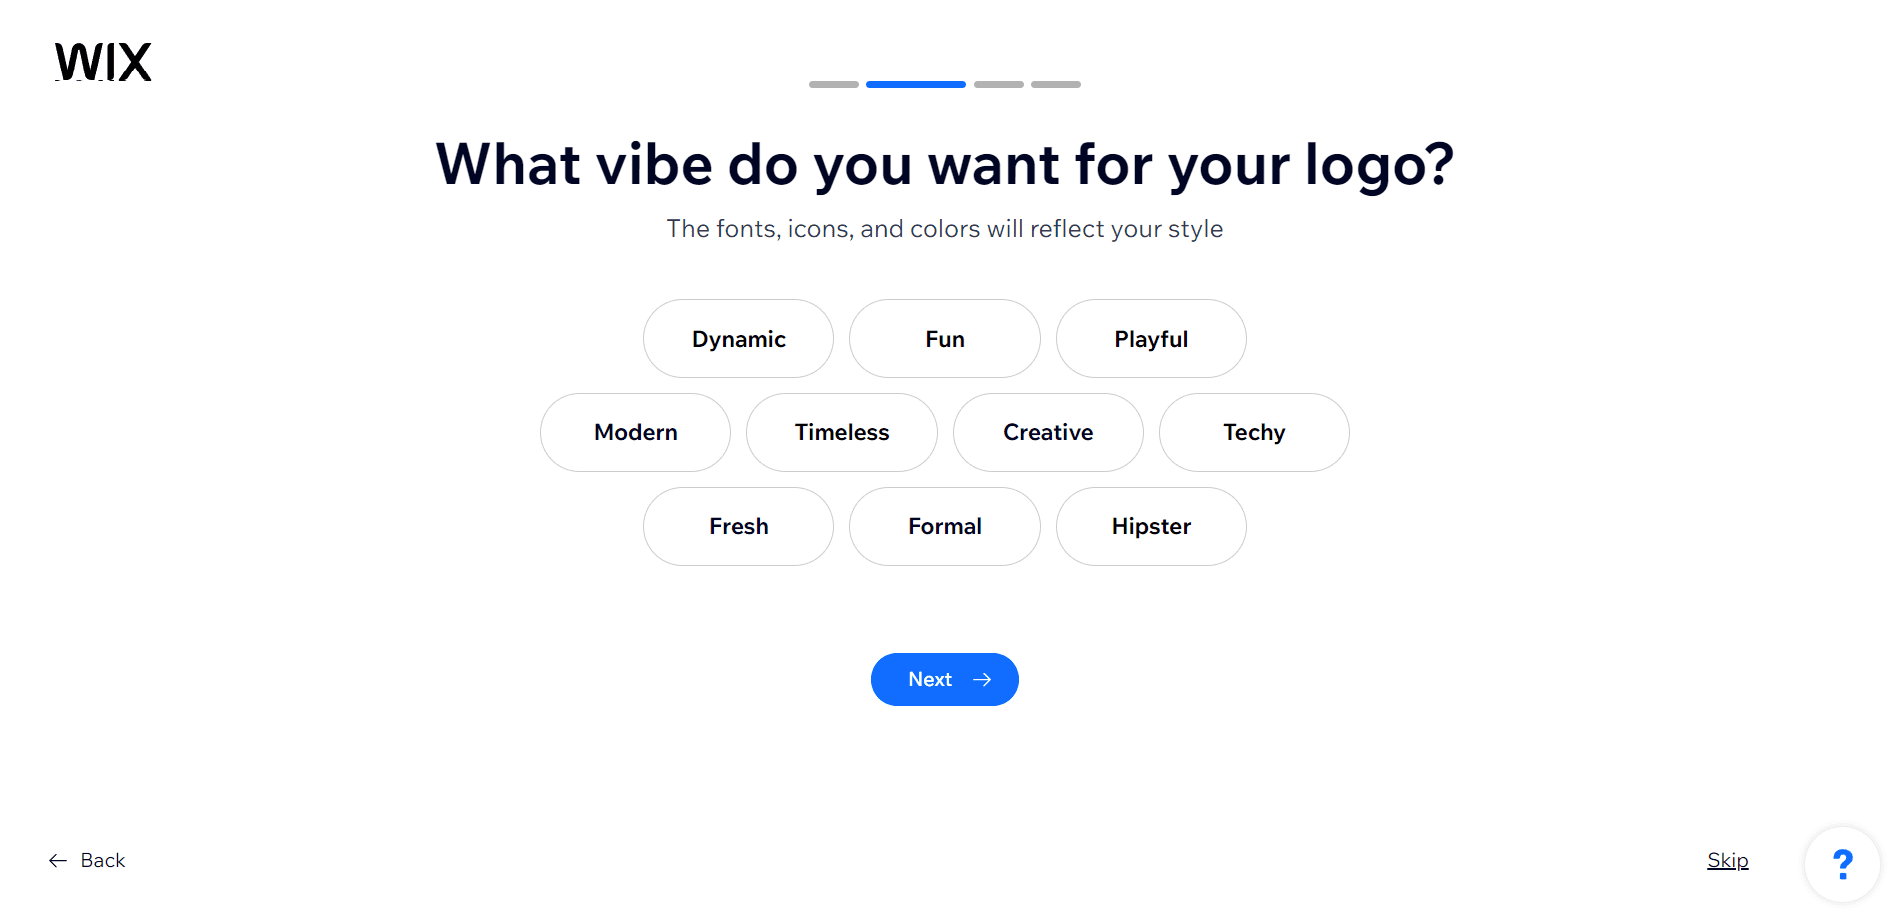
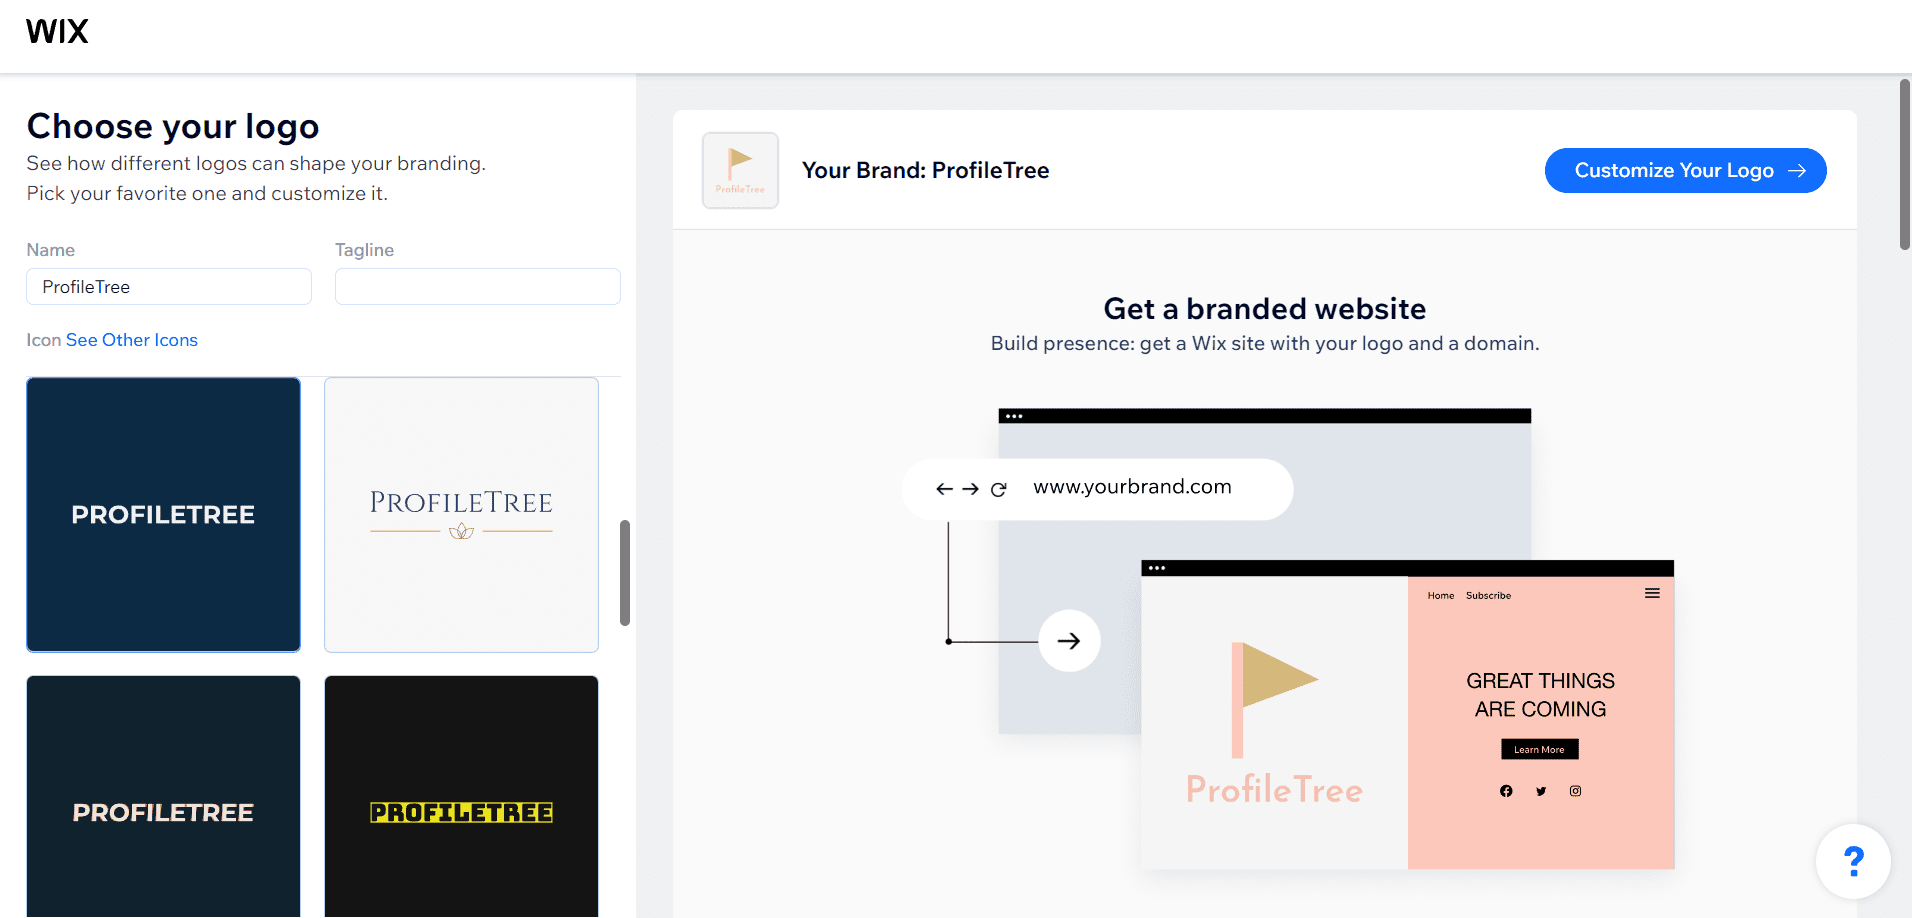
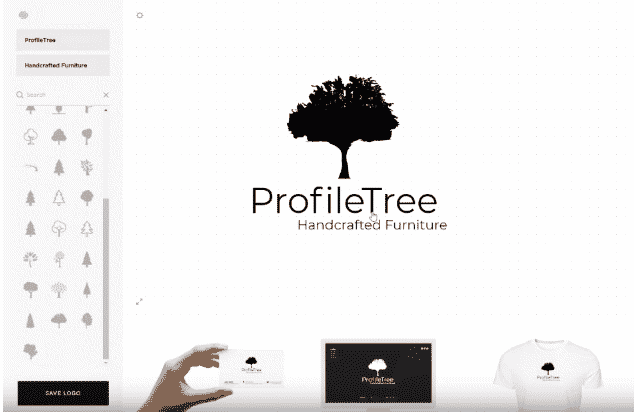
If you’re looking to create a brand for your WIX E-Commerce Site WIX Logo Maker is the way to go. WIX Logo Maker is a versatile and user-friendly tool that allows individuals and businesses to create professional and eye-catching logos quickly. With a wide range of customization options and a vast library of design elements, WIX Logo Maker empowers users to craft a unique brand identity that stands out in the digital landscape. Whether you’re starting a new venture or looking to refresh your logo, WIX Logo Maker offers a convenient and cost-effective solution for logo design.
You Should get this screen afterwards – Simply go through the questions and you’ll get some suggested Logos for your business.
You’ll get a list of options for your WIX E-Commerce Site/ WIX Site.
Of course, you do have other options if you choose not to use the WIX Logo Maker
Another way you can create a WIX E-Commerce Brand is by using Squarespace, as the platform offers logos based on the name of your company or site. All you need to do is enter the name, and then you can start creating based on that text.
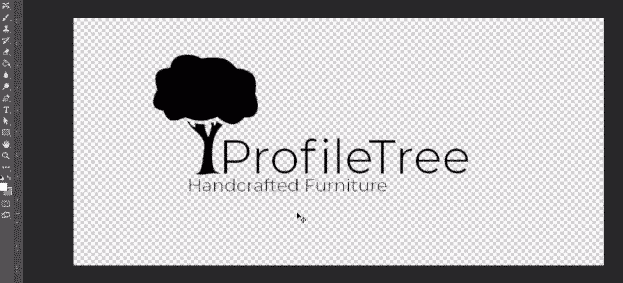
Let’s create a brand around the company name of ProfileTree and build a site to sell furniture products. Once the ProfileTree name has been entered, you can then search images for your logo based on the topic of the site.
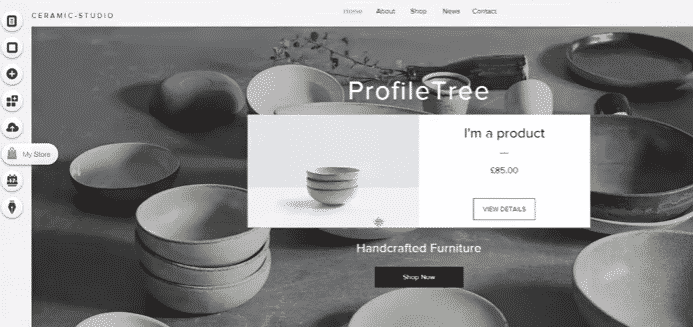
Squarespace also shows the logo on different products, such as business cards, t-shirts and websites.
One of the best ways to create a logo? Just keep it simple. You can also add a tagline to the logo. This is ideal if you want to bring your brand across to your audience quickly. In the case of the video above, we’ve used the tagline of ‘Handcrafted Furniture’.
In the video, we used Squarespace as a reference for creating a logo in Photoshop. Photoshop and other Adobe products, such as Illustrator, are also great tools for creating logos.
Although you can save your logo designed on Squarespace, this comes at a cost for a non-watermarked version of the design. See below for our finished design.
Gathering Research and Inspiration for Your Site
Before designing and building any website, you should always do research and gather inspiration. The best and easiest way of doing this is online. Look at any competitor sites. What are they doing on their website? Does it look good? Does it work? If so, you can duplicate ideas on your site.
Examples of Competitor Websites Include
For a technology eCommerce site, competitors would include the likes of Currys, Argos and even the likes of Amazon or retailers who have a more specific target audience, such as GAME or even Skullcandy sell headphones.
For an eCommerce clothing site, competitors could be like Boohoo and ASOS, who offer only an online store. Others could be H&M, Topshop and many other high-street retailers who also sell online.
In this case, we’re designing a furniture e-commerce site. You can gain inspiration from competitor sites such as, IKEA, Target, Ashley Furniture HomeStore, Design Furniture and also 1stDibs.
You will start to see trends with websites that offer similar products. All designs will be quite similar, and it is the same for other websites, not just eCommerce.
Why? Because it works.
Similarities between websites would be the likes of similar style images, for instance, in the case of furniture sites.
Many of the sites open their website with a hero image that shows offers on furniture or a call to action button.
You will also find that every furniture offers a carousel of products on their homepage apart from Ikea. This is due to the websites trying to interest the viewer of the site and make them want to purchase a product, whether it’s on a deal or not.
Whereas Ikea doesn’t need to do this as much because they’re like the Apple of the furniture world. Everyone knows them; almost everyone has used them at some point, so, therefore, people know what products they offer and if they would shop there.
Logging In or Signing Up to Build a WIX E-Commerce Site
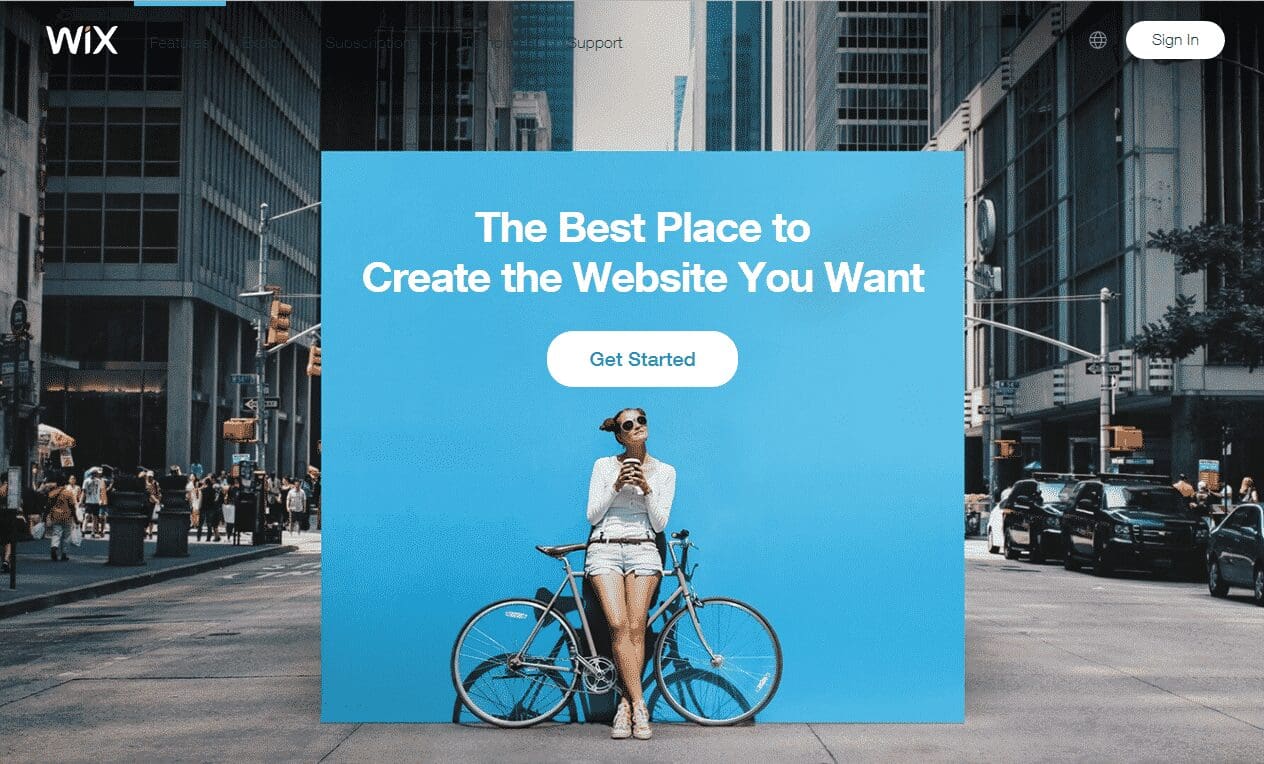
Logging into your WIX site is easy; all you need to do is go to the WIX portal. The easiest way to do this is by searching for WIX on any search engine such as Google, Bing, Firefox or even DuckDuckGo. You will easily find the WIX portal.
The image above is the home page of WIX. You can see two call-to-action buttons on the page. One saying ‘Get Started’ and the other with the words ‘Sign In’. These two buttons bring you to the WIX sign in the portal.
When signing in, you have the option to sign up. You can sign up with the help of Facebook or Google Plus. This is an easy way to sign into a WIX account. This way WIX uses the emails of these accounts to make you an account.
Alternatively, you can sign up directly using your email. This way, you will need to make a password.
Starting Your WIX E-commerce Build
Once you’re signed up to WIX, there are two options for a WIX build. You can choose between WIX ADI and WIX Editor. WIX ADI designs a website for you once it has a few details, such as the topic of your build and what kind of theme you would like.
The WIX Editor allows you to build a site from scratch. Also, once the WIX ADI has made a design, you can use the WIX Editor to make changes.
Once you have chosen the type of WIX to build you would like to complete, you need to choose a theme for your site, as mentioned above. There are many different categories for a theme, such as e-commerce, blog, photography and many more.
You should always remember when choosing a theme/template that the images, fonts and colours should not affect your decision to choose a theme. You should mainly look at the layout of the theme and think, ‘is that for me’
This is because the images, fonts and colours can be easily changed in the editor. The most ideal themes and templates for a WIX e-commerce site will be a theme within the online store templates. These will show you a range of different layouts of WIX e-commerce sites.
Once in the online store category, there are many other categories, such as fashion, jewellery and many more. These are WIX e-commerce site designs for that specific topic.
Don’t worry if you can’t find one for you and you think another theme in a different category is more suited to your site. You can always add a shop to any theme.
You may just need to manually design the shop. If this is an option for you, why not use some of the themes shown in the online store category as references and inspiration.
Once You’re in the Build
Once you have chosen the right theme for you, click edit on the theme. This will bring you into the theme with grid lines. Grid lines are a way WIX helps its users keep images, text and other features aligned and perfectly spaced apart.
Similar to other tools, such as Adobe Photoshop and Microsoft Word, if you’re familiar with them. The grid lines also act as a way for WIX to make your WIX E-Commerce site responsive for other devices such as mobiles and tablets. So always keep the important information within the lines.
Move around the theme, click about, and find out the different ways you can edit your site and how to move different features. Just familiarise yourself with the theme.
As you will see, when you’re in a build, WIX offers a lot of features to help you out with your WIX E-Commerce Site.
It may be overwhelming at first, but once you understand what they all do, you will be fine. These features range from changing the page you’re editing to adding a new element to your build.
This is where you can also find the settings and any help needed.
To find out more about all the features of the WIX builder, check out our other WIX builder article. This article shows how to build a WIX article from scratch that isn’t a WIX e-commerce site.
The next step to building your WIX e-commerce site is to start editing your theme. To do this, all you need to do is click on the elements you wish to edit. When you click on an element, you will see a range of options appearing above the element.
One will say Edit, another says Animation and the final one is Help. Edit each element to your satisfaction by changing fonts, font size, effects and much more.
You can also edit any images on the build already to more appropriate images for your site. In our case we’re designing a wooden furniture WIX-Ecommerce site, so we will change any of the pottery images to more appropriate furniture images.
To change an image click on the image you would like to change. It will show several different options depending on where the image you want to change is.
For instance, changing the strip background image (the main image on the home page) will show different backgrounds, colours and the option to add an image or video. Click on the image option, and a box will appear on the screen.
This box will allow you to choose any image already uploaded to the build, upload more, or even choose an image from connected social media such as Facebook and Instagram. You can also find more generic images from WIX itself or even purchase images from Shutterstock to use.
To find out more about how to build a WIX Website, visit our WIX Website Tutorial. Here you will find out how to use, add and delete all the different elements of a WIX site including titles, the navigation, adding a gallery, a blog and many more things.
For the rest of this article, we’re going to show how to incorporate WIX e-commerce into a WIX website.
Adding an Image Item to a Page on a WIX E-commerce Site
One thing an online seller needs is an online shop, but having a shop is all well and good but not advertising products or special deals throughout your pages might make your potential customers turn away.
To add products to other pages there are a few options. You can add a grid product gallery, a slider product gallery or even a widget.
To do this:
Go to Add,
Choose Store,
Select Store Element.
In our example we are needing to add a product to the header of the home page. Therefore in the tutorial we have chosen a product widget.
This widget shows a single product, the name of the product, the price and a call to action button that will take you to the product shown.
When you choose to add an element you will more than likely need to play around with the element. This may be due to the placement of the element, the size of the element and also the design of the element.
After editing the element we wanted for the hero image by double clicking the left click, this is the outcome below.
Adding and Editing a Product on Your WIX E-commerce Site
When you access the products page on your site, you will see a list of already added products. You can then change the name of each product, the image, the price and if the product is in stock or not.
Our advice is to delete all the ready made products as it may be time consuming to edit each one, when you have the option to add new products.
To delete products: Choose select all,
Select delete bin,
Hit delete.
Or you can do the same process without selecting all products to delete single products.
With each product also, you have the option to set the viability of the product to visible or hidden. This allows products to be added to your site without viewers being able to see them.
This allows for any editing of products to be done especially if you don’t know the price or title of the product.
There is also an option to add a product to a collection. If you don’t have a collection already:
Click Collection,
Choose Add Collection,
Select Name,
Hit Apply.
By creating collections customers can see which products belong to one another such as maybe a table linking to a specific model of chair. It is also an easy way to organise the products of a site.
It is worth knowing that products can be added to multiple products. So a chair can be added to a collection named Chairs as well as a collection labelled ‘Adelaide Bespoke’ which could include the chair matches with the likes of a table and other products.
The Cart and Checkout on Your WIX E-Commerce Site
With every WIX e-commerce site there will always be a cart and checkout page. They’re both pages that can be easily missed but if you’re using a theme the theme should sort both out for the meantime.
If you started from scratch then the checkout and cart will have no design. Which could be disastrous for you as if customers see an ill designed cart or checkout they may not think the site is safe to buy from. So be careful.
On both pages there will always be options to edit. So never worry too much.
Setting Up Payment Methods, Shipping Costs and Permissions
When you’re setting up a shop on WIX, you will see that WIX wants to set up payment methods for your products. Some of the methods include the likes of credit/debit cards and Paypal to name a few you can set up.
Once you have chosen from Payment Methods, click connect and WIX will give you a step by step guide on how to connect. For the purpose of the video attached no payment methods were entered.
Find amazing articles from WIX on how to set payments up such as this one about credit and debit cards.
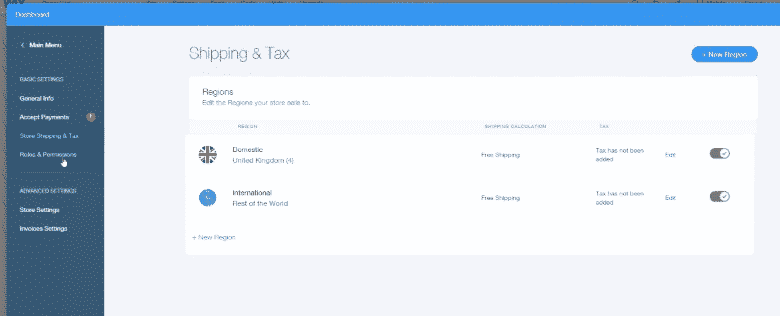
For shipping, you can set up different regions and if it is free shipping or not. You will see many domestic UK e-commerce sites offer free shipping to the rest of the UK but may charge for Europe and the rest of the world.
This is due to the difference in shipping costs and tax.
To set up shipping costs, in the same place as accepting payments there is also an option for ‘Store Shipping and Tax’.
Here you can edit and add new regions and shipping costs.
Below the shipping and tax option, there is an option to add a colleague to the site with permission. Permissions such as the store setup can be given.
This means a colleague can’t mess around with the look of the site and instead can manage the stock of the site, pricing and the descriptions of products.
Adding a Shop to a Non-Ecommerce Theme
One part of building an e-commerce site not covered in our video is adding a shop to a theme that does not originally have an E-commerce feature. You may think this would be difficult but it is quite simple.
To firstly add a store all you need to do is:
Go to Add,
Choose Store,
Select Add to Site,
Click Get Started.
It will create a store based on your theme, the colour scheme and the topic of your theme.
After the store is added you can then mess around with any elements added to your site but it should just create a page for a store with an element. Furthermore, you can now start to add product widgets to your site as well as galleries.
Just always remember to look at the cart and checkout pages to make sure they look good and match your site.
Let’s talk results!
Start improving your website, optimizing your digital marketing strategies and increasing your sales.In the meantime – some more Wix articles that you will find helpful:
Have you ever caught yourself mulling over the question, "Is SQL a programming language?" Rest assured, you're in good company. It's indeed baffling why SQL -...
Have you ever pondered which is the easiest programming language to learn? You're hardly alone, mate. Many people found themselves in your shoes once, searching high...