Best Podcast Equipment: A Practical Setup Guide for UK Creators
Table of Contents
Choosing the right podcast equipment is one of the first practical decisions you’ll face when launching a show and one of the most confusing. The market is full of options at every price point, most guides are priced in dollars, and the advice that works in a purpose-built US studio doesn’t always translate to a spare bedroom in Belfast or a home office in Dublin.
This guide cuts through that noise. Whether you’re setting up a solo audio podcast on a tight budget or building a video-ready studio that doubles as a content production hub, the best podcast equipment for your setup depends on three things: your room, your recording format, and how much you expect the show to grow. Each section explains what the gear does, why it matters, and what to look for when buying in the UK or Ireland.
What You Actually Need: The Essential Checklist
Before comparing individual products, it helps to understand the signal chain, the path your voice takes from mouth to finished file:
Voice → Microphone → Audio Interface (if using XLR) → Recording Software → Finished Audio
For video podcasting, the camera and lighting sit alongside that chain, feeding into a separate video track you sync in editing. Every piece of equipment you buy should serve one of these stages.
Here is a baseline checklist for an audio-and-video podcast setup:
| Item | Audio-only | Video setup | Priority |
|---|---|---|---|
| Microphone | Essential | Essential | First purchase |
| Audio interface (XLR only) | If using an XLR mic | Buy with an XLR mic | Buy with a camera |
| If using an XLR mic | Recommended | Recommended | Second purchase |
| Pop filter or windshield | Recommended | Recommended | Second purchase |
| Headphones | Recommended | Recommended | Second purchase |
| Recording software (DAW) | Essential | Essential | Often free |
| Camera | Not needed | Essential | When adding video |
| Tripod or camera mount | Not needed | Essential | Buy with a camera |
| Key light or softbox | Not needed | Essential | Buy with camera |
| Acoustic treatment | Helpful | Helpful | Upgrade when ready |
If you’re new to podcasting, the business podcast growth guide covers the broader strategic case for launching a podcast before you commit to any equipment spend.
Choosing Your Microphone: The Most Important Decision
The microphone is the single most important piece of equipment in any podcast setup. A poor microphone in a good room will almost always sound worse than a good microphone in a poor room, but the room matters, too, as the acoustic treatment section below covers.
USB vs XLR: Which Connection Type Is Right for You?
This is the first decision most beginners face, and it’s less complicated than it seems.
| Factor | USB Microphone | XLR Microphone |
|---|---|---|
| Setup complexity | Plug in and record | Requires audio interface |
| Audio quality ceiling | Good (limited by onboard converters) | Higher (interface-dependent) |
| Multi-person recording | Difficult — most USB mics are one per computer | Easy — multiple mics into one interface |
| Upgrade path | Must replace the whole mic | Can upgrade interface separately |
| Typical entry price (UK) | £60 – £150 | £80 – £200 mic + £50 – £120 interface |
| Best for | Solo podcasters, remote-first setups | In-person multi-guest, growing shows |
For most people starting out, a USB microphone is the right call. It removes a layer of setup complexity and costs less upfront. Use XLR when recording more than one person in the same room, or when you want more control over your gain structure.
Dynamic vs Condenser: Why UK Homes Change the Answer
Beyond the connection type, you’ll also choose between dynamic and condenser microphones, and this decision matters more in UK and Irish homes than most guides acknowledge.
Condenser microphones are more sensitive, which means they pick up more detail and nuance in your voice. They also pick up more of everything else: the boiler in the hallway, traffic outside, the echo off brick walls. UK homes, particularly older terraced houses and flats, often have hard surfaces and poor natural insulation. Condensers punish that environment.
Dynamic microphones are more directional and less sensitive. They focus on what’s directly in front of them and reject more background noise. For home studio podcasting in the UK and Ireland, a dynamic microphone is the practical choice for the vast majority of setups unless you have a properly treated room.
Recommended dynamic microphones available from UK retailers including Gear4music, Andertons, and Thomann:
Rode PodMic USB (around £100–£120): Broadcast-quality dynamic mic with both USB and XLR connectivity and built-in headphone monitoring. A strong choice for beginners who want room to grow.
Shure MV7 (around £220 – £250): USB/XLR hybrid with app-controlled EQ. Industry-standard build quality and well-suited to untreated rooms.
Behringer XM8500 (around £20 – £25, XLR only): Surprisingly capable at this price point. Requires an interface, but a legitimate starter option if the budget is tight.
Shure SM7B (around £350 – £400, XLR only): The microphone found in professional broadcast and podcast studios. Requires a good preamp with sufficient gain. Not a beginner purchase, but a long-term investment for serious setups.
Audio Interfaces and Mixers: Managing Your Inputs
If you choose an XLR microphone, you need an audio interface to connect it to your computer. The interface converts the microphone’s analogue signal into a digital signal that your recording software can use. It also provides preamp gain and amplification, bringing a quiet microphone signal up to a usable recording level.
A mixer is a different piece of equipment, though the terms are often confused. A mixer allows you to blend multiple audio sources in real time, with individual volume, EQ, and effects controls per channel. For most podcast setups, an interface is sufficient. Mixers become relevant when you’re running a live show, recording multiple guests in one room, or want tactile control over your mix.
Best Interfaces for Solo Podcasters
Focusrite Scarlett Solo (4th Gen) (around £100 – £120): One XLR input, one instrument input, excellent preamps for the price. The standard recommendation for solo podcasters moving to XLR.
SSL 2 (around £140–£160): 2 XLR inputs, slightly better preamps than the Scarlett Solo, and good headphone monitoring. Worth the small premium if you anticipate adding a second microphone.
Multi-Input Options for In-Person Panels
Focusrite Scarlett 2i2 or 4i4: Two or four XLR inputs, respectively. The 2i2 (around £130 – £150) covers most two-person in-person setups. The 4i4 (around £200 – £220) handles four microphones for panel discussions.
Rode RodeCaster Pro II (around £550 – £600): A professional all-in-one solution combining interface, mixer, and show-production features. Not a beginner purchase, but worth knowing about for studios planning a polished in-person setup.
Video Podcasting: Cameras, Lighting and Your Setup
Video podcasting has shifted from optional to effectively standard for shows that want meaningful reach on YouTube and Spotify. Audio-only episodes still have an audience, but video gives you two outputs from one recording session: the full episode and a library of short-form clips for social distribution.
The visual quality of your setup also affects how viewers perceive your authority. A well-lit, clean background signals that you take this seriously, regardless of how good the microphone sounds.
Camera Options: What You Actually Need
The difference between a current flagship smartphone and a dedicated mirrorless camera is smaller than the difference your lighting makes. Invest in light before you invest in glass.
| Option | Typical cost | Resolution | Best for | Limitation |
|---|---|---|---|---|
| Smartphone (iPhone 14+, Pixel 7+) | You likely own one | 4K | Starting out, remote recording | Battery drain, fixed lens |
| Webcam (Logitech Brio 4K) | £170 – £200 | 4K | Desktop-mounted recording | Fixed lens, poor low light |
| Mirrorless camera (Sony ZV-E10, Canon M50 Mk II) | £400 – £650 with kit lens | 4K / 1080p | Professional studio look, background blur | Needs a capture card to use as a webcam |
| Needs capture card to use as a webcam | £800 – £1,200 with lens | 4K / 1080p | Established studios | Heavier, overheating risk on long recordings |
For most podcasters adding video for the first time, a mirrorless camera in the £400–£600 range with a 50mm prime lens (around £80–£120 used) delivers a professional result without excessive outlay. Pair it with a capture card such as the Elgato Cam Link 4K (around £100) to use it as a webcam in your recording software.
Lighting: The Single Biggest Visual Upgrade
Natural light is inconsistent. A south-facing window is excellent at noon and unusable at 4 pm in January. For any show you want to record reliably, consistent artificial lighting is the baseline, not an optional extra.
The standard setup for a solo presenter is a key light (your main source, positioned slightly off-centre), a fill light (softening the shadows cast by the key light), and, optionally, a backlight that separates you from the background.
Elgato Key Light (around £150 – £180): App-controlled LED panel, mounts to a desk arm, adjustable colour temperature. A clean solution for desk-based setups with limited space.
Neewer Softbox Kit (around £60 – £90 for a two-light set): Larger, softer light spread. Better for wider shots or two-person setups. Requires floor space but produces a quality of light that’s hard to match at the price.
Ring light (around £30–£80): Popular for their compact, affordable design. They produce a distinctive circular catchlight in the eyes that looks artificial in professional contexts. Use if budget is the primary constraint.
For businesses considering video podcasting as part of a broader video marketing strategy, the equipment decisions above form the foundation, but distribution, editing, and channel management are where professional support genuinely pays off. The short-form video content guide covers how to turn long-form episodes into social clips without doubling your editing workload.
Accessories That Make a Real Difference
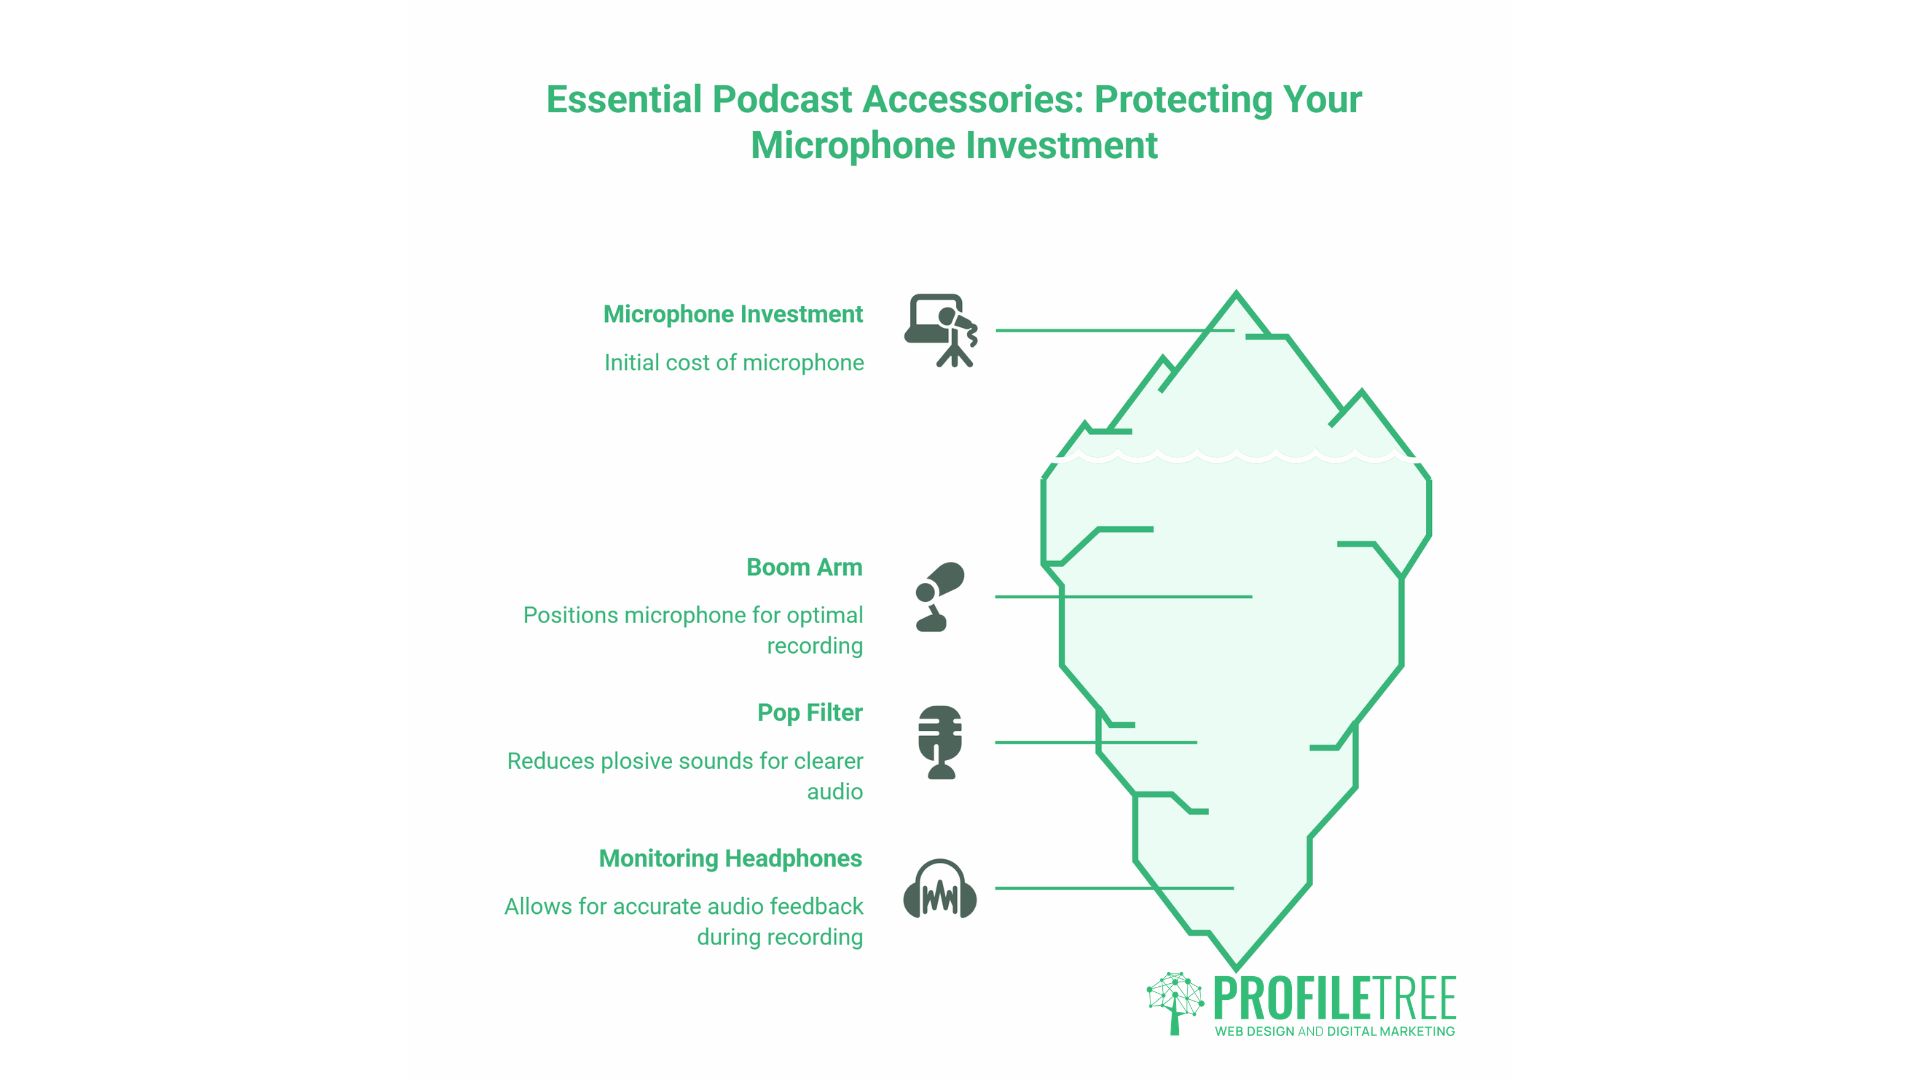
Not every accessory earns its place in a podcast setup. Some make a genuine difference to audio quality and recording consistency; others are nice-to-have once the basics are solid. The three covered here, boom arms, pop filters, and monitoring headphones, are worth buying early because they protect the investment you’ve already made in your microphone.
Boom Arms and Mic Stands
A microphone sitting on a desk picks up vibrations from typing, mouse clicks, and anything else on the surface. A boom arm suspends the microphone in the air and isolates it from contact with the desk. For any desk-based recording setup, a boom arm is a worthwhile early purchase.
The Rode PSA1 (around £80 – £100) is the most frequently recommended boom arm in professional podcast setups well-built, holds position reliably, and doesn’t creep downward over time. Budget alternatives from brands like Neewer work adequately at around £20 – £30 but may need tightening more frequently.
Pop Filters and Windshields
A pop filter reduces plosive sounds, the burst of air that causes a thump on words starting with P and B. Most dynamic microphones come with foam windshields that do a reasonable job. An external pop filter (mesh or fabric, around £10 – £20) improves on this.
Keeping 15–20 cm between your mouth and the microphone capsule solves most plosive problems before you need a filter. Gain structure matters here too: an overdriven input will exaggerate plosives significantly.
Studio Headphones
Monitoring headphones let you hear exactly what’s being recorded in real time, so you can catch problems, a hiss, a hum, a mic that’s too hot, before they end up in the finished file. Closed-back headphones are essential; open-back designs bleed audio into the microphone.
The Sony MDR-7506 (around £80 – £100) and Audio-Technica ATH-M50x (around £120 – £140) are the two most widely used monitoring headphones in broadcast and podcast environments.
Acoustic Treatment on a Budget
Acoustic treatment is not the same as soundproofing. Soundproofing prevents sound from entering or leaving a space — it’s expensive, construction-heavy, and rarely practical in a rented home or office. Acoustic treatment reduces the reflections and reverb inside the room, making your recorded audio sound cleaner. That’s achievable cheaply.
The problem with most UK and Irish homes isn’t noise from outside it’s the room itself. Hard parallel surfaces (walls, floors, ceilings) cause reflections that reach the microphone slightly after the direct sound. The result is a hollow, boxy quality that post-processing won’t fully fix.
Acoustic foam panels: A pack of 12 from Gear4music or Amazon typically costs £20 – £40. Place them on the wall behind and to the sides of where you record, not just directly behind the microphone. They reduce mid- and high-frequency reflections but do little for bass.
Heavy curtains or rugs: An IKEA rug hung on a wall or placed on a hard floor is an effective broadband absorber that costs less than a pack of foam panels. Curtains over windows and bare walls simultaneously reduce reflections and add mass.
The wardrobe technique: Recording inside or in front of a wardrobe full of clothes is genuinely effective. The clothing acts as a broadband absorber. Not a long-term studio solution, but it’s free, and it works.
Furniture and soft furnishings: Sofas, bookcases filled with books, and upholstered chairs all contribute to a drier acoustic. A sparse modern room with hard floors will always be more difficult to record in than a furnished one.
A dynamic microphone in a modestly treated room, even a room with just curtains and a rug, will produce audio competitive with most published podcasts.
UK Budget Setup Recommendations
These three tiers give you a coherent starting point at each level of investment. All prices are approximate UK retail as of mid-2026. Gear4music, Andertons, Thomann, and Amazon UK are the most practical sources.
| Tier | Total approx. cost | Microphone | Interface | Headphones | Extras |
|---|---|---|---|---|---|
| Starter (audio only) | £100 – £150 | Rode NT-USB Mini (USB, ~£85) | Not needed | Any closed-back you own | Foam panels, pop filter |
| Prosumer (audio + basic video) | £400 – £600 | Rode PodMic USB (~£110) | Not needed (USB) | Sony MDR-7506 (~£90) | Boom arm, Logitech Brio 4K (~£180), Elgato Key Light (~£150) |
| Professional (full video studio) | £1,200 – £2,000 | Shure SM7B (~£380, XLR) | Focusrite Scarlett 2i2 (~£140) | Audio-Technica ATH-M50x (~£130) | Rode PSA1 boom (~£90), Sony ZV-E10 (~£550 with lens), Elgato Cam Link (~£100), Neewer softbox kit (~£80) |
The prosumer tier is the most practical entry point for a business podcast distributed on YouTube. It produces results that look and sound professional enough for commercial use without requiring specialist knowledge to operate.
From Recording to Publishing: Content Strategy
Equipment is the starting point. The return on a podcast setup comes from what you do with the content once it’s recorded.
A single 30 – 45 minute episode, edited and structured well, generates a full YouTube video, three to five short-form clips for LinkedIn, Instagram, and TikTok, a written transcript that can become a blog post or newsletter, and potentially a dedicated landing page that builds topical authority for SEO. That’s a meaningful output from one recording session, but it requires planning before you hit record, not after.
For businesses using a podcast as part of their content marketing programme, the questions worth addressing before launch are: which topics align with the services you want to be known for, which keywords does each episode target, and how does each episode connect back to a service page on your site? The digital content marketing trends guide covers how audio and video content fit into a broader content strategy.
YouTube distribution is particularly valuable for business podcasts. A video podcast channel, properly optimised with keyword-rich titles, descriptions, and consistent thumbnail design, builds a searchable archive of your expertise over time. The YouTube channel setup guide walks through the technical steps, and the short-form vs long-form video strategies guide covers how to use both formats from the same content.
Animated elements, lower thirds, intro sequences, and branded audiograms are the finishing touch that makes a video podcast look produced rather than just recorded. Animated video production covers what’s involved in adding motion graphics to a video content programme without building an in-house animation capability.
ProfileTree works with businesses across Northern Ireland, Ireland, and the UK on video production, content strategy, and YouTube marketing. For SMEs considering a podcast as a content channel, the practical starting point is a conversation about which topics genuinely serve your audience and which service pages you want the content to support.
Getting Your Podcast Setup Right
The best podcast equipment is whatever lets you record consistently at a quality that keeps your audience coming back. Start with a good dynamic microphone, sort your room acoustics before spending money on anything else, and add video when you’re ready to commit to YouTube distribution. For businesses wanting to turn a podcast into a genuine content marketing channel, ProfileTree’s video marketing services cover production, distribution, and strategy from a single team.
FAQs
What equipment do I need for a two-person podcast?
You need two microphones and a two-input audio interface, such as the Focusrite Scarlett 2i2, or an all-in-one solution like the Rode RodeCaster Pro II. USB microphones are difficult to use for multi-person in-room recording; most computers won’t accept two USB audio devices simultaneously. Budget around £300 – £500 for a functional two-person setup.
Can I start a podcast with just a laptop?
Yes, but the built-in microphone picks up fan noise, keyboard clicks, and room echo. A USB microphone plugged into the same laptop is a significant improvement for around £80 – £120. Free software such as Audacity or GarageBand handles recording and basic editing. The laptop isn’t the constraint; the microphone is.
Do I need a mixer for podcasting?
Not for most setups. An audio interface handles everything a mixer would and costs less. A mixer becomes relevant when you’re running a live-streamed show, want real-time control over multiple sources, or are recording more than three or four people at once.
Is USB or XLR better for a first podcast microphone?
USB is the more practical choice for beginners no additional hardware, works immediately, and produces audio quality adequate for podcast publishing. Move to XLR when recording multiple people in the same room or when you want more control over your gain chain.