WP All-in-One Migration: The Complete WordPress Guide
Table of Contents
Moving a WordPress website from a local environment to a live server, or from one host to another, trips up more businesses than it should. The process involves database tables, serialised strings, file paths, and URL replacements that can break quietly if any step goes wrong. WP All-in-One Migration handles most of that complexity automatically, making it one of the most widely used WordPress migration plugins available. This guide covers installation, export, import, the free version’s 512MB limit and how to work around it, GDPR considerations for UK and Irish businesses, and a troubleshooting matrix for the errors that catch people out most often.
ProfileTree’s web development team has used WP All-in-One Migration across dozens of client site launches and host transfers. The notes here reflect what actually happens in practice, not just what the documentation says.
What WP All-in-One Migration Does
WP All-in-One Migration, built by ServMask, packages your entire WordPress site into a single .wpress export file. That file contains the database, all uploaded media, your active theme, all installed plugins, and WordPress core settings. When you import it to a new server, the plugin rewrites all internal URLs and file paths automatically, so your content points to the correct location rather than your old domain or local environment.
That URL rewriting step is what separates it from a simple file transfer. If you were to copy files manually, every internal link, image path, and serialised database entry would still reference the old domain. WP All-in-One Migration handles all of that in the background.
For businesses working with ProfileTree on a WordPress website launch, the plugin is often the fastest way to move a completed build from a staging or local environment to the live server. If you’re comparing WordPress hosting options or switching providers, the same workflow applies.
Before You Export: The Pre-Migration Checklist
Rushing into the export is the most common reason migrations go wrong or produce oversized files that hit the 512MB limit. Spend twenty minutes on preparation and you’ll save hours of troubleshooting.
Update Everything First
Run all WordPress core, theme, and plugin updates on your source site before exporting. Importing outdated software onto a fresh server often creates version conflicts that surface as white screens or broken admin panels. Updating before export means the migrated site matches the software versions you’ve tested against.
Clean Your Database
WordPress accumulates dead weight: post revisions, auto-drafts, trashed items, transient options, and spam comments. For a site that’s been running for a year or more, this debris can add 50–150MB to your database size. Use a plugin like WP-Optimise or Advanced Database Cleaner before exporting. Delete all post revisions, clear expired transients, and empty the spam and trash queues. This step alone can reduce your export file by 20–30% on a mature site.
Clear Your Cache
Deactivate any caching plugin (WP Rocket, W3 Total Cache, LiteSpeed Cache) before running the export. Cache files don’t need to travel with the migration and can add hundreds of megabytes to your export package. Most caching plugins have a “clear all cache” button; use it, then deactivate the plugin before you run the export.
Take a Full Backup
Before touching anything, back up the source site independently. WP All-in-One Migration is reliable, but if your source is a live site, you want a safety net. Download a copy of the database and the wp-content folder directly from your hosting control panel. This takes five minutes and gives you a restore point that doesn’t depend on the migration plugin working correctly.
Before you export the checklist:
- All WordPress core, plugin, and theme updates applied
- Post revisions, spam comments, and trashed items were deleted
- Cache plugin cleared and deactivated
- Independent backup downloaded
- Confirm the live server has a clean WordPress install ready
How to Export Your WordPress Site
Once your site is clean and backed up, the export itself takes only a few minutes.
In your WordPress dashboard on the source site, go to WP All-in-One Migration > Export. You’ll see a green “Export To” button. Select File unless you have a specific reason to use FTP or cloud storage. Exporting to a file is the most reliable approach for local-to-live migrations and host-to-host transfers.
Using Advanced Options to Reduce File Size
Before clicking Export To, open the Advanced Options panel. This is where you can exclude elements that don’t need to travel with the migration:
- Do not export spam comments — always tick this
- Do not export post revisions — tick this if you didn’t clean them in the previous step
- Do not export themes (except active) — tick this if you have multiple inactive themes installed; they add file weight without serving any purpose on the new server
- Do not export deactivated plugins — same logic; deactivated plugins aren’t used on the live site
- Do not export media library — only use this if you’re migrating a very large site and plan to transfer media separately; it will break images on the imported site if you don’t reconnect them afterwards
For most migrations, ticking the first three options is enough to meaningfully reduce the file size without losing anything you need.
Once you’ve set your options, click Export To > File. The plugin will generate the .wpress file and prompt you to download it. Save it somewhere you can find it.
The 512MB Limit: How to Migrate Larger Sites Without Paying
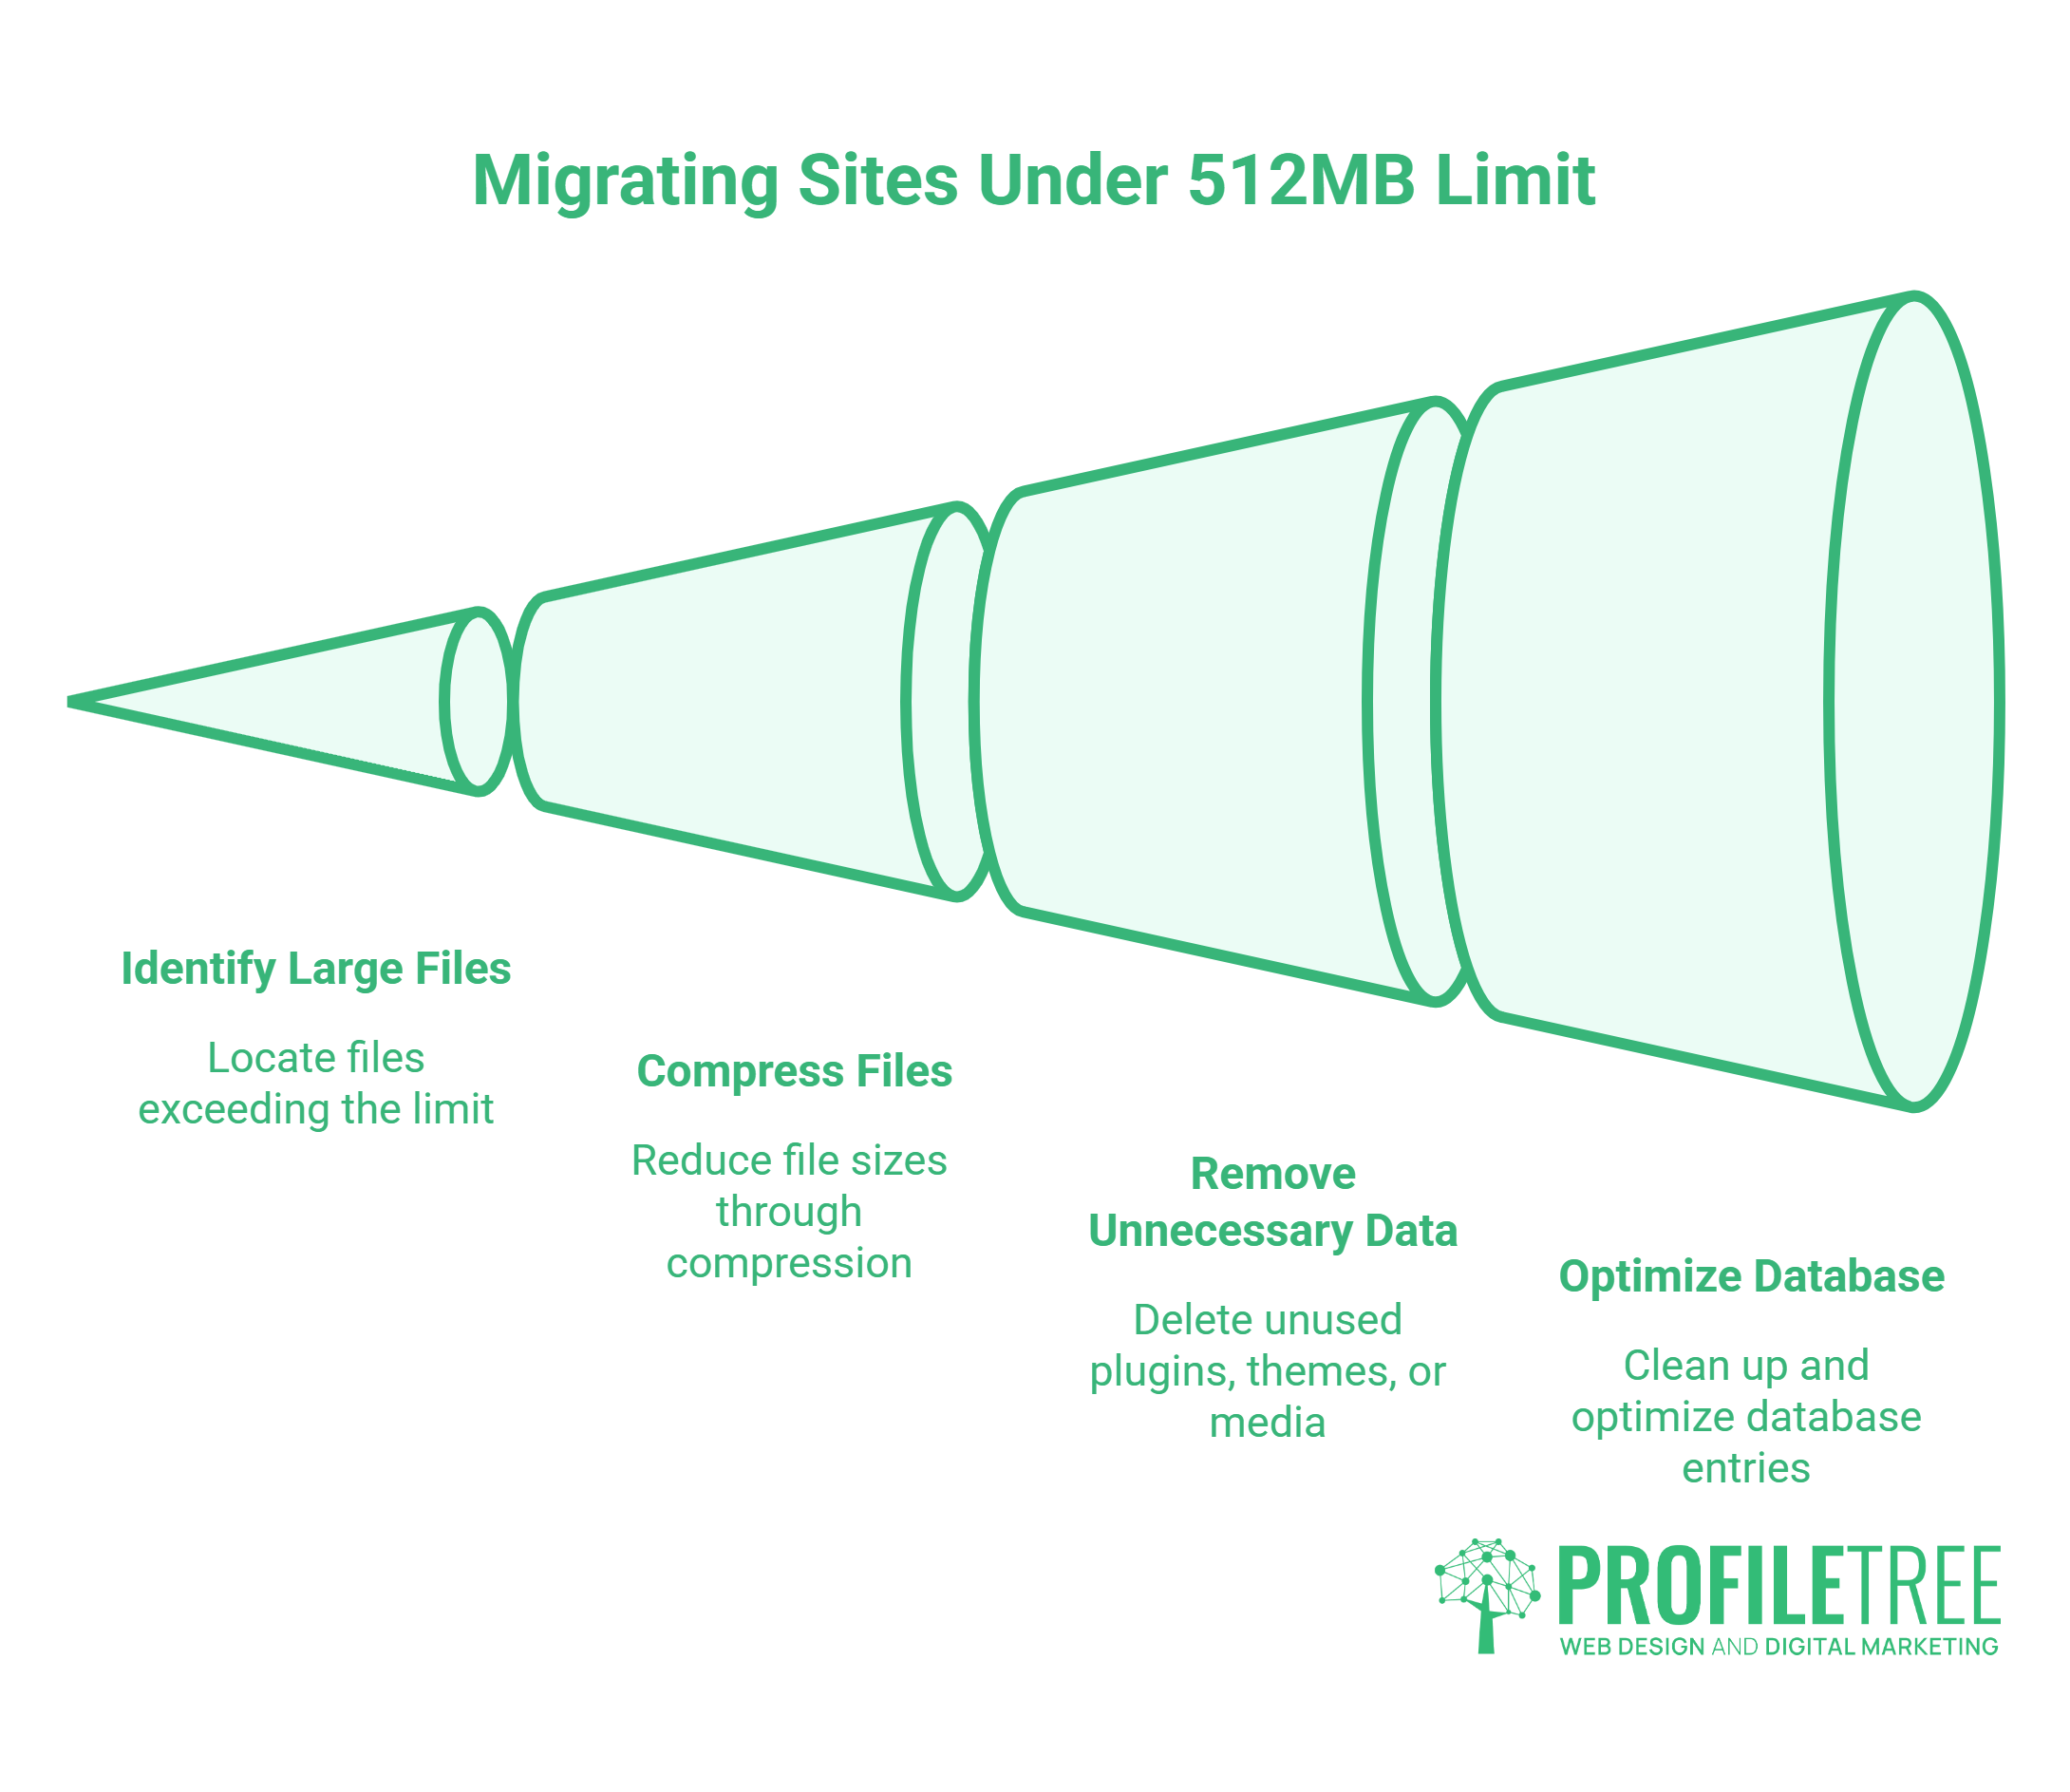
The free version of WP All-in-One Migration has a 512MB upload limit on the import side. That limit catches people by surprise because the export might complete fine, but the import on the destination server will fail with a “Maximum upload size exceeded” error.
Before buying the Unlimited Extension, try these steps. Many sites that appear to exceed the limit can be brought under it with some targeted cleanup.
Step 1: Check What’s Making Your Site Large
In your hosting control panel, check the sizes of these directories:
wp-content/uploads— media library; usually the largest contributorwp-content/plugins— Large commercial plugins can add 50–100MB eachwp-content/themes— unused themes with bundled assets
If your uploads folder is the main culprit, consider whether all of that media is actively used on the live site. Old images from deleted posts, unused PDFs, and multiple resized versions of the same image frequently inflate this folder significantly.
Step 2: Offload Your Media Library
If you’re migrating to a host that supports it, move your media to an external service (Amazon S3, Cloudflare R2, or a CDN) using a plugin like WP Offload Media or Media Cloud. Once media is served from external storage, it doesn’t travel in the migration file at all. This approach also improves site performance on the new server.
Alternatively, export the migration file with media excluded (tick “Do not export media library” in Advanced Options), then transfer the wp-content/uploads folder separately via FTP. It’s a two-step process, but it allows you to migrate sites of any size with the free plugin.
Step 3: Remove Inactive Plugins and Themes
Go through your plugin list and delete (not just deactivate) anything you’re not actively using. Each deleted plugin reduces the export size. The same applies to inactive themes. If you’re running a child theme, delete all other themes except the parent and child pair.
When to Buy the Unlimited Extension
If your database alone exceeds 512MB, or if you’re regularly migrating large e-commerce sites with thousands of product images, the Unlimited Extension is worth it. It removes the upload size restriction entirely, adds WP-CLI support, and includes premium support. For businesses doing frequent migrations as part of website development work, the one-time cost is recovered quickly.
How to Import to Your Live Site
Your destination server needs a clean WordPress installation before you begin. “Clean” means WordPress is installed, but the database contains only the default tables, with no existing content, plugins, or theme customisations that could conflict with what you’re importing.
Installing WP All-in-One Migration on the Destination Server
Install and activate WP All-in-One Migration on the clean WordPress installation. You do not need to configure anything. Go to WP All-in-One Migration > Import, select Import From > File, and upload the .wpress file you exported.
The plugin will display a progress bar. For larger sites, this can take several minutes. Don’t close the browser tab or navigate away during the import. If your connection drops, you’ll need to start again.
After the Import Completes
Once the import finishes, click Proceed on the confirmation screen. The page will refresh, and you’ll be logged out. Your login credentials will now match whatever they were on the source site, which may be different from the temporary credentials you set up on the clean install.
Log in and check the following immediately:
- Go to Settings > Permalinks and click Save Changes without changing anything. This regenerates the
.htaccessrewrite rules, which often break page routing after a migration. - Check that your SSL certificate is active and HTTPS is functioning. If you’re moving to a new host, the certificate needs to be issued for the new domain/server before import.
- Test your contact forms, checkout process, and any third-party API integrations. These often contain hardcoded URLs or API credentials that reference the old environment.
- Check that the media is loading correctly on the front end.
If you’re moving a client site as part of a broader website launch process, run through a structured QA checklist before pointing DNS to the new server.
GDPR and Data Residency for UK and Irish Businesses
This section is almost entirely absent from competitor guides, yet it matters significantly for businesses in Northern Ireland, the Republic of Ireland, and the wider UK. When you migrate a WordPress site, you’re moving data. That data often includes customer email addresses, contact form submissions, WooCommerce order details, and user account records. Where that data is physically stored affects your GDPR obligations.
What Changes When You Switch Hosts
The UK GDPR (retained following Brexit) and the EU GDPR both restrict transfers of personal data to third countries outside the UK or EEA without adequate safeguards. If your site is currently hosted on a US-based server and you’re migrating to a UK or Irish data centre, you’re actually moving toward compliance, not away from it. The concern runs the other way: if you’re migrating from a UK or EU server to a US provider without an adequacy decision or standard contractual clauses in place, you may be creating a compliance issue.
Before migrating, confirm:
- Where your current host’s data centres are located
- Where your new host’s data centres are located
- Whether your hosting contract includes a Data Processing Agreement (DPA)
- Whether any personal data stored in WordPress (WooCommerce customers, newsletter subscribers, contact form entries) needs to be addressed in your privacy notice
UK-Specific Hosting Considerations
Several UK-based hosting providers offer data centres in London and Manchester, which keep data within the UK jurisdiction. If you’re migrating a site that handles personal data and your business is based in Northern Ireland or the UK, providers like 20i, Krystal, and SiteGround UK have UK-based infrastructure. PHP configuration limits vary between these providers; if you encounter upload size errors during import, check your host’s control panel for the upload_max_filesize and post_max_size values and request an increase through support.
Businesses that handle significant volumes of personal data as part of their website operations may benefit from a wider review of their digital marketing compliance obligations before undertaking a migration.
Troubleshooting: When the Migration Fails
“Ciaran Connolly, founder of Belfast digital agency ProfileTree, notes that migration failures are almost never caused by the plugin itself. In the vast majority of cases, the problem is a server-side configuration — PHP memory limits, execution timeouts, or firewall rules — that can usually be resolved in minutes once you know where to look.”
The table below covers the most common migration errors and their solutions.
| Problem | Likely Cause | Fix |
|---|---|---|
| Stuck at 0% during import | Contact the host to temporarily disable ModSecurity; try importing via WP-CLI | WordPress upload limit is lower than file size |
| Stuck at 100% / never completes | PHP execution timeout (max_execution_time too low) | Increase to 300 seconds in php.ini or .user.ini; or ask the host to increase via the control panel |
| Maximum upload size exceeded | Transfer wp-content/uploads folder via FTP; update attachment URLs if the domain changed | Add upload_max_filesize = 512M and post_max_size = 512M to .user.ini in the root directory |
| White screen after import | PHP memory limit too low or plugin conflict | Increase memory_limit = 256M; deactivate plugins via FTP if admin is inaccessible |
| Images not loading | Media excluded from export but not transferred separately | WooCommerce transactional data is in the database; check import is completed fully |
| Broken links / 404 errors | Permalinks not regenerated | Go to Settings > Permalinks and save |
| Login credentials not working | Import overwrote user accounts | Use the credentials from the source site; reset via phpMyAdmin if needed |
| WooCommerce orders missing | Session data not migrated | WooCommerce transactional data is in the database; check import completed fully |
Increasing PHP Limits on UK Hosts
For most UK shared hosting environments, you can increase PHP settings by creating or editing a .user.ini file in your website’s root directory. Add these lines:
upload_max_filesize = 512M
post_max_size = 512M
max_execution_time = 300
memory_limit = 256M
On some hosts (including SiteGround and 20i), you can adjust these settings directly from the hosting control panel under PHP settings or a similar menu. If you’re unsure, raise a support ticket with your host referencing these specific values.
WP All-in-One Migration vs Duplicator vs UpdraftPlus
All three plugins migrate WordPress sites, but they suit different use cases.
| WP All-in-One Migration | Duplicator | UpdraftPlus | |
|---|---|---|---|
| Free version file limit | 512MB import limit | No size limit | Backup only (no migration) |
| Ease of use | Very easy (single file) | Moderate (installer required) | Easy for backups |
| Multisite support | Paid extension | Pro version | Pro version |
| Scheduled backups | Not the primary function | Basic (free) | Core feature |
| GDPR / data export tools | None | None | None |
| Best for | Single-site migrations | Developer migrations | Ongoing backup schedules |
WP All-in-One Migration is the right choice when you want the simplest possible path from one WordPress install to another, and your site is under 512MB. Duplicator is better for developers who need more control over the process and are comfortable running an installer script. UpdraftPlus is primarily a backup tool; if you need regular automated backups alongside migration capability, it complements rather than replaces WP All-in-One Migration.
For businesses that want their WordPress hosting and migrations managed as part of an ongoing maintenance arrangement, this choice matters less than having a reliable process in place.
FAQs
Is WP All-in-One Migration really free?
The plugin is free to download and use, but the free version caps imports at 512MB. Exporting is unlimited; the restriction applies on the receiving end. For most small business websites, 512MB is sufficient. E-commerce sites with large product image libraries often exceed this, which is where the paid Unlimited Extension becomes relevant.
Why is my migration stuck at 0%?
A stuck-at-0% import almost always indicates that the file upload is being blocked before it reaches WordPress. The most common causes are a server-side web application firewall (WAF), a PHP upload timeout, or a post_max_size setting lower than your file. Contact your hosting provider and ask them to check for ModSecurity rules blocking large .wpress uploads. If you have server access, you can also try the WP-CLI import command, which bypasses the browser-based upload entirely.
Does WP All-in-One Migration move my email accounts?
No. WordPress and your email accounts are separate systems. Email is handled at the DNS and server level, not within WordPress. After migrating your site to a new host, your email configuration needs to be set up independently through your domain’s DNS records or your new hosting provider’s mail settings.
Can I use this to migrate from WordPress.com to WordPress.org?
You can, but with a caveat. WordPress.com only allows plugin installation on Business plan accounts or above. If you’re on a lower tier, you won’t be able to install WP All-in-One Migration on the source site. In that case, use WordPress.com’s built-in export tool to get a .xml file, then use the WordPress importer on your self-hosted site .org installation. You won’t get the full one-click simplicity, but the content will transfer.
Where are the backup files stored?
WP All-in-One Migration stores backups in wp-content/ai1wm-backups/. This folder is created automatically when you use the plugin’s backup feature. Note that this directory is publicly accessible by default unless you add a rule to your .htaccess file to block direct access. For sites handling sensitive data, it’s worth adding that protection.
Moving a WordPress Site: What Comes Next
WP All-in-One Migration handles the mechanical side of moving your website. What it doesn’t do is optimise the site for the new environment, address performance issues introduced by the host change, or verify that everything functions correctly under real traffic conditions.
For businesses moving to a new host as part of a wider website development project, the post-migration audit is as important as the migration itself: check page speed, test all forms and integrations, verify SSL, confirm analytics is tracking correctly, and review your WordPress hosting configuration against the site’s requirements. A clean migration to the wrong hosting environment is still a problem. If you need support with a WordPress migration or a wider review of your site’s technical setup, get in touch with the ProfileTree team.