Sketch: A Comprehensive Guide for Small Teams – Maximising Efficiency
Table of Contents
In today’s fast-paced digital landscape, small teams need robust and efficient tools to keep up with the demands of design and collaboration. Sketch is a vector graphics editor that has become an essential part of many creatives’ artillery, offering a comprehensive suite of features optimised for team productivity and workflow enhancement. By integrating a thoughtful approach to interface design, Sketch enables teams to navigate the challenges of digital project management with ease, promoting a seamless environment where ideas can flourish and designs can come to life.

Within the realm of this software, small teams can find powerful solutions for design systems, prototyping, and workflow automations that are particularly advantageous in the collaborative process. Sketch has introduced avenues for streamlined communication and sharing, which are crucial for maintaining a unified vision across diverse team members. The ability to maintain a design system within the platform ensures consistency and efficiency, while advanced features and techniques facilitate the creation of sophisticated interactive prototypes.
Getting Started with Sketch
Before diving into the world of Sketch, it’s essential for small teams to grasp the fundamentals of installing the software, navigating the workspace, and setting up their first project to maximise efficiency and collaboration.
Installing Sketch
To begin using Sketch, your team will need to download the application from the Sketch website. It’s available exclusively for Mac, so you’ll require a Mac running macOS High Sierra (10.13.4) or later. After the download is complete, open the .dmg file and drag Sketch to your Applications folder. Launching the app will prompt you to sign in with your Sketch account or to sign up for a new one, kick-starting the 30-day trial period.
Understanding the Workspace
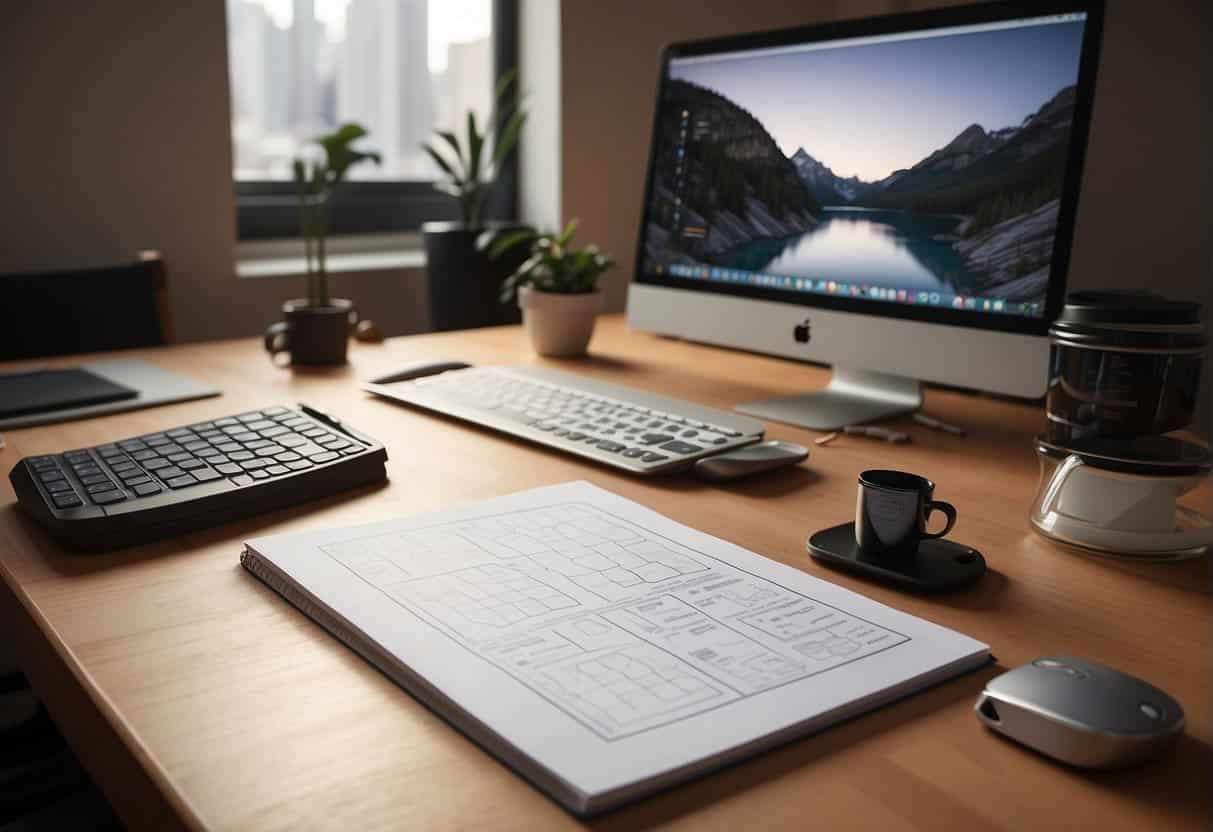
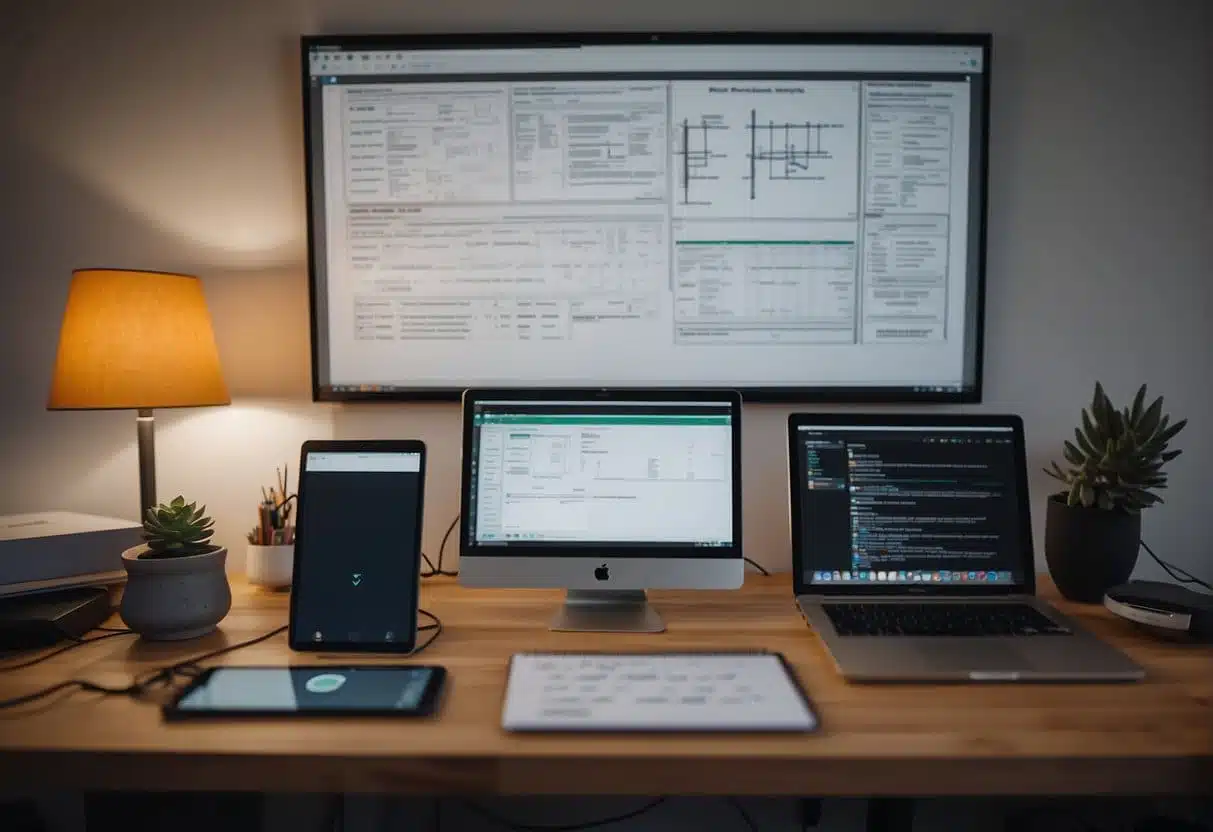
The Sketch workspace is integral to your design process. Upon opening Sketch, you’ll see a clean interface with a sidebar, canvas, and Inspector. The sidebar contains a list of artboards and pages, which are crucial for organising your work. Teams can share and collaborate on these by utilising Sketch’s cloud-based functionalities. Familiarising yourselves with these core elements and the toolbar will streamline your workflow and enhance your design capabilities.
Setting Up Your First Project
Creating your first project in Sketch is straightforward. Select ‘File’ followed by ‘New Document’. Next, set up your artboards by choosing from preset sizes or creating custom ones tailored to your project’s needs. You can add and manage layers within these artboards—a foundation for any design project. For teams looking to collaborate efficiently, setting up your Sketch Workspace for multiple users allows you to share, discuss, and iterate on designs in real time.
As we navigate the digital landscape at ProfileTree, we understand the importance of a tool like Sketch in creating remarkable designs that stand out. Optimised design workflows are the backbone of successful project execution,” says ProfileTree’s Digital Strategist – Stephen McClelland, “and Sketch offers a platform that empowers small teams to achieve high-quality results with relative ease.
To enhance your Sketch experience, we suggest exploring its extended features and plugins, which can further bolster your design capabilities. Remember, the key to making the most of Sketch is not just in knowing how to use the tool but in how you apply it to solve creative challenges within your projects.
Mastering the Sketch Interface
Sketch, widely recognised for its prowess in UI design, presents an array of tools essential for small teams to bring their ideas to life efficiently. Grasping the interface’s nuances can drastically improve workflow and foster better collaboration.
Exploring the Toolbar
The Toolbar is the nerve centre of your Sketch experience. It contains a suite of tools for drawing, editing, and manipulating design elements. To customise the Toolbar with your frequently used actions, right-click and select ‘Customise Toolbar’. Think of the Toolbar as your design toolkit—whether it’s carving shapes with the Vector tool or adding text with the Type tool, everything you need is just a click away.
Navigating Pages and Artboards
Pages and Artboards are fundamental to organising your Sketch files. You can manage multiple artboards on a single page, each representing a different screen or component. To swiftly navigate between them, look to the Pages panel, where you can switch contexts without losing your flow. Think of your Pages as chapters in a book, and artboards as the individual pages, each a snapshot of your UI’s journey.
Utilising Libraries and Symbols
Effective design is as much about consistency as it is about creativity. Libraries allow you to share and reuse assets across your team’s documents, ensuring uniformity. Meanwhile, Symbols are reusable design elements like buttons or icons that sync across your project. Make sure to keep your Libraries updated so your Symbols stay uniform—it’s like ensuring everyone speaks the same design language, saving time and avoiding discrepancies.
By incorporating these elements effectively into your workflow, settings adjustments, creating consistent artboards, utilising shared libraries, and managing symbols become second nature—laying the groundwork for a smooth design process tailored for small teams.
Design Essentials
When handling design for small teams, focusing on core elements like text style and color variables, managing components and icons, and utilising grids and layouts is crucial for maintaining a consistent and efficient workflow.
Leveraging Text Styles and Colour Variables
We understand the power of a well-defined hierarchy in text styles—how it enhances both readability and brand consistency. By standardising text attributes such as font, size, colour, and spacing, we ensure quick adjustments across our projects. Colour variables are indispensable in maintaining a cohesive colour scheme, allowing us to update colours application-wide with a single change, ensuring consistency even when small teams are handling complex designs.
Creating and Managing Components and Icons
Mastering the creation and management of components is pivotal to streamlining our design process. Components can be understood as building blocks of design, including buttons, input fields, and other reusable elements, that ensure uniformity across different parts of the project. Our icons, on the other hand, act as visual expressions driving user interaction—each meticulously crafted to convey clear meaning and coexist harmoniously within the context of the design ecosystem.
Designing with Grids and Layouts
Our approach to grids and layouts revolves around structure and balance. A grid system guides us in placing elements on a page, maintaining proportional spacing and alignment that leads to aesthetically pleasing and functional designs. From columns to margins, we utilise grids as the skeletal framework that gives coherence to our creation. GridBagConstraints and flexible layouts enable us to adapt to different screen sizes and devices, preserving design integrity and user experience.
Collaboration and Sharing
Effective collaboration and sharing within Sketch are essential for small teams aiming to streamline their design process. By utilising Sketch’s robust features, teams can work in unison, share progress effortlessly, and incorporate feedback in real time.
Team Collaboration Features
Sketch provides an array of features that enable our team to work together efficiently. For instance, we can make use of the Libraries in Sketch to store and share commonly used assets and symbols, ensuring consistency across all of our projects. Moreover, the real-time collaboration tools allow us to see changes as they happen, making it possible for us to work on the same file simultaneously without conflict. For more detailed exploration of these features, we can refer to Sharing and collaborating in Sketch.
Inviting Stakeholders and Managing Feedback
When it’s time to invite stakeholders for review, Sketch makes it simple. We can share a mirror of our working document in the Sketch Cloud, allowing stakeholders to provide input directly. Managing feedback becomes a structured process, as we can track changes and comments, ensuring that every voice is heard and no detail is overlooked. This level of engagement is crucial for refining our projects and aligning with stakeholders’ expectations.
Integrating with Sketch Cloud and Other Platforms
The Sketch Cloud is at the heart of the sharing experience, providing a central hub for our work. Not only does it allow us to store documents and collaborate in real time, but it also integrates seamlessly with other platforms and tools that our team might rely on. This ease of integration promotes a fluid workflow where resources, such as design specs and prototypes, are accessible and up-to-date.
To enhance the collaborative experience further, we can integrate Sketch with other tools, broadening our capabilities. For example, we can streamline the handoff to developers, ensuring that they have the latest designs at their fingertips. The integration possibilities with Sketch mean we can customise our workflow to our precise needs. Learn more about setting up these integrations by checking out How to set up your Sketch Workspace for teams.
Prototyping and Interaction
Prototyping and interaction are fundamental phases in the design process where we shape our ideas into tangible forms and breathe life into them through animations and interactions. The objective is to create a model that simulates the final product, allowing us to test and optimise the user experience.
Building Prototypes
When we create a prototype, we bring our design concepts a step closer to reality. The process involves defining the user journey and then crafting a series of screens that replicate the look and functionality of the proposed solution. Our focus lies in how the prototype behaves in response to user actions, which elements are interactive, and how they transition from one state to another. Through rigorous testing, we refine these interactions, ensuring a logical and cohesive flow that aligns with user expectations.
Interactive Elements and Playable Prototypes
Incorporating interactive elements into our prototypes is pivotal since they represent the points of user engagement. We add animations with care, as they should contribute to the narrative of the experience without distracting from the primary goals of the prototype. A well-designed playable prototype, rich with thoughtful animations and interactions, offers us a sandbox to test and tweak these elements, guaranteeing that they are intuitive and functional.
Sharing and Previewing with Viewers
Sharing our prototypes and gathering feedback is a breeze, thanks to modern tools that facilitate seamless presentation to viewers. We tend to utilise features that enable us to simulate the user experience as if the viewers are interacting with the final product. This not only helps us collect valuable insights but also equips our stakeholders with a vivid understanding of the project’s direction.
By bridging the gap between static design and dynamic experience, we provide an invaluable tool for concept validation and stakeholder buy-in. Our agile approach to prototyping saves time and resources in the long run by catching usability issues early on and ensuring our final deliverables hit the mark.
Streamlined Workflow Integrations
In this competitive digital landscape, small teams must adopt efficient workflow integrations that save time and enhance collaboration. Utilising powerful tools such as version control systems and handoff solutions, as well as customisable plugins, can significantly streamline the workflow process.
Version Control with Abstract and Git
Version control is essential for teams to track and manage changes to their projects effectively. With tools like Abstract and Git, our team can collaborate on designs while maintaining a clear history of revisions and contributions. This ensures everyone is working on the latest version of a file and changes are not overwritten. For example, Abstract provides a platform where team members can compare designs side-by-side, while Git is fundamental in keeping the codebase organised.
Handoff to Developers via Zeplin and InVision
Handoff is a critical point in the design process, where a design transitions into a fully working product. Zeplin and InVision aid in this crucial phase by providing a common space where designers can share their high-fidelity mock-ups with developers. Zeplin generates style guides, assets and code snippets for developers, reducing guesswork, while InVision simplifies the review process with interactive prototypes and design comment features.
Enhancing Productivity with Plugins
To tailor the design experience to our specific needs, we leverage an array of plugins. These plugins can automate mundane tasks, enforce design consistency, and allow for integration with other tools. From syncing with content management systems to populating mock-ups with real data, plugins enhance productivity by reducing the time spent on repetitive tasks.
By integrating these powerful tools into our workflow, we ensure that our small teams operate with the efficiency and precision of larger organisations, while maintaining a high standard of creativity and innovation.
Workflow Automation and Efficiency
In the context of small teams using Sketch, workflow automation and efficiency are crucial for maximising productivity and ensuring smooth collaboration. Here’s how teams can customise Sketch to their needs and leverage it for real-time collaboration.
Customising Sketch for Team Needs
We understand that every small team has unique requirements and ways of executing projects. By tailoring the Sketch workspace, teams can streamline their workflow and enhance efficiency. We often see that setting up Shared Libraries in Sketch allows designers to access commonly used assets and interface elements swiftly. To further bolster productivity, teams can employ third-party plugins that automate repetitive tasks like exporting assets or resizing elements.
Leveraging Sketch for Real-Time Collaboration
Efficiency in collaboration is an absolute necessity for small teams, and Sketch provides robust tools for this purpose. Real-time collaboration within the Sketch workspace enables team members to work on the same file simultaneously without overwriting each other’s work. Our teams have valued the Cloud inspector feature, which permits developers to extract design specs and resources directly, thus eliminating miscommunication and accelerating the development process.
By harnessing these capabilities, small teams can not only save time but also maintain a high standard of work and curb the common bottlenecks in design workflows.
Maintaining a Design System
In the dynamic world of design, especially for small teams utilising tools like Sketch, the consistency and efficiency brought by a robust design system can’t be overstated. We’ll examine its key components and the ways to ensure synchronisation across various design assets.
Design System Fundamentals
A design system forms the foundation of your team’s design efforts, encompassing a set of interconnected patterns and shared practices. Coupling Sketch for Teams with an organised library is pivotal. This system should consist of reusable symbols and components that reflect your brand’s visual language. For small teams, begin with the essentials such as colour palettes, typography, and user interface elements. Keep your document architecture straightforward, to ensure every member can navigate and utilise the system with ease.
Making your design system practical involves categorising libraries of assets which are then accessible to all team members within Sketch. Remember that the system is a living entity that should evolve with your projects.
Synchronising Design Libraries and Style Guides
Synchronising libraries and style guides across all projects helps everyone remain on the same page. Sketch for Teams comes in handy, as it facilitates a shared space where updates to your design system are instantly accessible to all collaborators.
- Regular Updates: Ensure your library is frequently reviewed and updated with new symbols and assets.
- Version Control: Implement clear version control within the document, so everyone knows they’re working with the latest assets.
- Centralised Access: Maintain a centralised library within Sketch to consolidate assets and promote uniformity.
“Small teams can achieve remarkable consistency in their design outputs by maintaining a systematic approach and having a carefully synchronised design system,” explores ProfileTree’s Digital Strategist Stephen McClelland. “It becomes a single source of truth that binds the project’s aesthetics and functionality.”
Maintaining a design system need not be a complex task. At its core, it’s about having a structured approach, starting with foundational elements, and building a synchronised repository that evolves over time to improve efficiency and cohesiveness in your designs.
Advanced Features and Techniques

When employing Sketch for small team workflows, tapping into advanced features and techniques is essential to handle complexity and maintain efficiency. These sophisticated tools can greatly enhance your design process and final outputs.
Utilising Advanced Export and Sharing Options
In Sketch, export options matter as much as the design itself. Team members can quickly generate assets for multiple platforms with Sketch’s export tools. You have the ability to set export presets, ensuring consistency across different projects and team members. Teams can simplify their workflow by using Sketch to export designs directly into the desired format, which supports a multitude of file types like PNG, JPG, SVG, PDF, and more.
Sharing is another cornerstone of Sketch, which allows for seamless collaboration. By employing Sketch’s advanced sharing features, you can effortlessly keep all stakeholders in the loop. Inviting team members to view and comment on designs makes it easier to gather feedback and iterate quickly. Furthermore, integrating these outputs into project management tools or Slack channels enhances cross-team communication and the refinement process.
Leveraging the Power of Sketch for Complex Projects
For projects laden with complexity, Sketch provides robust features that cater to intricate design needs. Symbols and Libraries in Sketch allow us to create consistent and reusable design elements, which is especially powerful for large projects that require maintaining design uniformity across multiple files and team members. Making use of these can turn a complicated project into a more manageable and structured workflow.
Using Sketch for advanced projects also means you can take advantage of its vector editing capabilities, which gives us the precision needed to create complex illustrations and icons. The combination of these vector tools with Sketch’s grid systems and layout options provide a cohesive environment for tackling intricate designs.
Through mastering these advanced capabilities, we can push Sketch to its limits, allowing our small teams to punch above their weight when dealing with complex design challenges.
Sketch for Teams and Enterprise
In this dedicated Sketch guide, we explore how small teams and enterprises can utilise Sketch for team collaboration and manage their Sketch accounts effectively. Let’s dive into the specific configurations and subscription details.
Managing Team Settings and Accounts
Sketch for Teams allows a streamlined way for teams to collaborate on design projects. When managing team settings and accounts, it’s crucial to have a clear structure. From within the Sketch Workspace, team admins can invite or remove members, assign roles with varying access levels, and monitor activity. To set up your Sketch Workspace, open the Workspace window and handle all team projects and documents in one place. Team roles range from admin and editor to viewer, providing tailored access to suit each member’s involvement.
Subscription management is equally straightforward. With a Sketch account, team leads can monitor subscription statuses, update billing information, and ensure compliance across the enterprise. New teams can benefit from a 30-day free trial before committing to a paid plan.
Subscription Plans and Traditional License Keys
The shift from traditional software ownership to subscription models has become the norm, including for Sketch. Typically, subscription costs are based on the number of contributors within a team, allowing for scalability as the company grows. You can easily invite the whole team to a shared workspace, with unlimited viewers to preview and comment on designs.
A significant advantage of a subscription over traditional license keys is the continuous access to the latest updates and features without needing to manage individual licenses. Subscriptions can offer a full history of team document edits, the ability to roll back to previous versions, and admin management features to support enterprise operations.
Sketch continues to support traditional license keys, catering to users preferring a perpetual software license. However, this option may mean missing out on the benefits of real-time collaboration features and access to the latest Sketch updates, only available through the subscription service.
By adopting Sketch for Teams, small teams and enterprises can foster a dynamic, collaborative environment. Correctly managing team settings and choosing the most suitable subscription or traditional license can streamline workflows, enabling designers to focus on what they do best: creating impactful designs.
Frequently Asked Questions

As small teams adapt to the practicalities of design processes, common queries emerge regarding the setup of a design team, the implementation of design systems, and urban sketching techniques. We’ll explore answers to these pertinent questions to provide clarity and guidance.
What are the essential steps to build a design team from the ground up?
When establishing a design team, our primary focus should be on defining clear roles and responsibilities, followed by recruiting talent that aligns with our vision and goals. It’s imperative to create an environment that fosters collaboration and to establish a scalable workflow. We should start with the essentials: roles defined, responsibilities clear, and recruitment aimed at those who share our design philosophy.
How can small teams effectively implement design systems?
Effective implementation of design systems in small teams requires us to streamline design processes and maintain consistency across projects. We need to develop a shared design language that includes reusable components and patterns. This approach not only saves time but also ensures coherence in the design output.
What are the best urban sketching techniques for beginners?
Beginners in urban sketching should focus on basic drawing skills, perspective, and composition. We recommend starting with simple line drawings to capture the essence of a scene before progressing to more advanced shading and texturing techniques. Practising quick sketches helps us gain confidence and speed.
Can you recommend any urban sketching exercises to improve drawing skills?
Regular sketching exercises, such as timed sketches and focusing on individual elements like people, buildings, or foliage, can significantly enhance our drawing skills. We might also focus on varying our line weight and practising light and shadow to add depth to our sketches.
Where can one find quality urban sketch reference photos?
High-quality reference photos for urban sketching can often be found on photography websites or through community groups dedicated to urban sketching. These resources are invaluable for practicing sketching when we’re unable to sketch on location.
What resources are available for learning urban sketching for free?
Numerous online platforms offer free tutorials and courses on urban sketching. YouTube channels run by experienced urban sketchers provide a wealth of knowledge, and we can learn techniques at our own pace. Additionally, online art communities and forums are great places to find advice and inspiration.