Adobe Premiere Pro CC: Master Layouts and Workflow
Table of Contents
Adobe Premiere Pro CC remains the professional standard for video editing across industries, from corporate content creation to broadcast production. For digital agencies and marketing teams managing multiple video projects simultaneously, understanding how to customise Premiere Pro’s interface can reduce editing time by up to 40%. This comprehensive guide explores the workspace layouts, organisational tools, and workflow optimisation techniques that separate efficient editors from those constantly fighting their software.
Whether you’re producing social media content, corporate testimonials, or brand films for clients in Belfast, mastering these fundamentals will transform how quickly you move from raw footage to published content.
Understanding the Premiere Pro CC Interface
The top menu bar in Premiere Pro CC contains all primary functions through dropdown menus: File, Edit, Clip, Sequence, Markers, Graphics, Window, and Help. These menus follow industry-standard software conventions, making the transition easier for users familiar with other Adobe Creative Cloud applications or professional editing platforms.
File Management and Project Setup
The File menu handles project creation, media import, and export functions. When starting a new video project, you can create projects, bins (folders for organising media), and sequences through the ‘New’ submenu. For agencies managing multiple client projects, maintaining consistent file structures from the start prevents confusion during collaborative editing.
Auto-save functionality, accessible through Edit > Preferences, is critical for professional environments. We recommend setting auto-save intervals to a maximum of 5 minutes when working with high-value client footage.
Edit Menu and Preferences
The Edit dropdown provides standard editing commands, including undo, redo, copy, paste, and duplicate functions. More importantly, it houses the Preferences submenu where you can customise Premiere Pro’s behaviour to match your specific workflow requirements.
Within Preferences, you can modify:
- Interface appearance and panel colours
- Audio hardware configuration for monitoring
- Auto-save intervals and backup locations
- Graphics performance settings
- Media cache management
- Timeline display options
For digital marketing teams producing social media content, adjusting the default sequence settings in Preferences to match vertical (9:16) formats can save significant setup time on each new project.
Labels and Markers for Project Organisation
Professional video production involves managing dozens or hundreds of clips per project. Premiere Pro’s labelling and marker systems provide organisational structure that becomes increasingly valuable as project complexity grows.
Using Colour Labels Effectively
Right-clicking any file in the project window reveals the Label option, allowing you to assign colour codes to clips, sequences, and assets. For agencies juggling multiple clients or campaign types, strategic labelling creates visual hierarchy.
Common labelling systems include:
- Labelling by content type (blue for interviews, green for b-roll, purple for graphics)
- Labelling by approval status (red for needs revision, green for client-approved)
- Labelling by quality (yellow for backup angles, green for hero footage)
- Labelling by campaign (different colours for different client projects)
This colour-coding system proves particularly valuable in tight-deadline scenarios when multiple team members access the same project files.
Timeline Markers for Collaborative Editing
Pressing ‘M’ while positioned on the timeline creates a marker at that specific frame. These markers appear in the project panel, where you can add detailed comments explaining why that moment was flagged.
Markers serve multiple purposes in professional workflows:
- Directors can mark sections requiring revision without interrupting the editor’s flow
- Editors can flag technical issues (overexposed footage, audio problems) for correction
- Marketing teams can mark frames for social media thumbnail extraction
- Sound designers can identify sections requiring special attention
To create clip-specific markers rather than sequence markers, highlight the individual clip before pressing ‘M’. This distinction allows for more granular organisation when working with longer interviews or multi-camera footage.
“We’ve found that proper labelling and marker usage early in post-production saves our team approximately 3-4 hours per project in the final delivery stages. It’s about building systems that scale as your agency grows,” notes Ciaran Connolly, Director of ProfileTree.
Customising Workspace Layouts in Premiere Pro CC
Premiere Pro’s most powerful productivity feature is workspace customisation. Each layout reconfigures the interface to prioritise tools relevant to specific editing tasks. Understanding when and how to switch between layouts dramatically reduces the time spent navigating menus and panels.
Assembly Layout for Initial Editing
The Assembly layout maximises viewing space for reviewing raw footage and constructing rough cuts. This layout proves most valuable during the initial stages of video production when you’re sorting through camera cards and identifying your best takes.
When to use Assembly layout:
- Importing and organising footage at project start
- Reviewing client-provided assets
- Marking in/out points on interview content
- Creating initial rough sequences before detailed editing
The Assembly workspace provides larger programme and source monitors, making it easier to evaluate footage quality and make selection decisions. For marketing agencies that receive client-provided content of varying quality, this initial review stage helps prevent downstream issues.
To access the Assembly layout, click the workspace selector in the top menu bar and select ‘Assembly’. The interface immediately reconfigures to prioritise viewing panels over editing tools.
Editing Layout for Precision Work
The standard Editing layout balances all essential panels: project bin, source monitor, programme monitor, timeline, and effects controls. This represents the default configuration most editors use for the majority of their work.
This workspace suits:
- Trimming clips to precise timing
- Adding transitions between shots
- Basic colour correction
- Audio level adjustments
- Adding text overlays and lower thirds
For corporate video production, where precise timing matters for presentation pacing, the Editing layout provides the most efficient tool access. The timeline receives adequate screen space for detailed frame-level adjustments whilst maintaining visibility of all necessary panels.
Colour Layout for Advanced Grading
Professional video production demands consistent colour treatment across all footage. The Colour layout expands the Lumetri Colour panel and adds waveform monitors and vectorscopes for technical colour analysis.
Accessing the Colour workspace reveals:
- Expanded Lumetri Colour panel with all grading controls
- Waveform monitor for exposure analysis
- RGB Parade for colour balance assessment
- Vectorscope for saturation and hue evaluation
- Larger programme monitor for colour evaluation
For agencies producing brand films where colour consistency reinforces brand identity, dedicating time to proper colour correction in this specialised layout produces noticeably more professional results. Rather than switching back and forth between editing and colour panels, the Colour layout consolidates everything needed for this specific task.
Colour grading workflow:
- Switch to Colour layout
- Apply correction (fixing exposure and white balance issues)
- Apply creative grade (establishing mood and style)
- Match shots within scenes for continuity
- Export LUT files for consistent social media content
Effects Layout for Motion Graphics
The Effects layout prioritises the Effect Controls panel and expands the timeline to support working with keyframes and effect stacking. When adding motion graphics, transitions, or complex visual effects to corporate videos, this layout provides the precision needed for smooth animations.
The Effects workspace includes:
- Enlarged Effect Controls panel for parameter adjustments
- More vertical timeline space for viewing effect keyframes
- Quick access to the Effects panel for applying new effects
- Better visibility of effect stacking order
Marketing videos often require animated text reveals, logo animations, and branded transitions. Working in the Effects layout allows you to set keyframes, adjust easing curves, and preview animations without constantly rearranging your workspace.
Audio Layout for Sound Mixing
Audio quality separates professional video content from amateur productions. The Audio layout expands the Audio Track Mixer panel and Essential Sound panel, providing comprehensive mixing tools without requiring separate audio software.
Professional audio mixing in Premiere Pro involves:
- Balancing dialogue levels across multiple speakers
- Applying EQ to improve voice clarity
- Adding compression for consistent loudness
- Mixing background music at appropriate levels
- Adding sound effects for production value
The Audio workspace provides access to professional mixing features, including per-track EQ, dynamics processing, reverb, and delay effects. For corporate testimonial videos where clear dialogue is paramount, dedicating time to the Audio layout significantly improves the final output quality.
Graphics Layout for Titles and Lower Thirds
The Graphics layout, introduced in recent versions of Premiere Pro, streamlines the creation of text and graphic elements. This workspace suits agencies that produce large volumes of social media content and require consistent branded text treatments.
Working in the Graphics layout, you can:
- Create and edit text elements directly in the programme monitor
- Organise text styles and templates in the Graphics panel
- Apply brand-consistent formatting across multiple projects
- Design lower thirds and title cards
- Create animated text without After Effects
For digital marketing teams managing multiple social media accounts, building a library of text styles in the Graphics workspace ensures brand consistency whilst accelerating production speed.
Maximising Workflow Efficiency
Understanding layouts represents only the first step. Professional editors develop personalised workflows that combine layout switching, keyboard shortcuts, and custom panel arrangements.
Layout Switching Strategy
Rather than remaining in a single layout throughout the editing process, efficient editors switch layouts as their focus changes. A typical corporate video editing session might follow this pattern:
- Start in the Assembly layout to review and organise footage
- Switch to the Editing layout for rough cut assembly
- Move to Audio layout for dialogue cleanup and level balancing
- Return to editing the layout for fine-tuning and transitions
- Switch to Colour layout for grading passes
- Move to the Graphics layout for adding titles and lower thirds
- Return to Audio layout for final mix
- Switch to the Editing layout for final review
This strategic switching ensures you always have optimal tool access for your current task, reducing wasted clicks and menu navigation.
Custom Workspace Creation
Beyond the preset layouts, Premiere Pro allows you to save custom workspaces tailored to your specific needs. To create a custom workspace:
- Arrange panels in your preferred configuration
- Navigate to Window > Workspaces > Save as New Workspace
- Name your workspace descriptively
- Access it instantly from the workspace selector
Agencies developing specialisation in specific video types (such as product videos, testimonials, and social media shorts) benefit from custom workspaces optimised for those production styles. A ‘Social Media’ workspace might prioritise vertical aspect ratios, larger effect controls for quick adjustments, and simplified audio tools.
Comparing Premiere Pro to Alternative Editing Platforms
Whilst Premiere Pro dominates professional video production, understanding how its workflow compares to alternatives helps editors make informed platform decisions based on project requirements.
Final Cut Pro offers tight integration with Apple hardware and a magnetic timeline that automatically maintains clip synchronisation. However, its exclusive macOS availability and limited third-party plugin ecosystem make it less suitable for agencies working across mixed hardware environments.
DaVinci Resolve provides industry-leading colour grading capabilities that exceed Premiere’s Lumetri tools. Its node-based approach offers more granular control, particularly for high-end brand films. However, the learning curve is steeper, and the editing workflow differs significantly from Premiere’s track-based approach.
Avid Media Composer remains standard for large-scale broadcast productions and collaborative workflows. Its media management system excels in multi-editor environments, but its complex interface and cost structure make it less practical for marketing agencies and small production teams.
Premiere Pro’s advantages for digital marketing teams include:
- Seamless integration with After Effects for motion graphics
- Direct access to Adobe Stock assets
- Dynamic Link functionality with other Adobe applications
- Cross-platform compatibility (Windows and macOS)
- Extensive third-party plugin support
- Familiar interface for users of other Adobe products
Workspace Advantages for Agency Production
Professional workspace management delivers measurable productivity gains. By reducing visual clutter and presenting only relevant tools, customised layouts allow editors to maintain focus on creative decisions rather than technical navigation.
Clutter Reduction becomes particularly valuable during complex projects involving hundreds of clips, multiple audio tracks, and layers of effects. Switching to task-specific layouts hides irrelevant panels, reducing cognitive load and allowing faster decision-making.
Speed and Efficiency improve when editors can transition between production phases without manual panel rearrangement. A single keyboard shortcut switches from rough cutting in Assembly layout to detailed colour work in Colour layout, maintaining creative momentum.
Enhanced Focus results from having all relevant tools immediately accessible. When colour grading in the Colour layout, every necessary tool—Lumetri controls, waveform monitors, vectorscopes—appears without requiring menu navigation. This dedicated focus produces higher-quality results in less time.
Greater Ease of Use emerges as editors customise shortcuts, panel positions, and workspace arrangements to match personal preferences. Over time, these refinements compound into significant productivity improvements, particularly for agencies processing high volumes of video content.
Potential Workflow Considerations
Layout switching isn’t without minor trade-offs. Frequent workspace changes temporarily rebuild the interface, which can briefly interrupt preview playback or source clip viewing. Maintaining awareness of your playhead position before switching layouts helps preserve editing context.
The extensive customisation options in Premiere Pro can overwhelm new users. Starting with Adobe’s preset layouts and gradually introducing custom arrangements as familiarity grows provides a gentler learning curve. Leveraging preset templates and workspace configurations helps beginners avoid analysis paralysis while still benefiting from layout efficiency.
Premiere Pro Workflow for Digital Marketing Teams
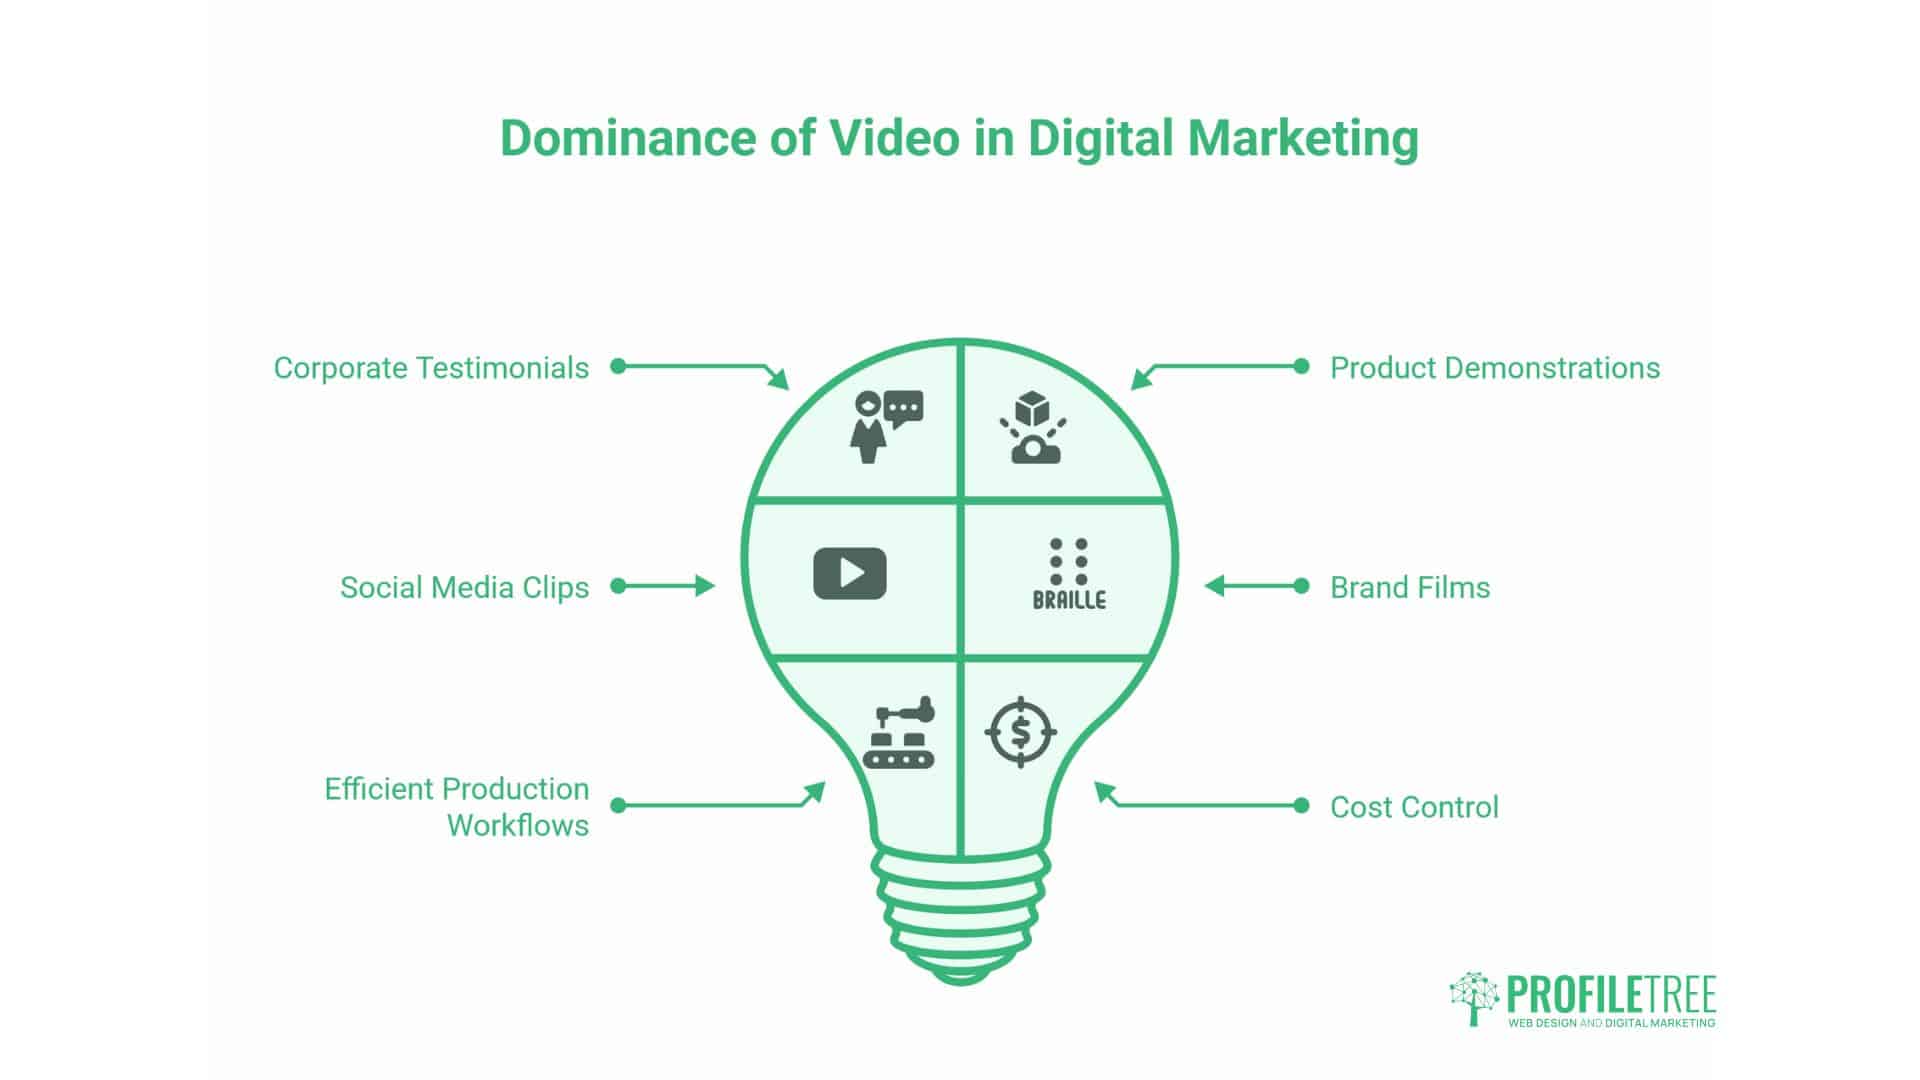
Video content now dominates digital marketing strategies. Corporate testimonials, product demonstrations, social media clips, and brand films require efficient production workflows to meet content demands whilst controlling costs.
For marketing agencies that manage video production in-house, Premiere Pro workflows directly impact profitability. A team that masters workspace layouts, organisational systems, and efficient editing practices can produce significantly more content per week than teams relying on default configurations.
Social Media Video Production Workflow
Social media content creation requires speed and flexibility in format. A streamlined workflow for social media videos might include:
- Create sequence presets for common formats (1:1 square, 9:16 vertical, 16:9 horizontal)
- Use the Assembly layout for rapid clip selection
- Maintain a custom ‘Social Media’ workspace with vertical timeline display
- Store brand-consistent graphics templates in the Graphics workspace
- Export using Media Encoder with preset destinations for each platform
This systematic approach allows marketing teams to produce platform-optimised content efficiently whilst maintaining brand consistency across channels.
Corporate Video Production Workflow
Longer-form corporate content requires more comprehensive workflows incorporating multiple review stages, client feedback cycles, and collaborative editing processes.
Professional corporate video workflow:
- Pre-production planning: Create project folders and naming conventions before shooting
- Initial assembly: Use the Assembly layout to review all footage and create selects
- Rough cut: Switch to Editing layout for initial sequence assembly
- Client review: Export draft with burnt-in timecode for feedback
- Revision: Use markers to flag client-requested changes
- Audio refinement: Switch to Audio layout for dialogue cleanup and music mixing
- Colour grading: Move to Colour layout for consistent colour treatment
- Graphics: Add titles and lower thirds in the Graphics layout
- Final review: Complete timeline review in Editing layout
- Delivery: Export multiple formats using Media Encoder
This structured approach ensures consistent quality whilst accommodating client feedback efficiently.
FAQs
How do I create a custom layout in Adobe Premiere Pro CC?
Navigate to Window > Workspaces, then arrange your panels as desired by dragging and docking them. Once you are satisfied with your configuration, select Window > Workspaces > Save as New Workspace, and provide a descriptive name. Your custom workspace will appear in the workspace selector for instant access.
Can I save multiple custom layouts in Premiere Pro CC?
Yes, Premiere Pro supports an unlimited number of custom workspaces. Create separate layouts for different project types, client work, or editing phases. Many professional editors maintain 5-10 custom workspaces optimised for specific tasks, such as social media editing, podcast production, or corporate testimonials.
How can I switch between different workspace layouts quickly?
Use the workspace selector in the top menu bar to switch between layouts instantly. For even faster access, assign keyboard shortcuts to your most frequently used workspaces through Edit > Keyboard Shortcuts. Professional editors often map their primary 3-4 workspaces to function keys for single-keystroke switching.
What’s the difference between projects and workspace layouts?
Project files contain references to your media assets, sequences, and all editorial decisions. Workspaces are simply interface configurations that determine which panels appear and where they’re positioned. Changing workspaces doesn’t affect your project content—it only modifies your editing environment for improved efficiency.
Implementing Professional Video Workflows in Your Agency
Adobe Premiere Pro CC’s workspace system transforms editing efficiency when implemented systematically. For digital marketing agencies and video production teams, mastering these layouts represents a significant competitive advantage, enabling faster turnaround times, higher-quality output, and more profitable project delivery.
Start by auditing your current editing workflow. Identify bottlenecks where you spend excessive time searching for tools or rearranging panels. Create custom workspaces addressing these specific pain points. Over several weeks, refine these layouts based on actual production experience.
Professional video editing success isn’t about memorising every Premiere Pro feature—it’s about building systematic workflows that allow you to focus on creative decisions rather than technical navigation. The workspace layout system provides the foundation for these efficient workflows, enabling you to move quickly from raw footage to published content.
For agencies producing corporate videos, social media content, or brand films across Belfast and Northern Ireland, these workflow optimisations directly impact profitability and client satisfaction. Faster editing enables the completion of more projects per month, while maintaining the quality standards that differentiate professional agencies from amateur productions.
Implement these workspace strategies gradually. Master the preset layouts first, then introduce custom arrangements as your team’s production volume and specialisation grow. Document your workflows and share workspace files across your team to maintain consistency and accelerate onboarding for new editors.
The difference between an average editor and an exceptional one often comes down to workflow efficiency rather than creative talent alone. By mastering Premiere Pro’s workspace system, you position your agency to deliver professional video content at the speed and scale modern digital marketing demands.