
Audio effects in Premiere Pro: the order that works
Table of Contents
Audio effects in Premiere Pro work best in a fixed order: repair noise first, control levels with compression, shape the tone with EQ, and finish with reverb or delay. ProfileTree’s video team in Belfast follows that sequence on every edit, then checks the finished mix against EBU R128 or the target for the platform before export.
Most editors find the effects quickly; the sequence takes longer to learn, and getting it wrong can undo hours of work. Put a reverb before a compressor, for example, and the compressor lifts the room noise that the reverb has smeared across every word, so the mix stays muddy whatever you adjust afterwards.
This guide is written for marketing managers and in-house editors who cut corporate films, case study videos and social clips for their own business. ProfileTree is a Belfast web design and digital marketing agency, founded in 2011 and based at the McSweeney Centre, and our team uses the same workflow on client projects for video production for Belfast businesses and for organisations across Great Britain and Ireland. If you are deciding whether to keep editing in-house or hand the work to a producer, our page on video marketing for UK businesses sets out what a full production covers.
Premiere Pro separates two ideas. Audio effects are processing tools that change how a clip sounds, such as compression or EQ (equalisation, the boosting or cutting of particular frequencies), while sound effects are files you place on the timeline, like footsteps or atmosphere.
The signal chain for audio effects in Premiere Pro
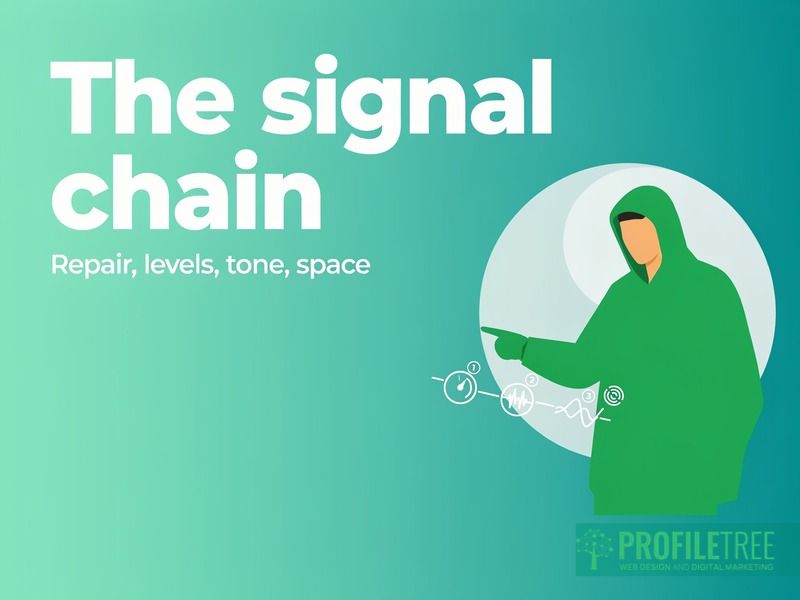
The signal chain is the sequence in which effects process a clip or track, and Premiere Pro runs it from top to bottom in the Effect Controls panel. Each effect works on the output of the one above it, so a problem introduced early is passed down the line and later effects cannot remove it. Getting this order right is the change that most improves the sound of a business video.
| Stage | Effects to use | What the stage does |
|---|---|---|
| 1. Repair | DeNoise, DeHummer, Highpass | Removes hiss, hum and rumble before anything else reacts to them |
| 2. Levels | Dynamics, Single-band Compressor | Narrows the gap between quiet and loud passages |
| 3. Tone | Parametric Equalizer | Cuts muddy frequencies and adds clarity to voices |
| 4. Space | Studio Reverb, Analog Delay | Adds room sound or echo to a clean signal |
Repair noise and hum first
Repair comes first because every later stage reacts to whatever noise is left in the recording. DeNoise, in the Noise Reduction/Restoration folder, reduces fan noise, air conditioning, and hiss with a single percentage slider, and DeReverb reduces the echo of a hard-walled room in the same way.
DeHummer removes a narrow band of frequencies and their harmonics, which is how electrical hum from lighting and power supplies behaves. Set its Frequency control to the mains supply where the footage was shot: 50 Hz in the UK and Ireland, 60 Hz in North America. If you are unsure, preview the hum on its own and drag the frequency until the tone is loudest.
For wind and handling noise on a boom or lapel microphone, a Highpass filter from the Filter and EQ folder usually does more than DeNoise. Set at around 80 Hz, it removes low rumble without touching the main range of the speaking voice. If repair comes after compression, the compressor will already have raised the noise, which makes it far harder to take out cleanly.
Control levels with compression
Once the recording is clean, narrow the gap between its quietest and loudest moments. The Dynamics effect in the Amplitude and Compression folder combines four sections: Auto Gate, Compressor, Expander, and Limiter. For most dialogue, the Compressor section does the work and the others can stay off.
A ratio of 3:1 to 4:1 with an attack of around 10 milliseconds is a sensible starting point for speech, because it holds back peaks while keeping the natural rise and fall of the voice. Heavy compression is a frequent fault in social media video, because it flattens the speaker’s character and brings up every breath.
The compressor behaves predictably only when the level going into it is right. If one dialogue clip sits well below the others on the waveform, raise it first: right-click the clip, choose Audio Gain and enter the amount in decibels. Clip gain is applied before the effects and the track fader after them, so the two are not interchangeable.
Shape the tone with EQ
EQ shapes the frequency content once levels are under control. The Parametric Equalizer is the main tool, with up to five adjustable bands plus high-pass, low-pass, and shelving filters, and each band sets a frequency, an amount of boost or cut, and the width of the change.
For speech, a gentle cut between 200 Hz and 400 Hz reduces a boxy or nasal quality, and a small lift somewhere between 2 kHz and 5 kHz brings the words forward. A further high-pass at about 80 Hz catches any rumble the repair stage missed.
Make EQ decisions with music and atmosphere playing, because a voice that sounds thin on its own often sits correctly in the full mix. The Clarity controls in the Essential Sound panel give a quick first pass, and work for a client or broadcaster is best finished in the Parametric Equalizer.
Add reverb and delay last
Reverb and delay come last because they act on everything before them. Put reverb on a raw recording and the background noise becomes reverberant too, which nothing later can separate from the voice. On a clean, levelled, and equalised signal, the same reverb sounds deliberate.
Premiere Pro has three reverbs. Studio Reverb simulates a room with light processing, and a small room setting keeps corporate dialogue sounding natural. Convolution Reverb uses recordings of real spaces for a more convincing result but needs far more processing power, while Surround Reverb is mainly for 5.1 projects.
In the Delay and Echo folder, Analog Delay gives a warm echo with Tape, Tube and Analog modes, and Multitap Delay adds up to four separate echoes. Delay has little use on dialogue-led business content and earns its place on music-led sequences and title stings.
Where Premiere Pro keeps its audio effects
Premiere Pro spreads its audio tools across three panels. The Effects panel holds the full library, the Essential Sound panel offers quick fixes by type of audio, and the Effect Controls panel is where you adjust an effect once it is applied.
The Effects panel and its folders
Open the Effects panel from Window > Effects and expand Audio Effects. The library is grouped into Amplitude and Compression, Delay and Echo, Filter and EQ, Modulation, Noise Reduction/Restoration, Reverb, Special, Stereo Imagery, and Time and Pitch. Drag an effect onto a clip to treat that clip, or into a slot in the Audio Track Mixer to treat everything on that track.
The search box at the top is quicker than opening folders. When you settle on settings you use often, right-click the effect in the Effect Controls panel and save it as a preset. Presets pay off most when tracks are laid out the same way on every project, and the article on organising the Premiere Pro timeline covers that side of the job.
| Problem | Effect to use | Essential Sound control |
|---|---|---|
| Background hiss, fans or room noise | DeNoise | Reduce Noise |
| Electrical hum | DeHummer | DeHum |
| Low rumble from wind or handling | Highpass at around 80 Hz | Reduce Rumble |
| Harsh “s” sounds | DeEsser | DeEss |
| Uneven levels between speakers | Dynamics or Single-band Compressor | Loudness Auto Match |
| Thin or muffled voice | Parametric Equalizer | EQ under Clarity |
| Echoey room | DeReverb | Reduce Reverb |
| Peaks above the delivery limit | Hard Limiter on the mix track | No equivalent |
Amplitude and Compression also holds the Hard Limiter, the DeEsser for harsh sibilance, and the Multiband Compressor, which splits audio into four frequency bands and compresses each separately. That helps with voice-overs where the low-mid range builds up over a long read. Filter and EQ adds the Graphic Equalizer in 10-, 20-, and 30-band versions, the Notch Filter for removing up to six narrow frequencies, and the Highpass and Lowpass filters.
The Essential Sound panel
The Essential Sound panel (Window > Essential Sound) gives quick access to common treatments without opening individual effects. You tag each clip as Dialogue, Music, SFX, or Ambience, and the panel shows controls for that type. Dialogue clips get Repair options for noise, rumble, hum, sibilance, and reverb, Clarity options for compression and EQ, and an Auto Match button that evens out loudness between clips.
Music and Ambience clips gain ducking, which lowers the music automatically whenever someone speaks, and SFX clips get reverb and stereo width. Most professional editors use the panel for a first pass and then refine the result with individual effects.
The Effect Controls panel
The Effect Controls panel lists every effect on the selected clip in processing order. This is where you set the threshold and ratio of a compressor, the frequency and gain of an EQ band, or the room size of a reverb, and you can drag effects up or down to reorder the chain.
Each effect has a small fx toggle beside its name. Turning it off bypasses the effect without deleting it, so you can compare the processed and unprocessed sound during playback. It is the quickest way to confirm an effect is doing what you think.
Adding sound effects to a sequence
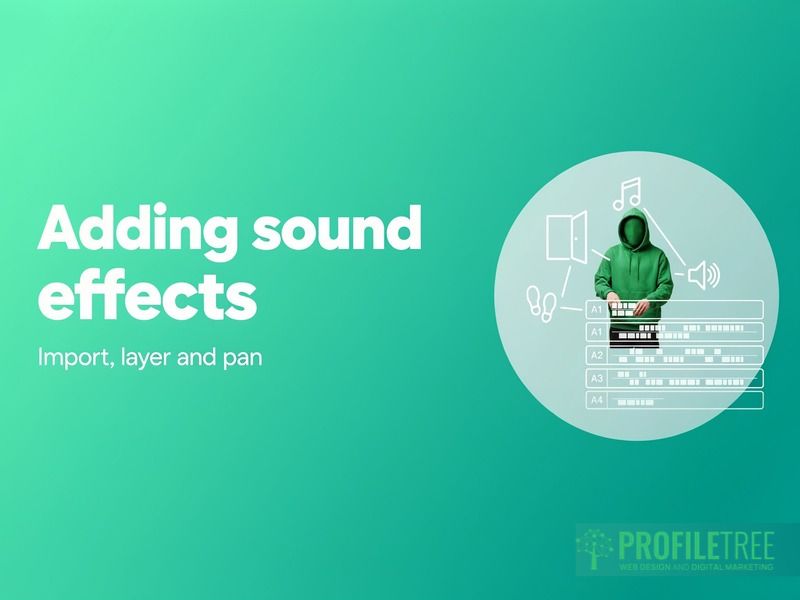
Sound effects are files you import and place on tracks of their own. Bring them in through File > Import or by dragging them into the Project panel, and keep separate bins for dialogue, music, atmosphere, and spot effects so a growing project stays easy to search.
Work with WAV or AIFF files at 48 kHz and 24-bit where you can. That matches most video sequences and gives the processing more room to work than compressed formats like MP3. Adobe Stock offers licensed audio, and your own field recordings are often the most convincing source for location sound. Check the licence of any third-party library before the video is used commercially.
Give each type of sound a separate track. A simple layout for a short business film puts dialogue on A1, music on A2, atmosphere on A3 and spot effects on A4, so each can be processed and levelled independently. Once there are several effect tracks, route them to one submix so a single fader controls them.
Set clip levels by dragging the thin volume line on each audio clip, and create fades with two keyframes added using the Pen tool. Panning, which places a sound left or right in the stereo field, is set under Panner in the Effect Controls panel, so a door closing on the left of the frame is heard on the left.
Processing many clips at once with the Audio Track Mixer
Applying effects one clip at a time works on a short edit and becomes unmanageable on a long one. The Audio Track Mixer, opened from Window > Audio Track Mixer, lets you put effects on a track once, and every clip on it is then processed without individual adjustment.
Each channel strip represents one timeline track. Click the small triangle at the top left of the mixer to show the effect slots, then pick an effect for each slot from its drop-down menu. They process all the audio on that track and sit alongside any clip effects added in the Effect Controls panel.
Build the chain on the dialogue track
For interviews and talking-head films, put all dialogue on one track and build the repair, compression, and EQ chain at track level. Clip effects are then needed only where a recording needs something extra, such as one interview shot in a noisier room, which gets its own DeNoise while the rest of the sequence is left alone.
On longer projects, route every dialogue track to a dialogue submix, apply the shared processing there, and balance it against music and effects on the mix track. Broadcast post-production uses this structure as standard, and it makes late changes from a client much quicker to handle.
Use Paste Attributes for a fixed batch
For a set group of clips that need identical treatment, Paste Attributes is faster. Finish one clip, copy it, select the others, then choose Edit > Paste Attributes and tick the audio effects option. Pasted effects are independent copies, so changing the original later does not update the rest.
Loudness targets for broadcast and online delivery

Loudness normalisation is the last step in a professional audio workflow and the one most often skipped. Broadcasters and streaming platforms measure loudness in LUFS (loudness units relative to full scale, a measure of how loud a mix sounds on average over its length), and they turn down or reject content that misses their target.
What EBU R128 asks for
EBU R128 is the loudness recommendation of the European Broadcasting Union, and UK and Irish broadcasters base their delivery specifications on it. The 2020 edition sets a programme loudness of -23 LUFS, with a tolerance of plus or minus 1 LU for live programmes where hitting it exactly is not practical. It also caps the true peak at -1 dBTP, which is the highest point of the waveform, including peaks that fall between samples.
Loudness and peak level are separate measures, and broadcast delivery needs both under control. Normalising to -23 LUFS sets the average level, while a limiter stops any single peak from crossing the ceiling. A mix that meets the loudness figure without a limiter can still distort once it is converted to a compressed delivery format, and some distribution systems ask for a lower peak, so check each broadcaster’s own specification.
Measure with the Loudness Meter
Premiere Pro measures loudness with the Loudness Meter effect, which replaced the older Loudness Radar in 2021. In the Audio Track Mixer, open the first effect slot on the mix track and choose Special > Loudness Meter so it reads the whole mix. Adobe’s help page for the Loudness Meter lists presets for European and American broadcast standards and for Spotify, Apple Podcasts, Netflix and YouTube.
Double-click the effect to open its settings, where Target Loudness and Maximum True Peak set the values it checks against. Add a Hard Limiter on the mix track and set its ceiling to the true peak limit of your delivery. If one film is going to a broadcaster and to social media, export a separate mix for each, because one compromise mix suits neither. Once the mix passes, export settings decide what reaches the viewer, and the walkthrough of rendering and exporting from Premiere Pro covers formats and presets by platform.
When an audio effect seems to do nothing
An effect that appears applied but changes nothing nearly always comes down to a handful of causes, so work through them before assuming the effect is broken. Most take seconds to check.
Common causes
Start with the track. A track muted with its M button, in the timeline or the mixer, plays nothing, so no effect on it can be heard. Next, look at the FX switch in the Effect Controls panel, because a bypassed effect stays in the list and does no work.
Routing comes next. Effects on a submix only process audio sent to that submix, so look at the output menu at the foot of each channel strip. Compressors, gates and limiters also ignore audio that never crosses their threshold, so a very quiet clip may pass straight through until you raise its clip gain.
Third-party plug-ins appear only after a scan, which you run from Preferences > Audio > Audio Plug-in Manager. A sample rate mismatch, such as a 44.1 kHz file in a 48 kHz sequence, can also upset some effects, and converting the file to the sequence rate clears it.
Checks before every export
Play the loudest section and watch the mix track meter, which should never reach 0 dBFS. Peaks around -3 dBFS before the final limiter leave room for format conversion, and if the meter hits the top, lower the mix fader or add a Hard Limiter.
Then play a pause between lines and listen for hiss or hum, returning to DeNoise if any is audible. Switch the mix to mono and listen again, because elements that vanish or thin out point to phase problems, often from stereo reverb or widening. Finish by reading the Loudness Meter against the target for the platform you are delivering to.
Train your team or hand over the edit
If your team edits most of its own video, the quickest gain is a short course built around your footage and your own projects. ProfileTree runs practical editing training for your team, from £350 plus VAT, so editors leave with the chain set up on their own machines. Where the edit needs consistent colour as well as sound, our guide to colour grading in Premiere Pro is a useful next read.
“A business video is judged on its sound before its pictures, because people will watch a soft shot but they will not sit through a voice they struggle to hear. At ProfileTree we clean the recording before anything else and check the loudness before every export, and that order is the brief for most of the video production we do in Belfast,” says Ciaran Connolly, founder of ProfileTree.
Where the film matters more than the time saved, our team can take on the filming and editing, including audio post-production, finished to broadcast or platform loudness. Filmed projects start from £1,200 plus VAT, and every brief begins with a conversation about what the film needs to do for your business.
FAQs
1. Where are audio effects in Premiere Pro?
They are in the Effects panel, opened from Window > Effects, inside the Audio Effects folder. Subfolders group them by job, from Amplitude and Compression to Reverb, and the search box at the top finds any effect by name. The Essential Sound panel offers quick versions of the most common fixes.
2. How do I apply audio effects to multiple clips in Premiere Pro?
Put the effects on the track in the Audio Track Mixer, so all its clips are processed identically. For a fixed group, process one clip, copy it, select the others, and use Edit > Paste Attributes with the audio effects option ticked. The mixer route suits projects that keep growing.
3. Which audio effects work best for voice-over in Premiere Pro?
DeNoise, then Dynamics, then the Parametric Equalizer cover most voice-over problems, in that order. DeNoise removes background sound, Dynamics evens out the level, and EQ removes boxiness while adding clarity. Add a DeEsser after the EQ if the speaker’s “s” sounds are harsh.
4. What loudness should UK broadcast audio be?
UK and Irish broadcasters base their specifications on EBU R128, which sets -23 LUFS with a maximum true peak of -1 dBTP. Measure the full mix with the Loudness Meter and hold the peaks down with a Hard Limiter. Check the individual broadcaster’s delivery specification as well, because some set a lower peak limit.
5. Does Premiere Pro have sound effects built in?
Premiere Pro does not come with a large general library of sound effect files, but Adobe Stock offers licensed audio you can bring into a project. Adobe’s documentation now also covers generating sound effects, music, and soundscapes inside Premiere Pro with its generative AI tools. Whatever the source, confirm the licence before commercial use.