
How to Render and Export in Premiere Pro
Table of Contents
Adobe Premiere Pro sits at the centre of professional video editing, used by broadcasters, content creators, and agencies across the UK, Ireland, and beyond. Yet two of its most fundamental processes (rendering and exporting) still trip up editors at every level. At ProfileTree, our video production team works through these workflows on client deliverables every week, from YouTube uploads to broadcast masters.
This guide on how to render and export in Premiere Pro breaks down both workflows step by step. Whether you are preparing a YouTube video, delivering a finished cut to a client, or exporting footage that meets UK broadcast standards, you will find a clear, practical path through the process.
The sections below cover the difference between rendering and exporting; how to render for smooth playback; the full export workflow using the current Premiere Pro interface; the best export settings by destination; and how to troubleshoot the most common problems that slow editors down.
Render vs Export: Understanding the Difference
Before touching any settings, it is worth being clear on what each process actually does. Conflating them is the single most common source of confusion in Premiere Pro, and mixing up the two can lead to wasted time or files that are not fit for purpose.
What Rendering Does in Premiere Pro
Rendering creates temporary preview files inside Premiere Pro. When a timeline contains effects, colour grades, or layered audio, the software cannot always play everything back in real time, particularly on older hardware. Rendering pre-calculates those elements and stores the result as preview data, allowing the sequence to play back without dropped frames or stuttering.
These preview files are located in your project folder and are not the finished video. They exist purely to make the editing experience smoother. If you delete them, your project is unaffected; Premiere Pro simply has to recalculate previews the next time you need them.
What Export in Premiere Pro Does
Exporting creates the final video file: the one you upload to YouTube, send to a client, or deliver to a broadcaster. When you export, Premiere Pro combines all edits, effects, colour grades, and audio treatments into a single output file in the format and resolution you specify.
Unlike rendering, exporting produces a file that exists entirely outside Premiere Pro. It can be played on any device, uploaded to any platform, or archived for future use. The quality of that file is controlled entirely by the settings you choose in the export panel.
Why the Distinction Matters for Your Workflow
Many editors skip rendering entirely and go straight to export. This is fine for simple timelines, but for complex sequences with heavy grading or stacked effects, skipping renders can lead to longer export times and occasional frame errors.
Understanding the relationship between the two processes also unlocks a significant time-saving technique: Smart Rendering, which is covered in detail later in this guide. Knowing when to render and when to simply export is one of the clearest markers separating an efficient editor from one who waits hours for files that should take minutes.
For businesses producing regular video content, this kind of workflow discipline adds up quickly. ProfileTree’s video marketing services use Premiere-based pipelines for client deliverables, and clean render management is part of every production workflow.
How to Render in Premiere Pro for Smooth Playback
Rendering for playback is a deliberate step you take during editing, not at the end of a project. Done correctly, it keeps your timeline responsive and your client previews clean. Here is how to approach it.
Setting In and Out Points
Open your sequence in the timeline. To render a specific segment rather than the entire sequence, press I to set an In point and O to set an Out point at the relevant section. This is useful when only part of your timeline contains heavy effects, and you do not want to wait for the entire sequence to render.
If you want to render the full sequence, skip the In and Out points entirely. Premiere Pro will render everything by default when you use the sequence menu command.
Running the Render Command
With your sequence open, go to Sequence in the top menu bar and select Render In to Out. Alternatively, press the Enter key on Windows or Return on Mac. Premiere Pro will begin processing your timeline and display a progress bar. Render times vary significantly depending on the complexity of your sequence and the processing power available.
For sections you want to render individually without setting In and Out points, you can also choose Render Selection from the same Sequence menu. This is particularly handy when working on a specific transition or effect in isolation.
Reading the Timeline Colour Bars
The coloured bar running along the top of your timeline is one of the most practical indicators in Premiere Pro, showing exactly where rendering is needed.
A red bar means the section has not been rendered and is likely to stutter during playback. A yellow bar indicates a partially optimised section that may play back at reduced quality. A green bar confirms the section has been fully rendered and will play back cleanly. Keeping as much of your timeline green as possible, especially before a client review, saves you from awkward pauses mid-screening.
Managing Render Files and Storage
Render files accumulate quickly, particularly on long-form projects. You can clear them via Sequence > Delete Render Files, though doing so forces Premiere Pro to rebuild previews the next time you render. It is worth periodically clearing old render files to free up drive space, especially on machines with limited storage.
For editors working with colour grading in Premiere Pro, keeping render files up to date is especially important. Graded footage is among the most computationally intensive content on a timeline, and unrendered grade passes are a common source of sluggish playback.
The Step-by-Step Export Workflow in Premiere Pro
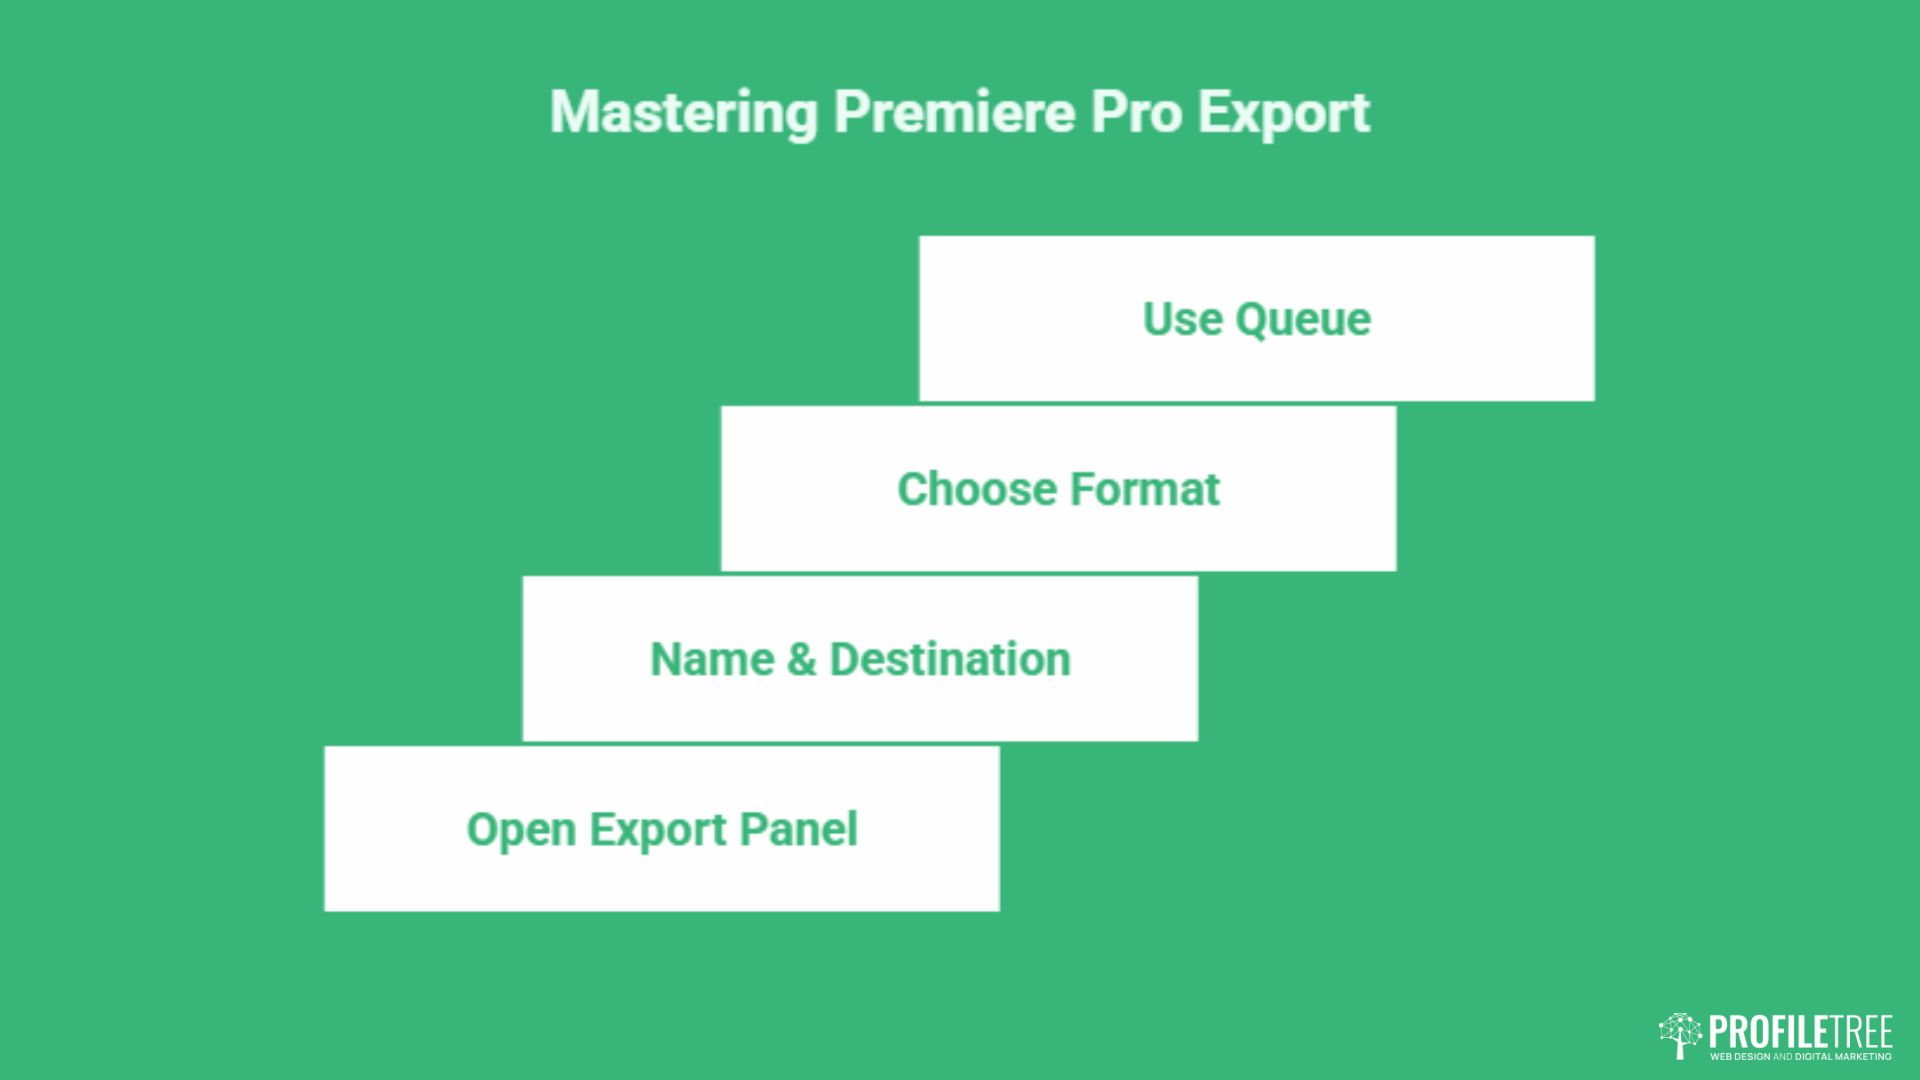
Adobe has updated the export interface significantly in recent versions of Premiere Pro. The dedicated Export tab replaces the older pop-up dialogue box, offering a cleaner and more streamlined experience. The steps below reflect the current interface.
Opening the Export Panel
With your sequence active in the timeline, press Ctrl+M on Windows or Cmd+M on Mac. Alternatively, click the Export tab at the top of the Premiere Pro workspace. The export panel will appear, showing a preview of your sequence alongside the settings panel on the right.
Make sure the correct sequence is active before opening the export panel. If you have multiple sequences in a project, Premiere Pro will export whichever one is currently selected in the timeline.
File Naming and Destination
At the top of the settings panel, you will see fields for the file name and the output location. Click the file name to rename the export. Click the folder icon or the path text to choose where to save the file.
Keep a consistent naming convention across projects, as this becomes particularly important when managing multiple versions of the same cut or delivering assets to clients. A format such as ProjectName_v1_1080p_H264 saves time during handoff and archiving.
Choosing the Right Format
The Format dropdown controls the codec and container for your output file. For most online delivery, H.264 is the standard choice: it produces smaller file sizes without significant quality loss and is compatible with every major platform. For higher-quality archival or broadcast delivery, Apple ProRes 422 (on Mac) or DNxHR (on Windows, via QuickTime or MXF) are the professional benchmarks.
If you are delivering to a client for further editing, always use an intermediate codec such as ProRes rather than H.264. Compressed formats lose quality every time they are re-encoded, which matters when the edit will go through post-production on another system.
Using the Queue via Adobe Media Encoder
Rather than exporting directly from Premiere Pro, you can click Queue to send the job to Adobe Media Encoder. This immediately frees Premiere Pro, allowing you to keep editing while the export runs in the background. Media Encoder also lets you batch multiple exports, useful when you need to deliver the same cut at different resolutions or for different platforms simultaneously.
For studios or agencies producing regular content, the queue workflow is generally the more efficient choice. It removes the bottleneck of waiting for a single export to complete before starting the next task.
Best Export Settings by Destination
There is no single “best” export setting in Premiere Pro. The right choice depends entirely on where the video is going. The table below gives a quick-reference guide, followed by specific guidance for the most common delivery scenarios.
| Destination | Format | Resolution | Bitrate (Target) | Audio |
|---|---|---|---|---|
| YouTube (1080p) | H.264 | 1920 x 1080 | 8–12 Mbps (VBR) | AAC, 320 kbps, 48000 Hz |
| YouTube (4K) | H.264 or HEVC | 3840 x 2160 | 35–45 Mbps (VBR) | AAC, 320 kbps, 48000 Hz |
| Instagram / Social | H.264 | 1080 x 1080 or 1080 x 1920 | 5–8 Mbps | AAC, 256 kbps |
| UK Broadcast (TV) | MXF OP1a | 1920 x 1080i (50i) or 1080p25 | 50 Mbps (CBG) | PCM, 24-bit, –23 LUFS (EBU R128) |
| Archival / Master | ProRes 422 HQ | Match source | High (lossless near) | PCM, 48000 Hz |
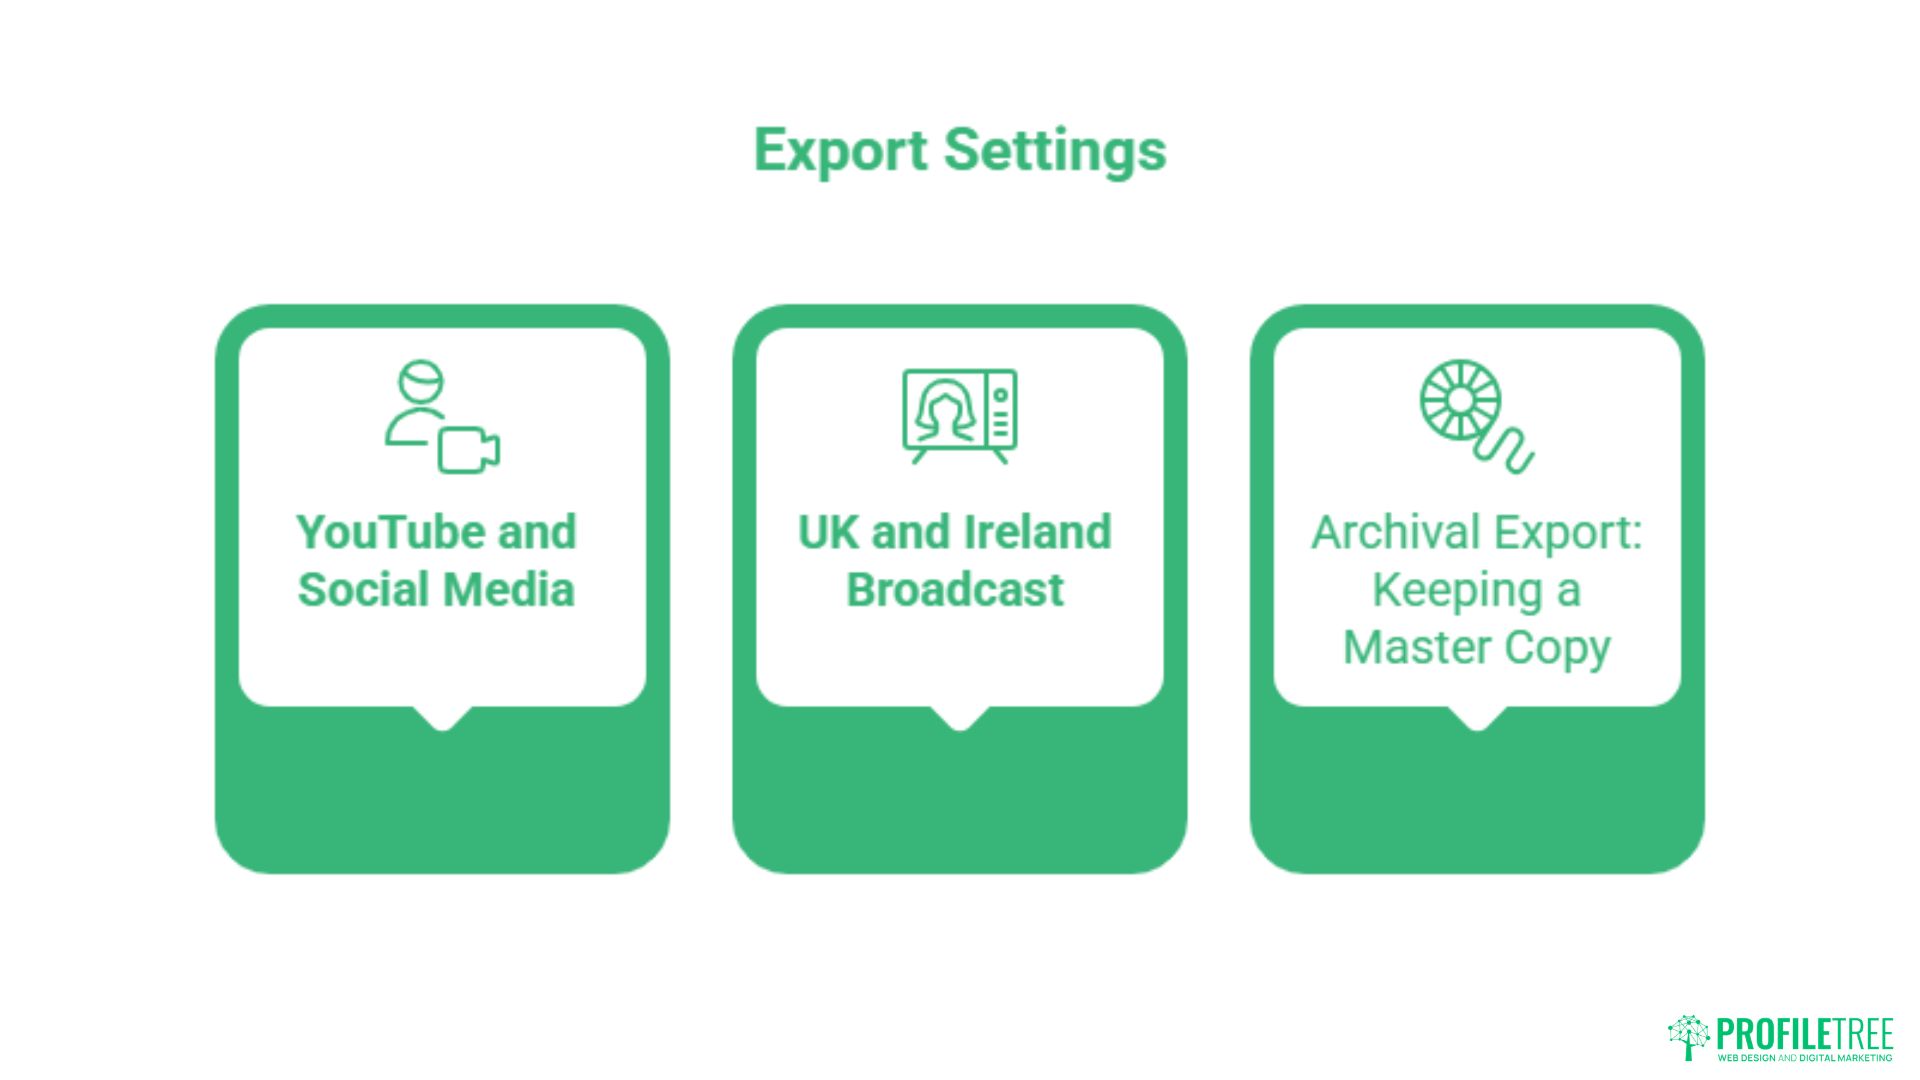
YouTube and Social Media Presets
For YouTube, select the H.264 format and choose the matching YouTube preset from the Preset dropdown, for example, YouTube 1080p Full HD or YouTube 2160p 4K Ultra HD. These presets automatically set the correct resolution, frame rate, bitrate, and audio settings. The key manual adjustment worth making is switching from Constant Bitrate (CBR) to Variable Bitrate (VBR), 2 pass, which tells Premiere Pro to analyse the footage first and then compress it more intelligently, resulting in noticeably better quality at similar file sizes.
For Instagram and other social platforms, check the platform’s current specifications before exporting, as aspect ratio requirements vary between feed posts, Reels, and Stories. Exporting a 16:9 cut for a Reel without adjusting the aspect ratio is one of the more common errors seen in social video production. Understanding these specifications ties directly into a broader short-form video strategy. Format decisions made at the editing stage shape how content performs in the feed.
UK and Ireland Broadcast Standards
Exporting for UK television requires a different approach to online delivery. UK broadcasters (BBC, ITV, Channel 4, RTÉ) follow specific technical delivery specifications that differ significantly from the consumer-oriented presets in Premiere Pro.
The key parameters for UK broadcast delivery are: 25 fps (PAL standard), an MXF OP1a container, a target loudness of –23 LUFS with a maximum true peak of –1 dBTP (per the EBU R128 standard), and a DNxHD or AVC-Intra codec, depending on the facility’s preference. Premiere Pro includes a Loudness Radar audio effect that displays real-time LUFS measurements while you scrub the timeline. Use it before you export, not after.
“Delivery specs for UK broadcasters are non-negotiable,” says Ciaran Connolly, founder of ProfileTree. “We have seen client work rejected at the QC stage purely because audio loudness was off by a fraction. Getting the technical spec right before export saves days of back-and-forth.”
Archival Export: Keeping a Master Copy
Every finished project should produce two exports: the delivery version and a master copy. The master should be exported in ProRes 422 HQ (Mac) or DNxHR HQX (Windows) at source resolution and frame rate. These formats are lossless or near-lossless, meaning the master retains full quality for future re-editing, format conversions, or repurposing.
Storing masters alongside the original project files and raw footage completes the archival chain. This matters particularly for commercial work, where a client may return years later needing a re-cut or a different aspect ratio for a new platform.
Smart Rendering, Hardware Acceleration, and Troubleshooting
The difference between a 10-minute export and a 40-minute one is often not the sequence’s complexity; it is whether the editor has used the available efficiency tools. This section covers techniques that meaningfully improve export speed, along with fixes for the most common errors.
What’s Changed in Premiere Pro’s Render and Export Tools
Adobe has tightened the gap between rendering and exporting in recent Premiere Pro updates. Software-only rendering has been removed from Project Settings on Windows and Intel Mac builds starting with version 25.2, according to Adobe’s official Premiere help documentation, making hardware-accelerated rendering the default rather than an optional performance boost. Apple Silicon machines were never affected, since software rendering was never available there in the first place.
Adobe has also rebuilt its H.264 encoding pipeline. Per Adobe’s published release notes, the rewritten encoder delivers export speeds up to 4 times faster on Apple Silicon and up to 2 times faster on Windows compared with the previous version. For editors working through tight client turnaround schedules, this changes the calculation on whether hardware encoding is worth switching to. It usually is.
Recent versions also let you attach Content Credentials directly during export, giving clients a verifiable record of how a file was produced. None of this changes the fundamentals covered above: render for smooth playback, export for delivery, and match your settings to the destination. It does mean the “why is my export slow” troubleshooting list below is shorter than it used to be.
How Smart Rendering Works
Smart Rendering is one of the most underused features in Premiere Pro. When the codec and settings of your export match those of your sequence’s render previews, Premiere Pro can copy the pre-rendered preview data directly into the export rather than reprocessing every frame from scratch. On a complex timeline, this can reduce export time by more than half.
To use Smart Rendering, tick the Use Previews checkbox in the export settings panel. The condition is that your export format and settings must match the sequence preview settings, configured under Sequence > Sequence Settings > Preview File Format. If the settings do not match, Premiere Pro re-renders everything regardless of the checkbox. Setting up your sequence preview format to match your most common export destination at the start of a project is good practice.
Enabling Hardware Encoding
By default, Premiere Pro may use software-based encoding, which puts the full processing load on the CPU. Switching to hardware encoding (using the dedicated encoder on your GPU) can reduce H.264 and HEVC export times without compromising quality in most delivery scenarios.
In the export settings, under Video > Encoding Settings, look for a Performance dropdown. Select Hardware Encoding if available. On machines with compatible NVIDIA or AMD GPUs, this is almost always faster than software encoding. Apple Silicon Macs handle this automatically through the Media Engine in newer versions of Premiere Pro.
Why is My Export Taking So Long?
Slow exports usually come down to one of four things: the sequence contains effects that cannot be GPU-accelerated, hardware encoding has not been enabled, the media cache has grown too large and is causing disk read delays, or the source files are in a format that requires heavy transcoding (such as H.264 source files, which are highly compressed and expensive to decode at scale).
To address the cache issue, go to Edit > Preferences > Media Cache and clean the database. For source file issues, consider using proxy workflows: create lower-resolution proxy copies of your footage for editing, then swap back to full-resolution originals at export time via Sequence > Proxy > Toggle Proxies Off.
Fixing “Error Compiling Movie” and GPU Crashes
The “Error Compiling Movie” message is one of the more frustrating export failures in Premiere Pro because it rarely specifies a cause. The most reliable fix is to render the full sequence first (Sequence > Render In to Out) before attempting the export. This pre-processes the timeline and removes the conditions that most commonly trigger the error.
If the error persists, try exporting a short section of the timeline to identify whether the problem is isolated to a specific clip or effect. GPU-related crashes are often resolved by updating drivers or by temporarily switching from Hardware to Software encoding in the export settings as a diagnostic step.
Consistent export failures on client projects are sometimes a signal that the editing workstation needs an upgrade. For businesses that regularly produce video content, investing in proper production infrastructure is worth considering alongside your broader content marketing strategy. ProfileTree’s digital training programmes cover both technical workflows and strategic content planning for teams building in-house production capability.
Rendering and exporting in Premiere Pro are distinct processes with distinct purposes, and knowing when and how to use each one is what separates efficient editors from those who spend hours waiting on progress bars. Apply Smart Rendering, choose hardware encoding, and match your export settings to your delivery destination. For tailored support with video production workflows or content strategy, speak to the ProfileTree team.
FAQs
What is the difference between rendering and exporting in Premiere Pro?
Rendering creates temporary preview files inside Premiere Pro for smooth playback during editing. These files are not the finished video. Exporting creates the final output file: the one you share, upload, or deliver to a client. Rendering is an internal process; exporting produces the deliverable.
What is the fastest format to export from Premiere Pro?
H.264 with Hardware Encoding enabled is generally the fastest option for online delivery. It produces compressed files quickly using your GPU rather than relying entirely on the CPU. For the absolute fastest export times on a complex sequence, pair hardware encoding with the Use Previews option (Smart Rendering) so Premiere can reuse pre-rendered data.
Does rendering make the final export faster?
Yes, when Smart Rendering is enabled. If your export format matches your sequence’s preview file format and you tick the Use Previews checkbox, Premiere Pro copies pre-rendered frames directly into the export rather than processing them again. On heavily graded or effect-laden timelines, this can reduce export time by 50% or more.
How do I export a video for YouTube from Premiere Pro?
Press Ctrl + M (Windows) or Cmd + M (Mac) to open the export panel. Set the format to H.264, then select the YouTube 1080p Full HD or YouTube 2160p 4K preset from the Preset dropdown. Switch bitrate encoding to VBR, 2 pass for better quality. Set audio to AAC, 320 kbps, 48000 Hz, and click Export or Queue to Adobe Media Encoder.
How do I export for a UK TV broadcast from Premiere Pro?
UK broadcast delivery typically requires an MXF OP1a container, 25fps (PAL), and a DNxHD or AVC-Intra codec at around 50 Mbps. Audio must comply with EBU R128 loudness standards, targeting –23 LUFS with a maximum true peak of –1 dBTP. Always confirm the exact specification with the receiving broadcaster or post-production facility before delivery, as requirements vary between channels.