Wix Pro Gallery: Setup, SEO, and Performance Guide
Table of Contents
If you manage a Wix website and want to display images or videos in a way that looks professional and loads quickly, the Wix Pro Gallery is one of the platform’s most capable built-in tools. It gives you layout control, image protection, and basic SEO customisation that the standard Wix gallery simply does not offer.
This guide covers everything you need to know: what the Pro Gallery does, how to set it up correctly, how to optimise it for search, and where its performance limitations matter. If you’re running a Wix site for a small or medium business and you’ve been wondering whether the Pro Gallery is worth using, or why your gallery images might look blurry or load slowly on mobile, you’ll find direct answers here.
What Is Wix Pro Gallery and How Does It Differ from Standard Galleries?
Wix offers two main gallery options: the standard gallery and the Pro Gallery. The difference matters more than most users realise.
Standard Gallery vs. Wix Pro Gallery
| Feature | Standard Wix Gallery | Wix Pro Gallery |
|---|---|---|
| Video support | No | Yes (including 360° video) |
| Right-click image protection | No | Yes |
| Individual alt text per image | Limited | Full control |
| Layout types | Basic grid only | Grid, masonry, slider, collage |
| Hover effects and transitions | Minimal | Extensive |
| Link per image to separate page | No | Yes |
| SEO customisation | Basic | More detailed |
| Watermarking | No | Yes |
| Performance (with many images) | Moderate | Better (lazy loading built in) |
The Pro Gallery is installed as an app rather than a native element, so you need to add it from the Wix App Market before you can use it. Once installed, it replaces basic galleries for most practical purposes.
For businesses using images as a primary commercial asset, such as photographers, interior designers, food producers, or hospitality businesses, the Pro Gallery is the right tool. For sites that use one or two images per page with no need for grouped display, the standard gallery is sufficient.
How to Set Up Wix Pro Gallery: Step-by-Step
The setup process is straightforward, but the order of steps matters. Install the app first, create the section where the gallery will sit, then configure the layout and media before linking images to pages. Rushing the sequence, particularly by adding images before choosing a layout, means reworking things twice.
Installing the App
- From your Wix Editor, click Add Apps in the left-hand menu
- Search for “Wix Pro Gallery”
- Click Add to Site to install it
- Once installed, click Open to launch it. If it does not open automatically, go to Add Elements, select Gallery, and access the Pro Gallery from there
Before adding the gallery itself, decide where on your page it will sit. Add a new section to your page to give the gallery space, then return to the Pro Gallery and select a template to drop into that section.
Stretching to Full Width
Once the gallery appears on your page, click on it to reveal the options panel. You will see a stretch icon alongside the Manage Media and Settings controls. Click it, select Stretch to full width, and set your margins. For most layouts, margins of 60-100 pixels work well, depending on your site design.
Choosing a Layout
From the gallery Settings panel, go to Layout. You have four main options:
Grid: All images display at the same size. Good for product catalogues and portfolios where uniformity matters.
Masonry: Images retain their natural proportions and stack in columns. Works well for photography portfolios and blog category displays where images vary significantly in shape.
Slider: One image at a time, advancing either manually or automatically. Use sparingly; auto-advancing sliders are known to reduce engagement and can cause layout shift issues on mobile.
Collage: A creative arrangement that varies image sizes for visual interest. Best suited to editorial or lifestyle content rather than commercial product display.
From the Layout panel, you can also control scroll direction, image ratio, thumbnail size, images per row, and spacing between images.
Managing and Replacing Media
Click Manage Media to add, remove, or replace images. You can upload directly from your computer or pull images from your Wix media library. Wix also connects to Shutterstock and Unsplash if you need placeholder images during development.
To replace a default template image, select the image in Manage Media, click Replace Image, and upload your own file.
Image SEO in Wix Pro Gallery: What Google Actually Sees
This is the section most guides skip, and it’s where the biggest opportunities and risks sit.
Alt Text: The Single Most Important Gallery SEO Task
Every image in your Wix Pro Gallery can have its own alt text. For Google Image Search, this is not optional if you want your images to appear in search results. An image without alt text is essentially invisible to crawlers.
To add alt text in the Pro Gallery:
- Open Manage Media
- Click on an individual image
- Add descriptive text in the Image Title and Description fields. The Description field feeds the alt attribute in the HTML output
Write alt text that describes what the image shows, not what you want to rank for. “Belfast hotel room with harbour view” is good alt text. “best hotel Belfast book now” is keyword stuffing and will not help.
For sites with large galleries, working through alt text for every image takes time. ProfileTree’s content marketing team frequently helps clients structure this process as part of broader site audits, particularly for hospitality, retail, and portfolio-based businesses across Northern Ireland and Ireland.
Image File Format and File Size
Wix processes and serves images through its own CDN, which does some automatic compression and conversion. However, the source file you upload still matters.
Upload guidelines for the Pro Gallery:
- Upload images at no more than 2,500 pixels on the longest side for standard display. Above this, Wix’s rendering engine begins to introduce visible softness
- WebP is the preferred format for web use; if you are uploading JPEGs, keep file sizes under 500KB per image for gallery use
- Do not upload raw files or TIFFs. Wix will process them, but the source file weight affects how quickly the initial upload and processing complete
Why Images Look Blurry: The Scaling Problem
The most common complaint about Wix Pro Gallery is that images look blurry after upload. This almost always has one of two causes.
The first is an undersized source image. If you upload a 600-pixel-wide image and the gallery displays it at 1,200 pixels, Wix has to scale it up, which degrades the quality. Upload at the size you need, or larger.
The second cause is Wix’s built-in image sharpening setting, which can sometimes be toggled off. Check your Settings panel within the Pro Gallery and confirm that image sharpening is enabled.
Does Wix Pro Gallery Slow Down Your Site? Performance and Core Web Vitals
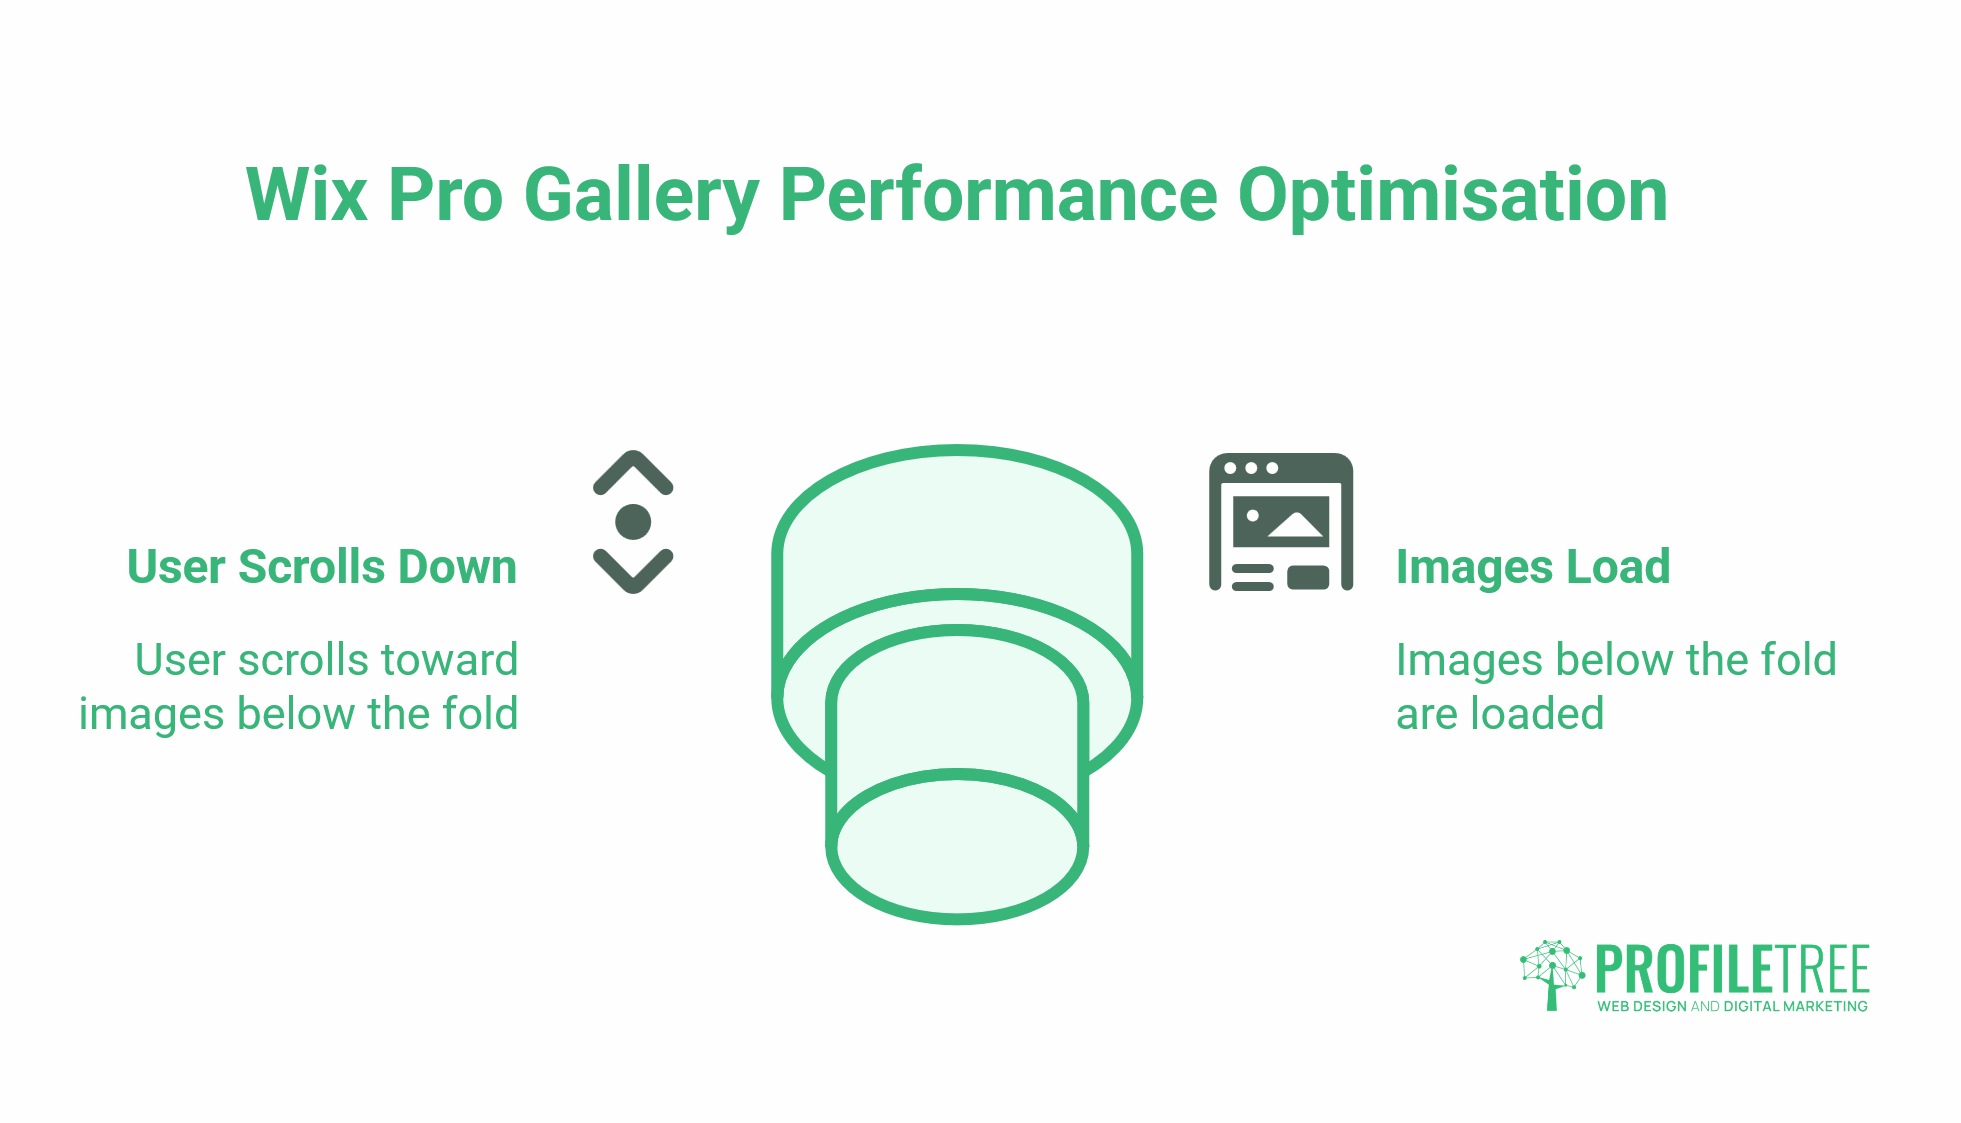
Gallery pages are among the heaviest pages on any website. The Wix Pro Gallery handles this better than the standard gallery, primarily through lazy loading: images below the fold are loaded only when the user scrolls toward them. This protects your initial page load time.
That said, galleries can still damage two Core Web Vitals metrics that Google uses as ranking signals.
Largest Contentful Paint (LCP)
LCP measures how long it takes the largest visible element on the page to load. On a gallery page, the hero image or the first row of gallery images is often the LCP element. If those images are large, uncompressed, or not prioritised for early loading, your LCP score will suffer.
To protect your LCP:
- Keep the first visible row of gallery images as lightweight as possible
- Where your theme allows, use a separate hero banner image for the page rather than relying on the gallery itself to fill the top of the page
- Check your LCP score in Google PageSpeed Insights after adding the gallery. A drop below 2.5 seconds means the gallery configuration needs attention
Cumulative Layout Shift (CLS)
CLS measures unexpected layout movement as the page loads. Galleries that do not specify image dimensions in their HTML can cause content below the gallery to jump as images load. Wix handles most of this automatically with the Pro Gallery, but if you embed the gallery inside a custom section or use Velo (Wix’s developer mode) to manipulate the layout, CLS can appear.
If Core Web Vitals are a concern for your business site, a professional audit is worth doing before publishing a gallery-heavy page. ProfileTree’s web development team runs PageSpeed and Lighthouse assessments for both new-build projects and existing-site reviews.
Wix Pro Gallery as a Category Navigation Area
One of the more practical applications of the Pro Gallery is using it as a visual category navigation: linking each image to a separate page on your site, so visitors can browse content areas by clicking images rather than text links.
This works well for:
- Blogs with distinct topic areas (travel, food, lifestyle)
- E-commerce sites group product categories visually
- Portfolio sites organising work by project type or client sector
- Hospitality businesses presenting rooms, dining, and events as separate visual sections
Setting Up Image Links
- In your Pro Gallery settings, find the When clicking on an item option
- Select A link that opens from the four available options
- Return to Manage Media and click on each image individually
- Scroll down to find the Link field, select your target page, and confirm
Repeat for each image in the gallery. Preview your site to test that each image opens the correct page.
Design Considerations for Category Galleries
Keep the number of categories to what a visitor can reasonably take in at once. Four to six categories in a visual grid is a common and effective range. Beyond that, the gallery starts to resemble a cluttered archive rather than a navigation aid.
Use images that clearly communicate the category subject. A travel category represented by a generic countryside shot works less well than an image of a specific recognisable destination. Descriptive image titles overlaid on hover help visitors confirm they are about to click the right section.
If you need a category structure that goes beyond what Wix’s native tools allow, such as filterable navigation, automated population from a database, or a search function within the gallery, that typically requires either Wix’s Velo developer mode or a move to a platform with more built-in flexibility. ProfileTree’s web design team regularly helps businesses assess whether their current platform still meets their needs, or whether a move to WordPress or a custom build is the right next step.
Image Protection: Right-Click Protect and Watermarking

If you are a photographer, illustrator, or any business where image assets have commercial value, the Pro Gallery’s protection features are worth understanding.
Right-click protection prevents visitors from saving images using the standard right-click menu. It is worth enabling, but it is not an absolute barrier. Technically capable users can still access images through browser developer tools or by taking screenshots. Treat it as a deterrent rather than a lock.
Watermarking is available within the Pro Gallery settings. You can upload a logo or text watermark and apply it across your gallery images at a chosen opacity and position. For photographers selling prints or licensing images, watermarking the gallery preview while delivering clean files through a separate order process is a standard workflow.
To enable right-click protection, open Manage Media, go to Settings, and toggle on Image Protection.
UK Legal Context: Image Copyright and GDPR Considerations
Two legal areas apply specifically to UK and Irish businesses using image galleries on their websites, and they are almost entirely absent from most Wix guides.
Image Copyright
Under UK copyright law, the creator of an image owns it from the moment of creation. If your gallery contains images you did not create, commission, or license properly, you are potentially infringing copyright even if the images were freely available online. Stock image licences also vary: many require attribution, restrict commercial use, or prohibit modification.
Before populating your Pro Gallery, confirm the licence status of every image. For businesses that need original, commercially safe photography, commissioning a professional shoot or using properly licensed stock is the safer route.
GDPR and Social Sharing Features
The Wix Pro Gallery includes social sharing buttons that let visitors share your images directly on platforms like Facebook and Pinterest. These sharing functions load third-party scripts that may drop tracking cookies on your visitors’ browsers.
Under UK GDPR and the Privacy and Electronic Communications Regulations (PECR), tracking cookies require informed consent before they are set. If your Wix site uses a cookie consent tool, verify that the social sharing features within the Pro Gallery are captured by your consent mechanism. ProfileTree’s guide to managing tracking tools in Wix covers how to review and control what tracking scripts fire on your site.
Advanced Use: Connecting the Pro Gallery to Wix CMS (Velo)
For businesses that publish content frequently, populating a gallery manually every time you add new work is inefficient. Wix’s developer mode, called Velo, allows you to connect the Pro Gallery to a Wix Database Collection, so gallery content updates automatically when you add new records to your database.
This is how a photographer might set up an automated portfolio: new shoots are added to a CMS collection, and the gallery on the portfolio page updates without any manual image management.
Setting this up requires familiarity with Wix’s Velo environment and basic JavaScript. If you do not have a developer on your team, this is typically a one-off development task that ProfileTree can scope into a broader Wix build or optimisation project.
For businesses considering whether to invest in a more sophisticated CMS integration on Wix or whether WordPress would better serve their content publishing needs, our HTML and code customisation guide for Wix provides a useful comparison of where each platform’s developer tools begin and end.
When Wix Pro Gallery Is Not Enough
The Pro Gallery handles most standard use cases well, but there are situations where it reaches its limits.
If you need gallery filtering (allowing visitors to sort images by category, date, or tag without leaving the page), you either need Velo integration or a third-party gallery app from the Wix App Market. Exploring the best Wix apps for your site is a useful starting point for understanding what the platform’s app library can add.
If your site is primarily built around visual content and you need fine-grained control over image SEO, page speed, structured data for images, and custom layouts, WordPress with a dedicated gallery plugin typically gives you more control than Wix’s Pro Gallery. That is not a criticism of Wix; it simply reflects the difference between a hosted website builder and a self-hosted CMS. ProfileTree builds on both platforms, and the right choice depends on what your business actually needs, not on which platform is more popular.
If you are running an e-commerce site and want the gallery to display products with prices, stock levels, and add-to-cart functionality, you should consider Wix Stores rather than the Pro Gallery. The Wix e-commerce delivery and setup guide is a good next step for businesses selling online.
Troubleshooting Common Wix Pro Gallery Issues
Most Pro Gallery problems fall into a small number of recurring categories: image quality, mobile layout, and features that appear switched off by default. Work through the relevant fix below before assuming the issue requires a platform-level solution.
Images are blurry
Upload source images at a minimum of 1,500 pixels on the shortest side. Check that image sharpening is enabled in the Pro Gallery settings. If the gallery displays at a larger size than your source image, it will always result in a loss of quality.
The gallery looks different on mobile
The Pro Gallery applies a different layout for mobile displays. After configuring your desktop layout, switch to mobile view in the Wix Editor and adjust the mobile gallery settings separately. The Editor’s mobile preview is reasonably accurate, but always test on a real device before publishing.
The heart icon appears on images
This is a default Pro Gallery social feature. To remove it, go to Manage Media, select Settings, and toggle off the heart/like button.
Images are not downloading correctly
If you have enabled the download option and visitors report it is not working, check whether your Wix plan supports file downloads and that the download toggle in the gallery settings is active for each image.
The gallery is slowing the page down
Run the page through Google PageSpeed Insights. If the gallery is the cause, reduce the number of images displayed on initial load, compress the source files further, or split a very large gallery across multiple pages.
Conclusion
The Wix Pro Gallery handles most small business use cases well. Get the image dimensions right, add alt text to every image, and check your page speed after publishing. Those three steps cover the majority of issues that arise in gallery implementations.
Where it falls short is in scale and flexibility: filterable navigation, automated CMS population, and fine-grained performance control all push the Pro Gallery beyond what it can handle natively. If those limitations are affecting your site, it may be time to look at your platform options.
ProfileTree’s web design team works with businesses across Northern Ireland, Ireland, and the UK on exactly these decisions. Get in touch if you’d like a fresh pair of eyes on your site.
FAQs
Is Wix Pro Gallery free?
The app is free to install. Some features, including removing Wix branding and accessing higher storage limits, require a paid plan. Core functionality, including layout options, alt text, image linking, and right-click protection, is available on free and paid plans.
What is the difference between Wix Pro Gallery and a regular Wix gallery?
The Pro Gallery supports video, right-click image protection, individual alt text per image, a wider range of layouts (masonry, collage, slider), and linking each image to a separate page. The standard gallery is a simpler native element with fewer options.
Does Wix Pro Gallery affect site speed?
It can. The gallery uses lazy loading, which protects initial load time, but pages with large numbers of uncompressed images will still load slowly. Keep source images under 500KB and limit the number of images above the fold.
How do I prevent people from downloading my images from the Wix Pro Gallery?
Enable right-click protection in the gallery settings. It prevents the standard right-click save option but does not stop screenshots or developer tool access. For commercial photography, watermarking visible images and delivering clean files separately is a more reliable approach.