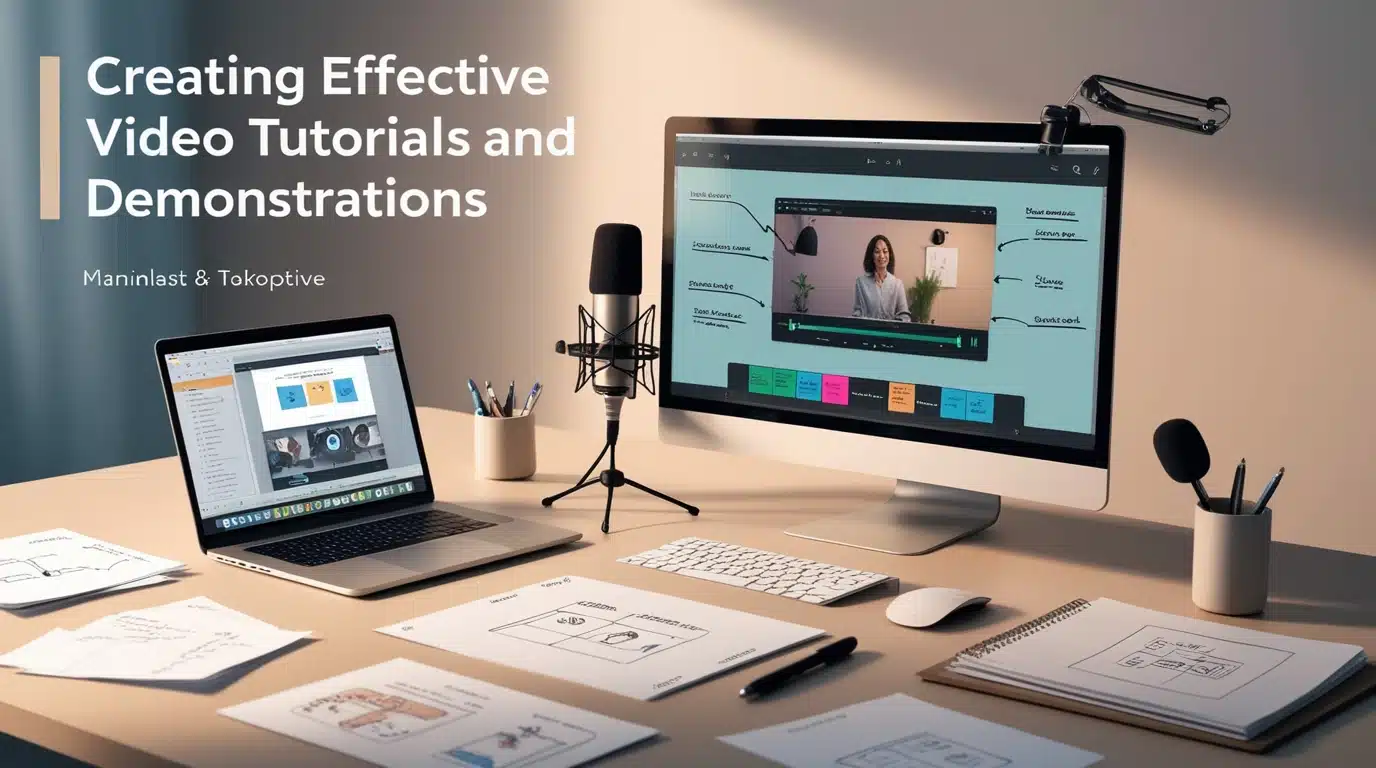
Creating Effective Video Tutorials and Demonstrations
Table of Contents
Video tutorials and demonstrations have become invaluable resources for teaching, sharing skills, and showcasing products. Whether you’re an educator, content creator, or business professional, mastering the art of creating compelling and clear video tutorials can amplify your impact.
In this guide, we’ll explore each step of creating compelling video tutorials and demonstrations, from planning and scripting to recording and editing, along with tips to keep your audience engaged.
Planning Your Video Tutorials and Demonstrations
Creating effective video tutorials and demonstrations requires careful planning and execution. Here are some key considerations to help you produce high-quality videos that engage your audience
Identify Your Audience
Understanding your audience is crucial. Consider their experience level, interests, and any specific needs they may have regarding the topic you’re covering. Are they beginners, intermediate learners, or advanced users? Tailoring your content to their level of knowledge will help you deliver a targeted tutorial that resonates with them.
Define the Purpose
What are you trying to accomplish with your video? Your goal could be to educate, inform, or solve a problem. A clear objective will keep your content focused and prevent the tutorial from becoming too lengthy or confusing. Some common goals include:
- Explaining how to use software or tools
- Teaching a skill or concept
- Demonstrating a process or technique
- Providing product insights or troubleshooting tips
Research the Topic
Even if you’re already knowledgeable about the subject, thorough research can provide new insights, examples, or methods that enhance the value of your tutorial. Identify critical points that need explaining, common questions that might arise, and best practices associated with your topic.
Outline Your Content
Creating an outline will keep your tutorial organised and ensure you cover all essential points. Break down your tutorial into distinct sections to make it easier to follow. Here’s an example structure for a video tutorial:
- Introduction: Explain the topic and its relevance.
- Step-by-Step Instruction: Dive into each process step, keeping transitions clear.
- Summary: Recap the main points.
- Call-to-Action: Encourage viewers to try the method, subscribe, or leave questions.
Scripting and Storyboarding
A well-thought-out script is the backbone of a polished video tutorial.
Writing the Script
Writing a script doesn’t mean you need to stick to it verbatim, but it does help to clarify your points, avoid unnecessary fillers, and keep the flow logical. Use concise and straightforward language, avoiding overly technical jargon unless it’s necessary and your audience will understand it. Your script should include:
- A brief introduction and the purpose of the video
- Each step in a detailed yet digestible manner
- Transitions between sections
- Instructions for actions viewers might need to take
Storyboarding
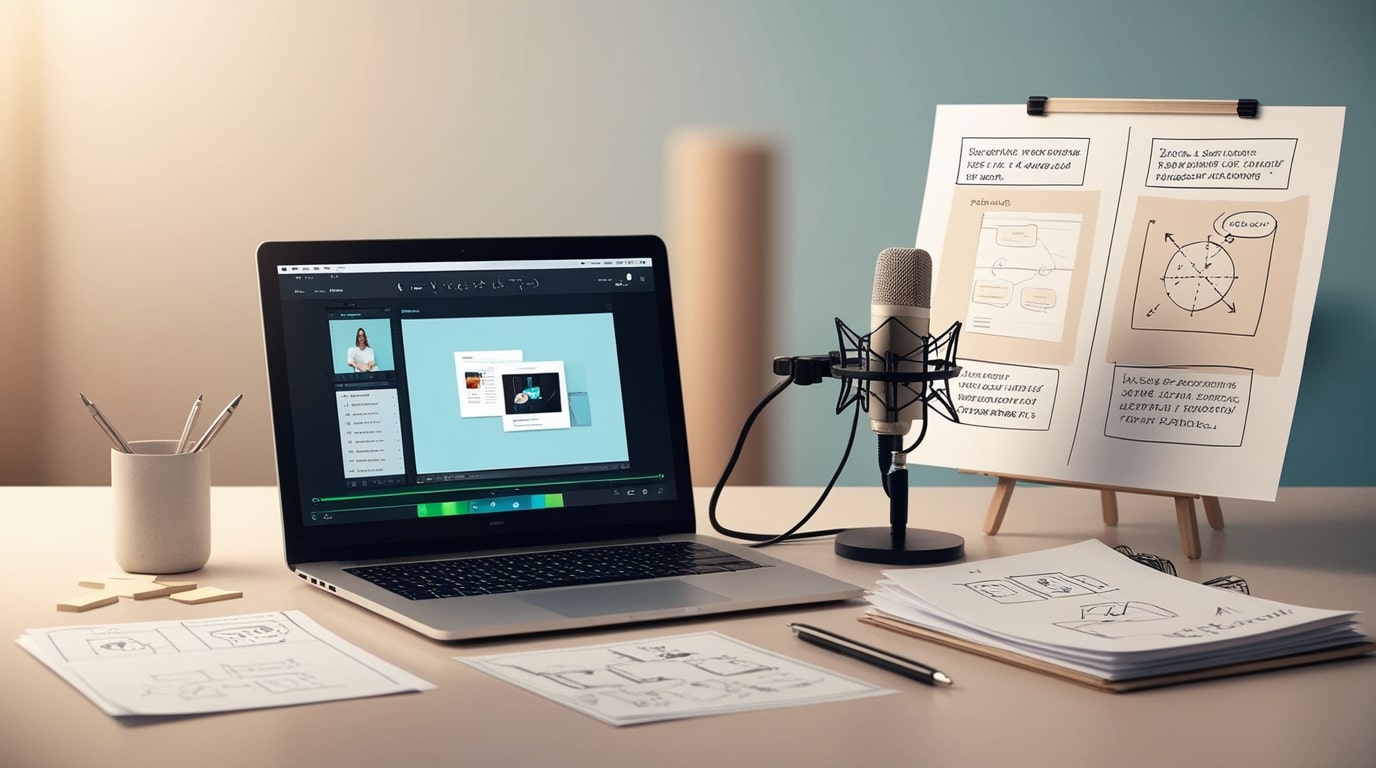
Creating a storyboard allows you to visualise each video section before recording. Storyboards outline the sequence of shots, camera angles, and key visual elements for each tutorial step. This practice can help to maintain visual coherence and prepare you for camera positioning, lighting, and transitions.
Choosing the Right Equipment
The quality of your video essentially depends on the tools you use. While high-end equipment can enhance production quality, you don’t necessarily need expensive gear to create a practical tutorial.
Camera
A high-quality camera, whether a DSLR, mirrorless camera, or a smartphone with a good lens, can significantly affect video clarity. Ensure your camera records in at least 1080p HD for a professional-looking video.
Microphone
Clear audio is essential. Using an external microphone will capture better audio quality than built in microphones. Consider Lavalier, USB microphones, or shotgun mics, depending on your setting and recording type. Test audio quality in advance to avoid background noise or unclear sound issues.
Lighting
Natural light can work well, but consider investing in essential lighting gear for consistent quality. A simple three-point lighting setup – with a key light, fill light, and backlight – can eliminate shadows and highlight your subject. Softbox, ring, or LED panels are affordable and effective options.
Screen Recording Software
If your tutorial involves demonstrating software or processes on a computer, screen recording software is essential. Tools like OBS Studio, Camtasia, or Screencast-O-Matic allow you to capture your screen while offering features like annotations, zoom-ins, and cursor highlighting to guide viewers’ attention.
Recording Your Video
Recording can be a lengthy process if not well organised. Here’s how to streamline the process.
Set Up Your Space
Choose a quiet, uncluttered space where you can control ambient noise and light. Ensure your backdrop suits the subject matter and doesn’t distract from the content. Additionally, if you’re recording with a green screen, ensure even lighting to avoid colour bleed and ease post-production editing.
Perform a Test Run
Before recording the full tutorial, do a test run to check camera angles, audio levels, and lighting. This will help you rehearse your script and ensure the equipment functions correctly. Adjust your settings if you notice brightness, audio clarity, or frame composition issues.
Maintain Consistent Energy and Tone
Your voice and energy are crucial to keeping viewers engaged. Speak, maintain a steady pace, and vary your intonation to avoid a monotone delivery. Keep an eye on your posture and maintain eye contact with the camera if you appear on screen, as this creates a more personal connection with viewers.
Record in Short Segments
Recording in short segments allows you to manage errors more effectively and makes the editing process more accessible. Focus on one step at a time and take pauses between sections. This approach minimises re-recording and gives you flexibility when arranging clips later.
Editing Your Tutorial
Editing transforms raw footage into a polished, viewer-friendly video. Here’s a step-by-step guide to effective editing.
Trim and Arrange Clips
First, cut out unnecessary parts, mistakes, or long pauses to keep the video focused. Arrange your clips in the outlined sequence, ensuring a smooth flow from one point to the next.
Add Annotations and Text
Annotations and text overlays help highlight key points, reinforce spoken instructions, and add visual interest. Common types of on-screen text include step titles, key takeaways, or reminders of essential points. Many editing tools offer features to add text, arrows, or even animated effects to emphasise crucial parts.
Incorporate Transitions and Effects
Simple transitions, like fades or dissolves, can make your video feel more cohesive without distracting from the content. Use these sparingly to keep the focus on the tutorial rather than visual effects. Some tutorials also benefit from zoom-ins or slow-motion effects to focus on intricate details or specific actions.
Adjust Audio Levels and Add Music (Optional)
Ensure that your audio levels are balanced throughout the video. Use noise reduction features if there’s background noise. Light background music can help set the tone, but keep it subtle so it doesn’t overshadow your narration.
Enhancing Viewer Engagement
An engaging tutorial keeps viewers interested and encourages them to follow along.
Ask Questions and Encourage Interaction
Asking viewers questions (e.g., “What’s your experience with this tool?”) can increase engagement, especially if you post on platforms like YouTube or social media. Encourage viewers to leave comments or ask questions if they encounter issues.
Use Visual Cues
Visual cues, such as arrows, highlights, or pop-up text, can guide viewers’ attention to specific parts of the screen or process. These cues reduce viewers’ cognitive load, helping them absorb information more easily.
Be Concise and Stay On-Topic
An overly long video can lose viewers’ interest. Ensure each step in your tutorial is necessary, and avoid going off-topic. Aim for a balance between being thorough and maintaining brevity.
Publishing and Promoting Your Video Tutorial
Once your video is edited, it’s time to publish and promote it. Choose platforms that best reach your audience, such as YouTube, Vimeo, or a learning management system.
Title and Thumbnail
An attractive title and thumbnail are key to getting viewers to click on your video. The title should accurately reflect the content, while the thumbnail should be visually engaging and representative.
Include a Detailed Description and Tags
Provide a comprehensive video description that outlines what viewers can expect. Use relevant tags and keywords to help your video appear in search results and reach a wider audience.
Promote Across Platforms
Promote your tutorial across social media, blogs, forums, and email newsletters to reach a broader audience. Consider cross-promoting with relevant communities and collaborating with others in your field.
Analysing Feedback and Improving
After publishing, take note of viewer feedback, comments, and engagement metrics. Analysing this information can help you understand what worked well and what didn’t, giving you insights for future videos.
Conclusion
Creating a practical video tutorial or demonstration requires a blend of planning, technical skills, and audience engagement techniques. By focusing on clarity, organisation, and audience needs, you can produce informative and enjoyable tutorials for viewers. Whether you’re sharing a technical skill, demonstrating a product, or teaching a new concept, the tips and techniques discussed in this guide will equip you to make impactful, professional-quality video tutorials that resonate with your audience.
FAQs
What is the best software to use for creating video tutorials?
The best software for creating video tutorials depends on your specific needs and budget. Popular options include Camtasia and Screencast-O-Matic for screen recording tools, Adobe Premiere Pro and DaVinci Resolve for video editing software, and WeVideo and Clipchamp for online video editors.
What are some common mistakes to avoid when creating video tutorials?
Common mistakes include poor audio quality, poor video quality, overly complex editing, lack of planning, and ignoring audience feedback.
How can I measure the effectiveness of my video tutorials?
To measure the effectiveness of your video tutorials, you can track views, engagement, click-through rate, and conversion rate.