Create WordPress Posts Correctly: Optimise with Our Tutorial
Table of Contents
Learning how to create a post in WordPress properly is the foundation of running a successful website. Whether launching a business blog, managing a company publication, or building an e-commerce platform, understanding the complete process of creating and optimising WordPress posts separates websites that generate traffic from those that languish in obscurity.
WordPress powers 43% of all websites globally, making it the dominant content management system for businesses across Northern Ireland, Ireland, and the UK. However, simply knowing how to create a post in WordPress isn’t enough—you need to understand how to structure content for search engines, format posts for maximum engagement, and implement professional publishing workflows that consistently deliver results.
This comprehensive guide reveals the processes ProfileTree’s digital marketing team uses when creating optimised content for clients throughout Belfast, Dublin, and beyond. You’ll discover step-by-step instructions for navigating the WordPress editor, professional techniques for formatting and structuring posts, SEO best practices that improve search visibility, and strategic promotion methods that amplify your content’s reach. By the end, you’ll possess the skills to create a post in WordPress that looks professional, attracts visitors, builds authority, and generates leads for your business.
WordPress Post Creation Essentials
Understanding the WordPress publishing system is critical for business owners, marketing managers, and content teams responsible for maintaining an active online presence. The platform’s flexibility makes it the choice for 43% of all websites globally, but this power requires proper knowledge to harness fully.
Before diving into the technical steps of creating posts, it’s essential to grasp why strategic content creation matters and how WordPress structures different content types. This foundation prevents common mistakes and sets you up for long-term publishing success.
Why Strategic Post Creation Matters for Your Business
Your website’s blog serves multiple strategic purposes beyond simply sharing company updates. Well-crafted posts improve organic search rankings, establish industry expertise, generate qualified leads, and provide valuable resources that position your brand as a trusted authority.
Companies investing in regular, optimised content typically see 67% more leads than those neglecting their blogs. Consistent publishing becomes even more critical for businesses operating in competitive UK markets. Search engines reward websites that demonstrate expertise and provide genuine value to visitors.
ProfileTree’s content marketing services help businesses across Belfast, Dublin, and beyond develop publishing strategies that align with broader business objectives. Rather than creating content for its own sake, strategic posts address specific customer questions, support the sales process, and build long-term organic visibility.
Core WordPress Post Types Explained
WordPress offers multiple content formats, each serving distinct purposes within your website architecture. Choosing the appropriate post type prevents structural issues and improves site organisation.
Standard Blog Posts
Traditional blog posts form the backbone of most content strategies. These time-stamped articles appear chronologically on your blog page and support commenting functionality. Posts work best for:
- Industry news and updates
- How-to guides and tutorials
- Case studies and success stories
- Opinion pieces and thought leadership
- Product announcements and launches
Standard posts integrate seamlessly with RSS feeds, making them ideal for content syndication and email marketing campaigns.
WordPress Pages
Pages differ from posts in their purpose and positioning. These static content sections typically handle foundational website elements rather than regularly updated material. Typical page applications include:
- About Us and Company History
- Services and product offerings
- Contact information and forms
- Terms and conditions
- Privacy policies and GDPR statements
Pages generally disable comments and sit outside the chronological blog structure, making them suitable for evergreen content requiring permanent placement in site navigation.
Advanced WordPress users can create custom post types tailored to specific business needs. A web design agency might develop a ‘Portfolio’ post type for case studies, whilst a recruitment firm could build a ‘Jobs’ post type with custom fields for salary, location, and requirements.
ProfileTree’s web development team frequently implements custom post types for clients requiring specialised content structures beyond standard posts and pages. These provide greater control over how information displays and organises across your website.
Setting Up Your WordPress Dashboard for Success
Navigating the WordPress admin area efficiently accelerates your publishing workflow and reduces frustration. Familiarising yourself with the dashboard layout pays dividends as your content library grows.
Before creating your first post, familiarise yourself with the WordPress admin area. Access this by adding /wp-admin to your domain name and logging in with your credentials.
The dashboard presents a menu on the left side containing all site management functions. Key sections for content creation include:
- Posts: Where all blog articles live
- Media: Your image and file library
- Pages: Static content management
- Comments: Reader engagement oversight
- Appearance: Theme and design settings
- Plugins: Additional functionality tools
- Settings: Core configuration options
Modern WordPress installations use the Block Editor (Gutenberg) by default, though some sites retain the Classic Editor. Both accomplish the same publishing goals through slightly different interfaces.
“Many business owners underestimate the strategic importance of proper WordPress training. Understanding the platform’s publishing capabilities enables faster content deployment and greater control over your online presence without constant developer dependency,” notes Ciaran Connolly, Director at ProfileTree.
Step-by-Step Publishing Process
Following a consistent process when creating posts minimises errors, improves content quality, and accelerates your publishing workflow. This section breaks down each stage from initial draft to final publication.
Mastering these fundamental steps transforms WordPress from an intimidating technical platform into an intuitive publishing tool. Each action builds upon the previous one, creating a repeatable workflow you can execute confidently for every new piece of content.
Navigate to Your Posts Section
Begin by locating the Posts menu item in your WordPress dashboard’s left sidebar. Hovering over this option reveals a submenu containing:
- All Posts: View existing published and draft content
- Add New: Create fresh articles
- Categories: Organise posts by topic
- Tags: Add specific keywords to posts
Click ‘Add New’ to launch the post editor. Some themes label this differently—depending on your configuration, you might see ‘New Post’ or ‘Create Post’.
The main content area displays in the centre of your screen, with formatting tools across the top and settings panels on the right. Familiarise yourself with this layout before beginning composition.
Structure Your Post Content Effectively
Content structure determines whether visitors read or abandon your entire post within seconds. Professional formatting techniques keep readers engaged whilst signalling quality to search engines evaluating your expertise.
Craft a Compelling Title
Your post title serves two masters: search engines and human readers. Effective titles incorporate target keywords whilst clearly communicating the article’s value proposition.
Potent title formulas include:
- How-to format: “How to Create a WordPress Post: Complete UK Guide”
- List format: “7 WordPress Publishing Mistakes Costing You Traffic”
- Question format: “What Makes a WordPress Post Rank in Google?”
- Solution format: “Fix Slow WordPress Pages: Performance Optimisation Guide”
Keep titles under 60 characters to prevent truncation in search results. Front-load important keywords where natural.
Write Your Opening Paragraph
The first 100-150 words determine whether visitors continue reading or bounce back to search results. Open with a clear statement about what readers will learn and why it matters to their situation.
Avoid generic introductions restating obvious facts. Instead, immediately address the reader’s problem and preview your solution.
Organise Content with Headings
Breaking long-form content into clearly labelled sections improves user experience and search engine comprehension. Proper heading hierarchy creates a scannable document structure that guides readers through your narrative.
Break long-form content into scannable sections using H2 and H3 headings. This hierarchical structure helps readers quickly locate relevant information whilst signalling content organisation to search engines.
Heading best practices:
- Use H2 for significant section breaks
- Use H3 for subsections within H2 blocks
- Include keywords naturally in headings
- Keep headings descriptive and specific
- Maintain logical flow between sections
Avoid skipping heading levels (don’t jump from H2 to H4) as this confuses both readers and search algorithms.
Format Body Text for Readability
Dense paragraph blocks intimidate readers scanning content on mobile devices. Follow these formatting guidelines:
- Limit paragraphs to 3-4 sentences maximum
- Use short sentences averaging 15-20 words
- Include bullet points for lists and steps
- Bold important concepts sparingly
- Add white space between sections
ProfileTree’s content writing services apply these readability principles across all client projects, recognising that engaging content keeps visitors on-site longer and improves conversion rates.
Add and Optimise Images
Visual elements transform text-heavy posts into engaging experiences, and proper optimisation provides additional SEO opportunities. Strategic image use breaks up content, illustrates complex concepts, and improves social media performance.
Visual elements break up text, illustrate concepts, and improve social media sharing. Every post should include at least one featured image plus relevant supporting graphics.
Featured Image Requirements
Upload a featured image that represents your post’s topic and displays correctly across different contexts:
- Minimum dimensions: 1200px × 630px
- Optimal ratio: 16:9 or 1.91:1
- File format: JPG for photographs, PNG for graphics
- File size: Under 200KB after compression
- Alt text: Descriptive text explaining the image
The featured image appears on your blog index, social shares, and, depending on the theme design, often at the top of individual posts.
In-Content Image Best Practices
Additional images throughout your content should follow similar quality standards:
- Compress images using tools like TinyPNG or ShortPixel
- Write descriptive alt text for accessibility and SEO
- Caption images when providing additional context
- Align images consistently (typically left or centre)
- Link images only when directing to relevant resources
ProfileTree’s web design team builds WordPress sites with automatic image optimisation, reducing manual compression requirements whilst maintaining visual quality across all devices.
Configure Post Settings and Metadata
WordPress offers numerous configuration options that control how posts function, appear in search results, and integrate with your broader site structure—properly configuring these settings before publication prevents common issues and maximises content performance.
The right sidebar or settings panel contains crucial options affecting how your post functions and appears:
Categories and Tags
Organise content using WordPress taxonomies:
- Categories: Broad topic groupings (Web Design, Digital Marketing, AI Solutions)
- Tags: Specific keywords (WordPress, SEO, Content Strategy)
Assign 1-2 relevant categories and 3-5 specific tags to each post. This structure helps visitors discover related content whilst providing topical signals to search engines.
Excerpt
Manually write a custom excerpt summarising your post in 150-160 characters. This text appears in search results, social shares, and blog indexes when themes display excerpts instead of full content.
Well-crafted excerpts improve click-through rates by clearly communicating article value before visitors commit to reading.
Publication Options
Control when and how your post goes live:
- Publish immediately: Goes live upon clicking publish
- Schedule: Set a specific date and time for automatic publication
- Private: Visible only to site administrators
- Password protected: Requires a password for access
Many businesses schedule posts during peak traffic hours (typically 10 am-2 pm UK time) to maximise initial visibility.
Preview Before Publishing
Even experienced publishers miss formatting, broken links, or layout problems when working in the WordPress editor. Previewing posts in their published context catches these errors before they reach your audience.
Always preview posts before making them live. Click the ‘Preview’ button to view your content as visitors will see it, checking for:
- Formatting errors and broken layouts
- Image display issues
- Heading hierarchy problems
- Broken internal links
- Mobile responsiveness concerns
Common preview issues include images appearing too large or small, headings using incorrect levels, or spacing problems between paragraphs. Address these before publishing to maintain professional presentation standards.
Publish or Schedule Your Post
The final decision before making content live involves timing. Strategic publication scheduling maximises initial visibility whilst maintaining consistent output across weeks and months.
Once satisfied with your content, decide on publication timing:
Immediate Publishing
Click the blue ‘Publish’ button to make your post live instantly. This approach works well for time-sensitive news or urgent announcements requiring immediate visibility.
Scheduled Publishing
Click the ‘Publish’ dropdown, select ‘Schedule,’ and choose your desired publication date and time. WordPress automatically publishes the post at the specified moment without further intervention.
Scheduling allows you to:
- Maintain consistent publishing frequency
- Write multiple posts in one session
- Publish during optimal traffic times
- Plan content calendars weeks ahead
ProfileTree’s content marketing strategies typically include scheduled publication calendars, ensuring consistent output without requiring daily writing sessions.
Content Optimisation Strategies
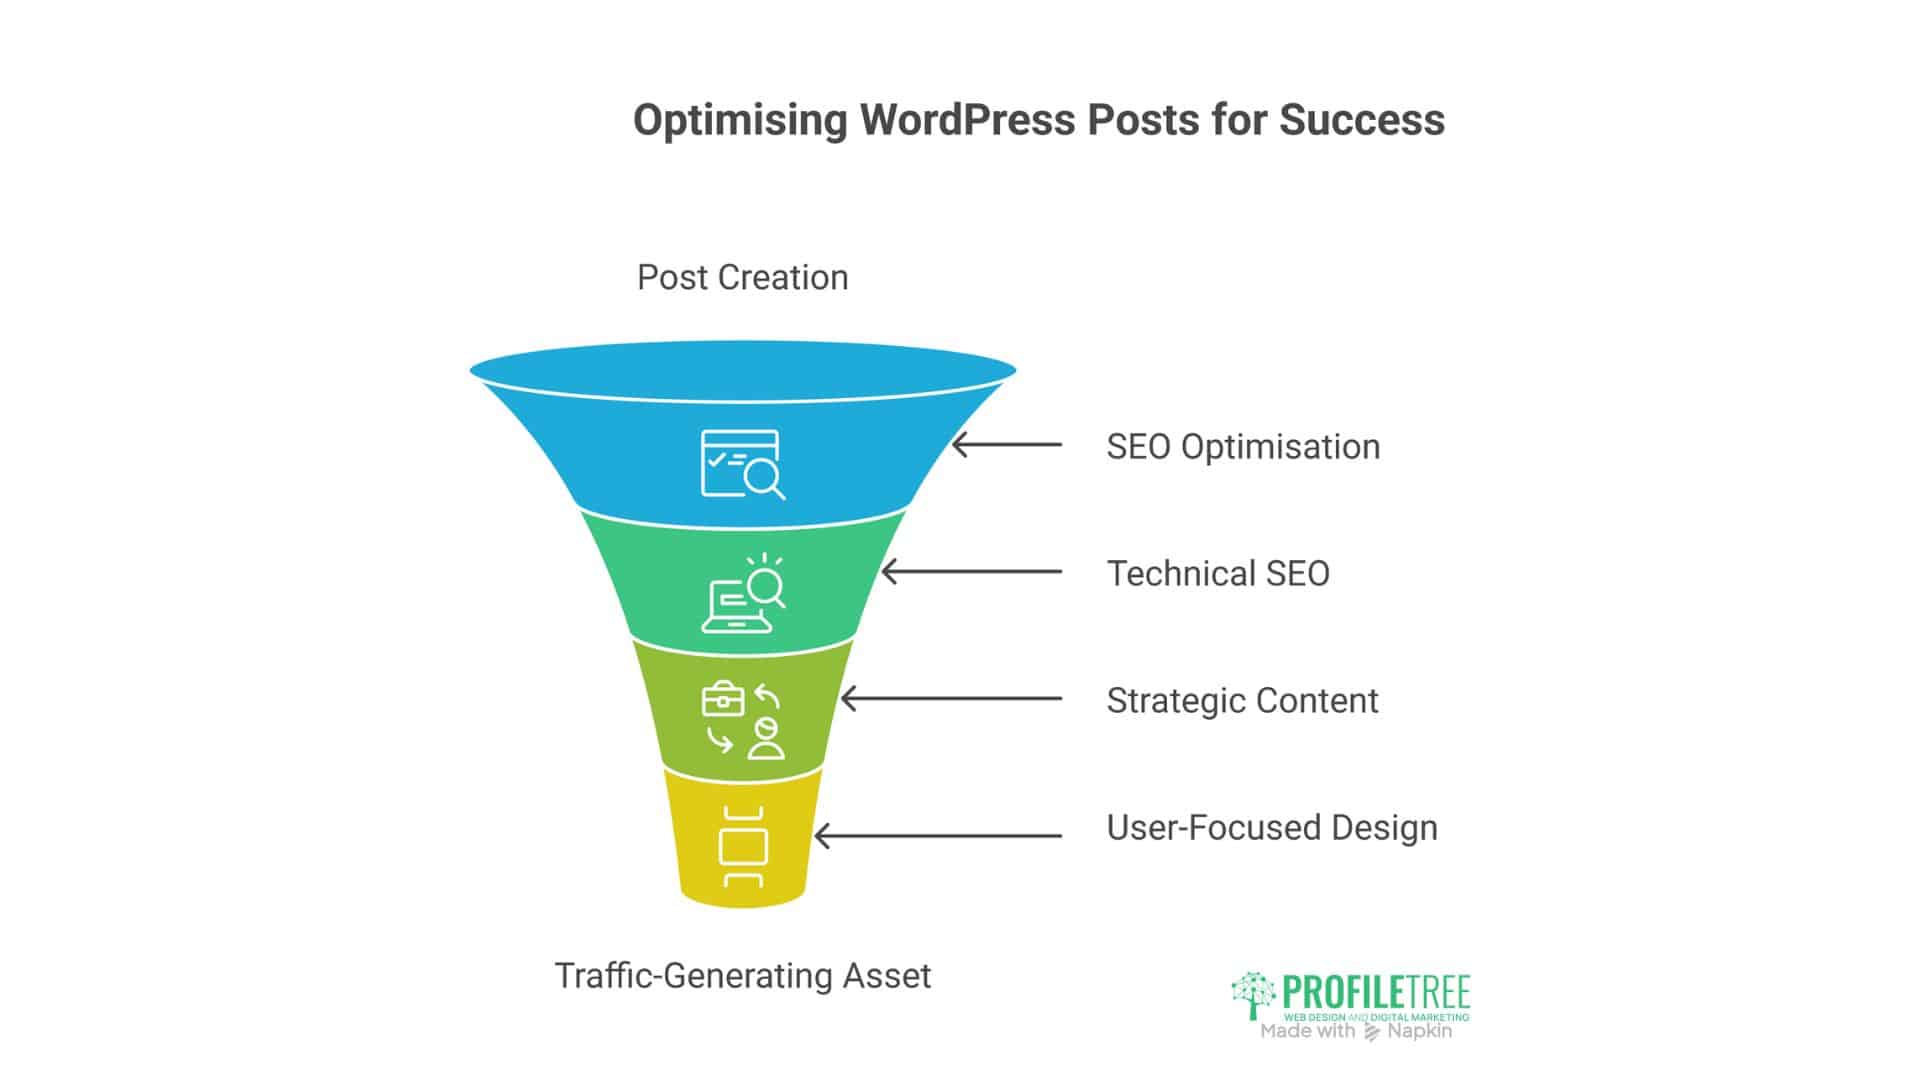
Creating posts is only half the challenge. Optimising content for search engines and visitor engagement separates average blogs from traffic-generating assets.
Search engine optimisation extends far beyond simply using keywords. Modern SEO requires technical precision, strategic content development, and user-focused design. The following optimisation strategies reflect current best practices professional digital marketing agencies use.
Technical SEO Foundations
Technical optimisation creates the framework search engines need to crawl, index, and rank your content properly. These foundational elements work behind the scenes but significantly impact visibility.
Permalink Structure
WordPress generates URLs based on your post title by default. Edit these slugs to create concise, keyword-rich permalinks:
- Poor:
yoursite.com/create-a-post-in-wordpress-right-the-first-time-optimise-with-our-tutorial - Better:
yoursite.com/create-wordpress-post-guide
Include primary keywords in the slug whilst keeping it under 60 characters. Remove stop words (and, the, of) and unnecessary descriptors.
Meta Descriptions
Install an SEO plugin like Yoast SEO or Rank Math to control meta descriptions—the text appearing under your title in search results.
Effective meta descriptions:
- Stay between 130-155 characters
- Include target keywords naturally
- Contain a clear call-to-action
- Accurately represent post content
- Appeal to searcher intent
Example: “Learn how to create optimised WordPress posts from Belfast-based digital experts. Step-by-step tutorial covering SEO, formatting, and publishing.”
Internal Linking
Link to related content within your website to:
- Keep visitors engaged longer
- Spread page authority throughout your site
- Help search engines understand topical relationships
- Provide additional value to readers
Add 3-5 contextual internal links per post, using descriptive anchor text that signals the linked page’s topic.
Keyword Integration Best Practices
Strategic keyword use communicates topical relevance without sacrificing content quality. Modern search algorithms prioritise comprehensive coverage over keyword repetition, making natural integration essential.
Primary Keyword Placement
Position your main target keyword in these critical locations:
- Post title (preferably at the beginning)
- First paragraph
- At least one H2 heading
- Image alt text
- Meta description
- URL slug
Avoid keyword stuffing—natural integration within quality content outperforms forced repetition.
Secondary Keyword Distribution
Incorporate related terms and variations throughout your content:
- Synonyms and alternative phrasings
- Long-tail variations
- Question-based keywords
- Semantic related terms
This approach signals topical authority whilst capturing diverse search queries related to your subject.
Keyword Density Targets
Modern SEO prioritises natural language over specific density percentages. Aim for:
- Primary keyword: 0.5-1% of total words
- Secondary keywords: Naturally, throughoutthe content
- Related terms: Liberally, when contextually appropriate
Focus on comprehensive topic coverage rather than hitting arbitrary keyword quotas.
Readability Optimisation
Search engines increasingly prioritise content that users actually read and engage with. Readability directly impacts dwell time, bounce rate, and user satisfaction signals influencing rankings.
Sentence and Paragraph Length
Research shows shorter sentences and paragraphs improve comprehension and engagement:
- Average sentence length: 15-20 words
- Paragraph length: 3-4 sentences maximum
- Occasional single-sentence paragraphs for emphasis
- Variation to maintain reading rhythm
Transition Words
Guide readers smoothly between ideas using appropriate connectors:
- Addition: Additionally, furthermore, moreover
- Contrast: However, conversely, alternatively
- Cause/Effect: Therefore, consequently, as a result
- Example: For instance, specifically, particularly
Avoid overusing transitions—they should facilitate flow without cluttering prose.
Active Voice Preference
Active voice creates stronger, clearer sentences than passive constructions:
- Passive: “The post was published by the marketing team”
- Active: “The marketing team published the post”
Active voice reduces word count, improves clarity, and maintains reader engagement through direct subject-verb-object structure.
Mobile Responsiveness Checks
Mobile devices account for most of web traffic, making mobile optimisation a ranking factor rather than an optional enhancement. Testing post layouts across device types prevents accessibility issues.
Over 60% of UK web traffic originates from mobile devices, making mobile optimisation non-negotiable. Check posts on smartphones and tablets before publishing:
- Text remains readable without zooming
- Images scale appropriately to screen size
- Buttons and links are easily tappable
- No horizontal scrolling required
- Page loads in under 3 seconds
ProfileTree’s web development services build responsive WordPress themes, ensuring optimal display across all device types without additional configuration.
Post Promotion Techniques
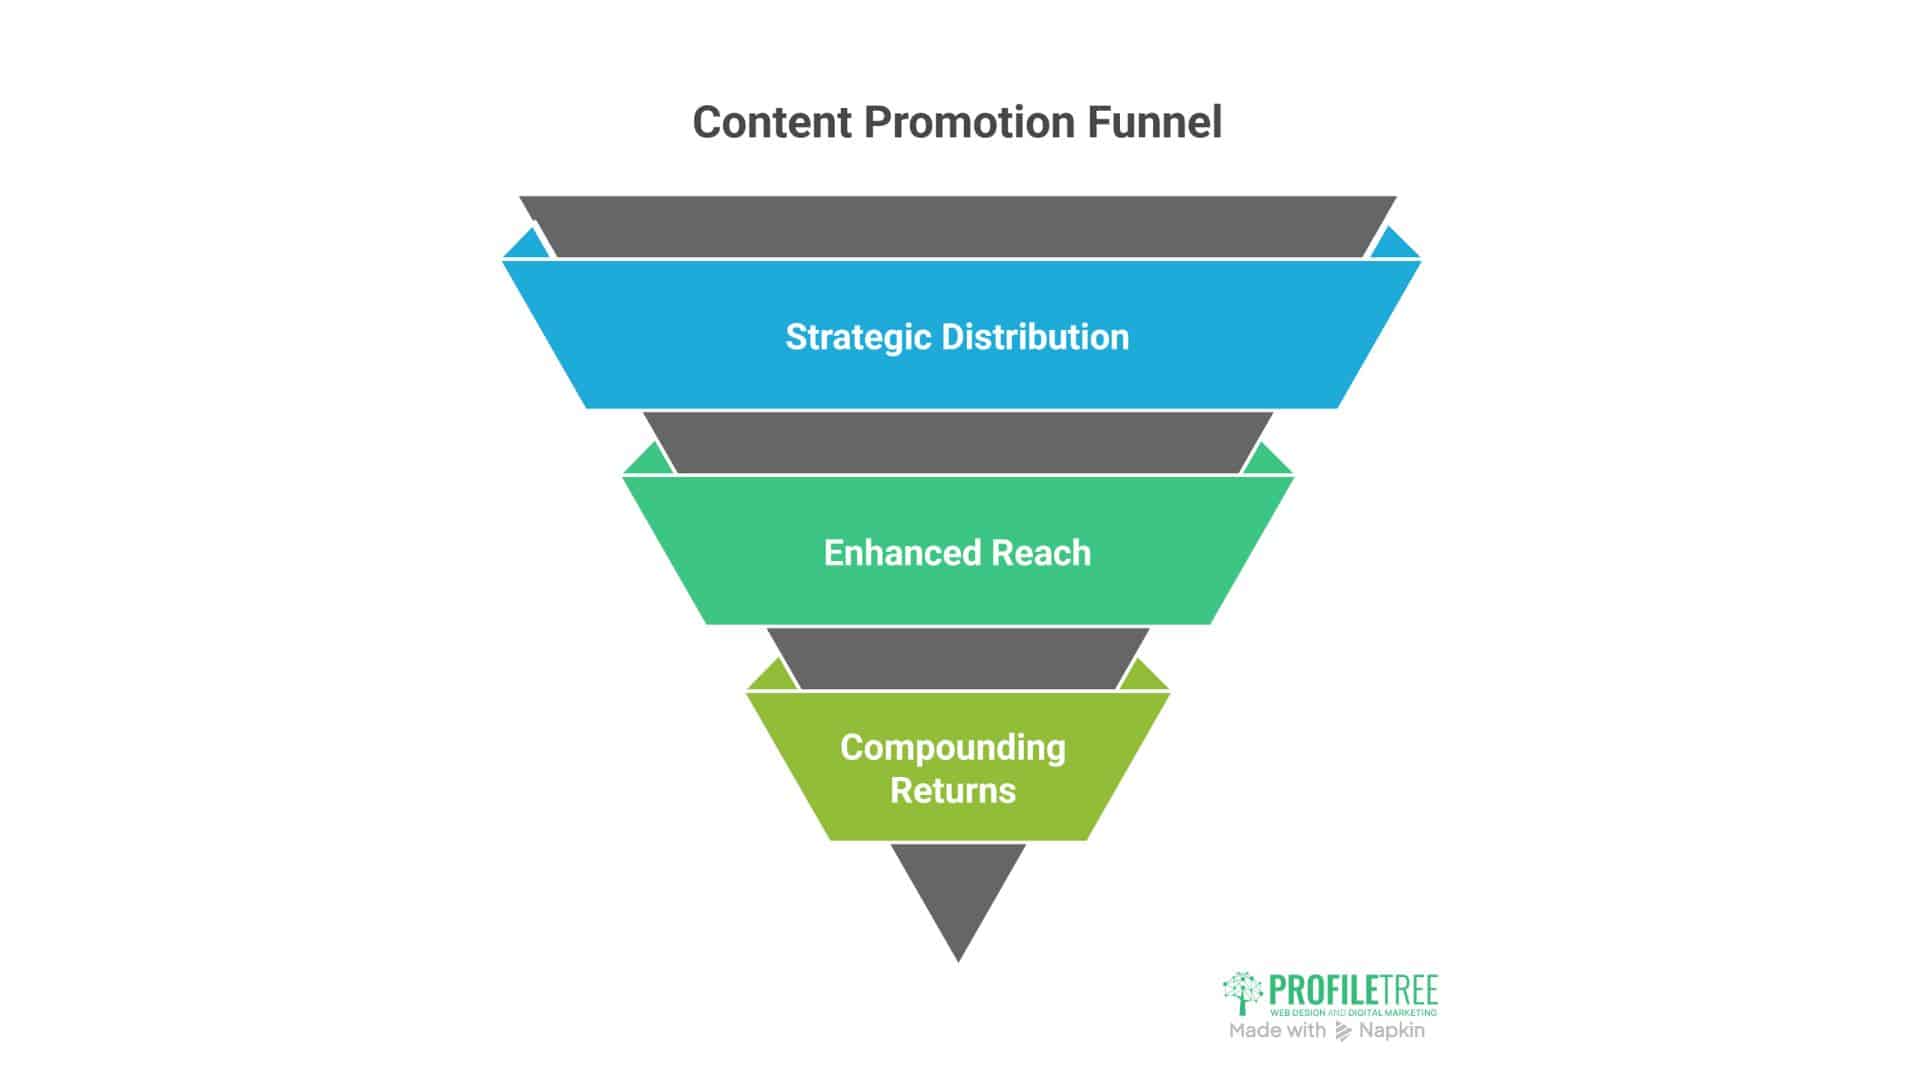
Publishing content without promotion wastes the effort invested in creation. Strategic distribution amplifies reach and accelerates the compounding returns quality content generates over time.
Even exceptional content requires active promotion to reach its full potential audience. The following distribution strategies maximise initial visibility whilst building long-term discovery channels that continue delivering traffic months and years after publication.
Social Media Distribution
Different social platforms serve distinct audiences and require tailored approaches. Generic cross-posting underperforms compared to platform-specific strategies that acknowledge each network’s unique culture and functionality.
Share every new post across relevant social platforms where your audience congregates:
Platform-Specific Approaches
- LinkedIn: Professional tone, industry insights, B2B focus
- Twitter/X: Concise summaries, relevant hashtags, conversation starters
- Facebook:Community building, visual content, longer descriptions
- Instagram: Visual-first approach, behind-the-scenes content
Customise messaging for each platform rather than using identical copy everywhere. Different audiences respond to different communication styles.
UK audience engagement peaks at:
- LinkedIn: Tuesday-Thursday, 8 am-10 am
- Twitter/X: Monday-Friday, 12 pm-3 pm
- Facebook: Wednesday-Friday, 1 pm-4 pm
- Instagram: Monday, Wednesday, Friday, 11 am-2 pm
Schedule posts using Buffer, Hootsuite, or native platform scheduling to hit these windows consistently.
Email Marketing Integration
Your subscriber list represents your most engaged audience segment. Regular email communication about new content maintains relationship momentum whilst driving predictable traffic to each new post.
Notify subscribers about new content through dedicated email campaigns:
Announcement Emails
Send standalone emails highlighting particularly valuable posts. Include:
- Compelling subject line with content benefit
- Brief introduction explaining post relevance
- Key takeaways or teasers
- Clear call-to-action to read the full post
- Social sharing buttons
Newsletter Roundups
Compile recent posts into weekly or monthly newsletter digests. This approach works well for high-volume publishing schedules where individual post emails might overwhelm subscribers.
RSS Feed Syndication
RSS technology enables automated content distribution to subscribers and aggregators without manual intervention. Properly configured feeds extend your content’s reach far beyond your immediate audience.
RSS (Really Simple Syndication) allows automated content distribution to subscribers and content aggregators. WordPress generates RSS feeds automatically at:
yoursite.com/feed/(all content)yoursite.com/category/category-name/feed/(category-specific)
Submit feeds to:
- Industry-specific aggregators
- Internal company intranets
- Podcast platforms (for audio content)
- Social media automation tools
ProfileTree’s content marketing services help clients establish syndication partnerships with industry publications, amplifying reach beyond owned channels.
Strategic Internal Linking
Your existing high-traffic pages represent built-in promotion channels. Linking new content from established posts immediately directs existing visitors to fresh material, strengthening site-wide SEO.
Reference new posts from existing high-traffic pages:
- Update related older posts with links to new content
- Add new posts to pillar content resource lists
- Feature recent articles in sidebar widgets
- Highlight new posts on homepage or blog index
This approach immediately directs existing traffic to fresh content, improving site-wide SEO through strengthened internal linking structures.
Influencer and Industry Outreach
Personal outreach generates higher-quality exposure than passive promotion. Strategically alerting relevant individuals and organisations about your content creates backlink opportunities and relationship-building moments.
Alert relevant parties when content mentions them or addresses their interests:
- Email individuals or companies mentioned in posts
- Share content with industry influencers on social media
- Submit posts to industry newsletters or roundups
- Reach out to potential collaborators featured in the content
Personalised outreach generates backlinks, social shares, and relationship-building opportunities that extend content reach far beyond organic discovery.
Professional Publishing Standards
Maintaining consistent quality standards separates professional content operations from amateur blogs. Implement these workflows to match agency-level output.
Professional publishers distinguish themselves through systematic quality control, strategic planning, and ongoing performance analysis. The following standards represent the operational frameworks used by digital agencies managing content for demanding clients.
Pre-Publication Quality Checklist
Rushing posts to publication introduces avoidable errors that undermine credibility. A comprehensive quality checklist catches issues before they reach your audience.
Run through this checklist before publishing any post:
Content Quality
- Title includes the target keyword and a clear benefit
- The opening paragraph addresses the reader’s problem
- Content fulfils search intent completely
- All claims are supported by data or examples
- Spelling and grammar checked thoroughly
- Brand voice is consistent throughout
- Actionable takeaways provided
Technical Requirements
- Featured image uploaded and optimised
- All images include descriptive alt text
- Categories and tags are assigned appropriately
- Meta description written (130-155 characters)
- URL slug optimised and concise
- Internal links added to related content
- External links open in new tabs
- Mobile responsiveness verified
SEO Elements
- Primary keyword in title, first paragraph, headings
- Secondary keywords are distributed naturally
- Headings follow proper H2/H3 hierarchy
- Image file names include keywords
- Page loads in under 3 seconds
- No broken links present
Editorial Calendar Management
Publishing consistency requires planning beyond individual posts. Editorial calendars transform reactive content creation into strategic campaigns aligned with business objectives.
Successful content strategies require planning beyond individual posts. Maintain an editorial calendar tracking:
Calendar Components
- Publication dates: When posts go live
- Topics and titles: Planned content subjects
- Target keywords: SEO focus for each post
- Content type: Tutorial, case study, news, etc.
- Author assignment: Who creates each piece
- Promotion plan: Distribution channels and timing
Use tools like Google Sheets, Trello, or dedicated editorial calendar plugins to organise publishing schedules weeks or months ahead.
Publication Frequency
Consistency matters more than volume. Publishing two high-quality posts monthly outperforms eight rushed, thin articles. Establish a sustainable frequency matching your team’s capacity:
- Minimum viable: 2-4 posts monthly
- Competitive: 2-3 posts weekly
- Aggressive: Daily publication
ProfileTree’s digital marketing training programmes teach businesses to develop editorial processes matching their resources and objectives.
Comment Moderation and Engagement
Active comment sections build community whilst providing user-generated content that search engines value. However, unmoderated comments quickly fill with spam, requiring systematic oversight.
Enable and actively moderate comments to build a community around your content:
Moderation Settings
Configure comment parameters under Settings → Discussion:
- Require approval before comments appear
- Hold comments with multiple links for moderation
- Implement spam filtering (Akismet plugin)
- Allow threaded replies for conversations
- Send notifications of new comments
Engagement Best Practices
Respond to genuine comments within 24-48 hours:
- Thank you, readers, for constructive input
- Answer questions thoroughly
- Address criticism professionally
- Ask follow-up questions to continue the dialogue
- Delete spam and abusive comments promptly
Active comment sections signal vibrant communities to search engines while providing valuable user-generated content and feedback.
Performance Tracking and Analysis
Data-driven content strategies outperform intuition-based approaches. Regular analytics review identifies successful patterns worth replicating and underperforming content requiring attention.
Monitor post performance using Google Analytics and Google Search Console:
Key Metrics to Track
- Organic traffic: Visitors from search engines
- Average session duration: Time spent reading
- Bounce rate: Percentage leaving immediately
- Social shares: Distribution across platforms
- Backlinks: External sites linking to content
- Keyword rankings: Search position for target terms
- Conversion rate: Actions taken after reading
Use insights to identify top-performing content, understand audience preferences, and inform future topic selection.
Content Refresh Strategy
Published content isn’t static. Regular updates maintain relevance, improve rankings, and demonstrate ongoing authority as industries evolve.
Update existing posts regularly to maintain relevance and search rankings:
When to Refresh Content
- Traffic is declining over time
- Information becoming outdated
- Competitors outranking your content
- New developments in the topic area
- Seasonal opportunities (annual updates)
Refresh Process
- Identify posts needing updates via analytics
- Research current information and trends
- Add new sections with recent developments
- Update statistics and examples
- Improve formatting and readability
- Add new images or graphics
- Update publication date
- Promote refreshed content again
ProfileTree’s SEO services include content audits, identifying refresh opportunities to maintain and improve organic search performance over time.
Calls-to-Action Integration
Content serves business objectives by guiding readers toward specific actions. Strategic CTA placement converts passive readers into engaged prospects without disrupting content flow.
Guide readers toward desired actions without disrupting content flow:
Strategic CTA Placement
- Early in post: For time-sensitive offers
- Mid-content: After establishing value
- End of post: Natural conclusion point
- Sidebar widgets: Persistent visibility
- Pop-ups: Exit intent or scroll triggers
Effective CTA Elements
- Clear, specific action language (“Download our SEO checklist”)
- Obvious visual distinction (buttons, contrasting colours)
- Value proposition (“Get 10 proven strategies“)
- Urgency when appropriate (“Limited time offer”)
- Single focus per CTA (don’t overwhelm with choices)
Balance promotional CTAs with genuine value delivery. Overly aggressive monetisation repels visitors and damages brand perception.
Taking Action: Create a Post in WordPress
Mastering WordPress post creation transforms your website from a static brochure into a dynamic business asset that attracts qualified traffic, establishes authority, and generates leads. The techniques outlined here represent professional standards used by digital agencies managing content for UK businesses across all industries.
Success requires consistent application rather than perfection on day one. Start by publishing one well-optimised post weekly, gradually increasing frequency as workflows become routine. Focus on addressing genuine customer questions and providing actionable value in every piece.
ProfileTree’s digital services help businesses across Northern Ireland, Ireland, and the UK implement robust content strategies aligned with broader marketing objectives. From AI-powered content planning to technical SEO implementation, video production for engaging multimedia posts, and comprehensive digital training for in-house teams, our Belfast-based agency provides the expertise and support needed to build traffic-generating content operations.
Whether starting your first business blog or refining an established publication, remember that every successful website began with a single post. Apply these principles consistently, measure results, and refine your approach based on what resonates with your specific audience.
FAQs
How long should WordPress posts be for SEO?
Search engines don’t prescribe specific word counts, but comprehensive content typically performs better. Aim for 1,400+ words for competitive topics, though shorter posts (600-800 words) can rank well for less competitive queries. Focus on thoroughly answering the search query rather than hitting targets of arbitrary length.
What’s the difference between posts and pages in WordPress?
Posts are time-stamped, categorised content appearing in reverse chronological order on your blog. They support tags, categories, and RSS feeds. Pages are static content like About, Services, or Contact sections outside the blog structure and typically disable comments.
How often should I publish new WordPress posts?
Consistency matters more than frequency. Publishing two exceptional posts monthly outperforms eight thin articles. Most successful blogs publish 2-4 times weekly, though quality businesses see results with 2-4 posts monthly when content is comprehensive and valuable.
Do I need an SEO plugin for WordPress?
Whilst not strictly required, SEO plugins like Yoast SEO or Rank Math simplify optimisation tasks. They provide metadata controls, readability analysis, schema markup, and XML sitemap generation. Most professional WordPress sites use these tools to streamline SEO implementation.