Social Media Marketing That Builds Your Brand and Wins Clients
Social media marketing is one of the most direct ways a business can reach its audience, build credibility, and generate steady, organic interest over time. But simply having a profile on Instagram or LinkedIn is not the same as having a strategy. Without a clear plan, consistent content, and a proper understanding of how each platform works, most businesses end up posting sporadically, getting little traction, and eventually letting their channels go quiet.
ProfileTree, a Belfast-based web design and digital marketing agency founded in 2011, works with SMEs across Northern Ireland, Ireland, and the UK to build organic social media strategies that actually serve their commercial goals. Our approach is grounded in over a decade of hands-on work across client accounts and our own channels, which include a YouTube presence with more than 100,000 subscribers and internal brands. We know what it takes to grow an engaged audience without relying on paid advertising.
If you are looking for social media marketing support in Belfast or across Northern Ireland, our team is ready to help you build something consistent and worth following.
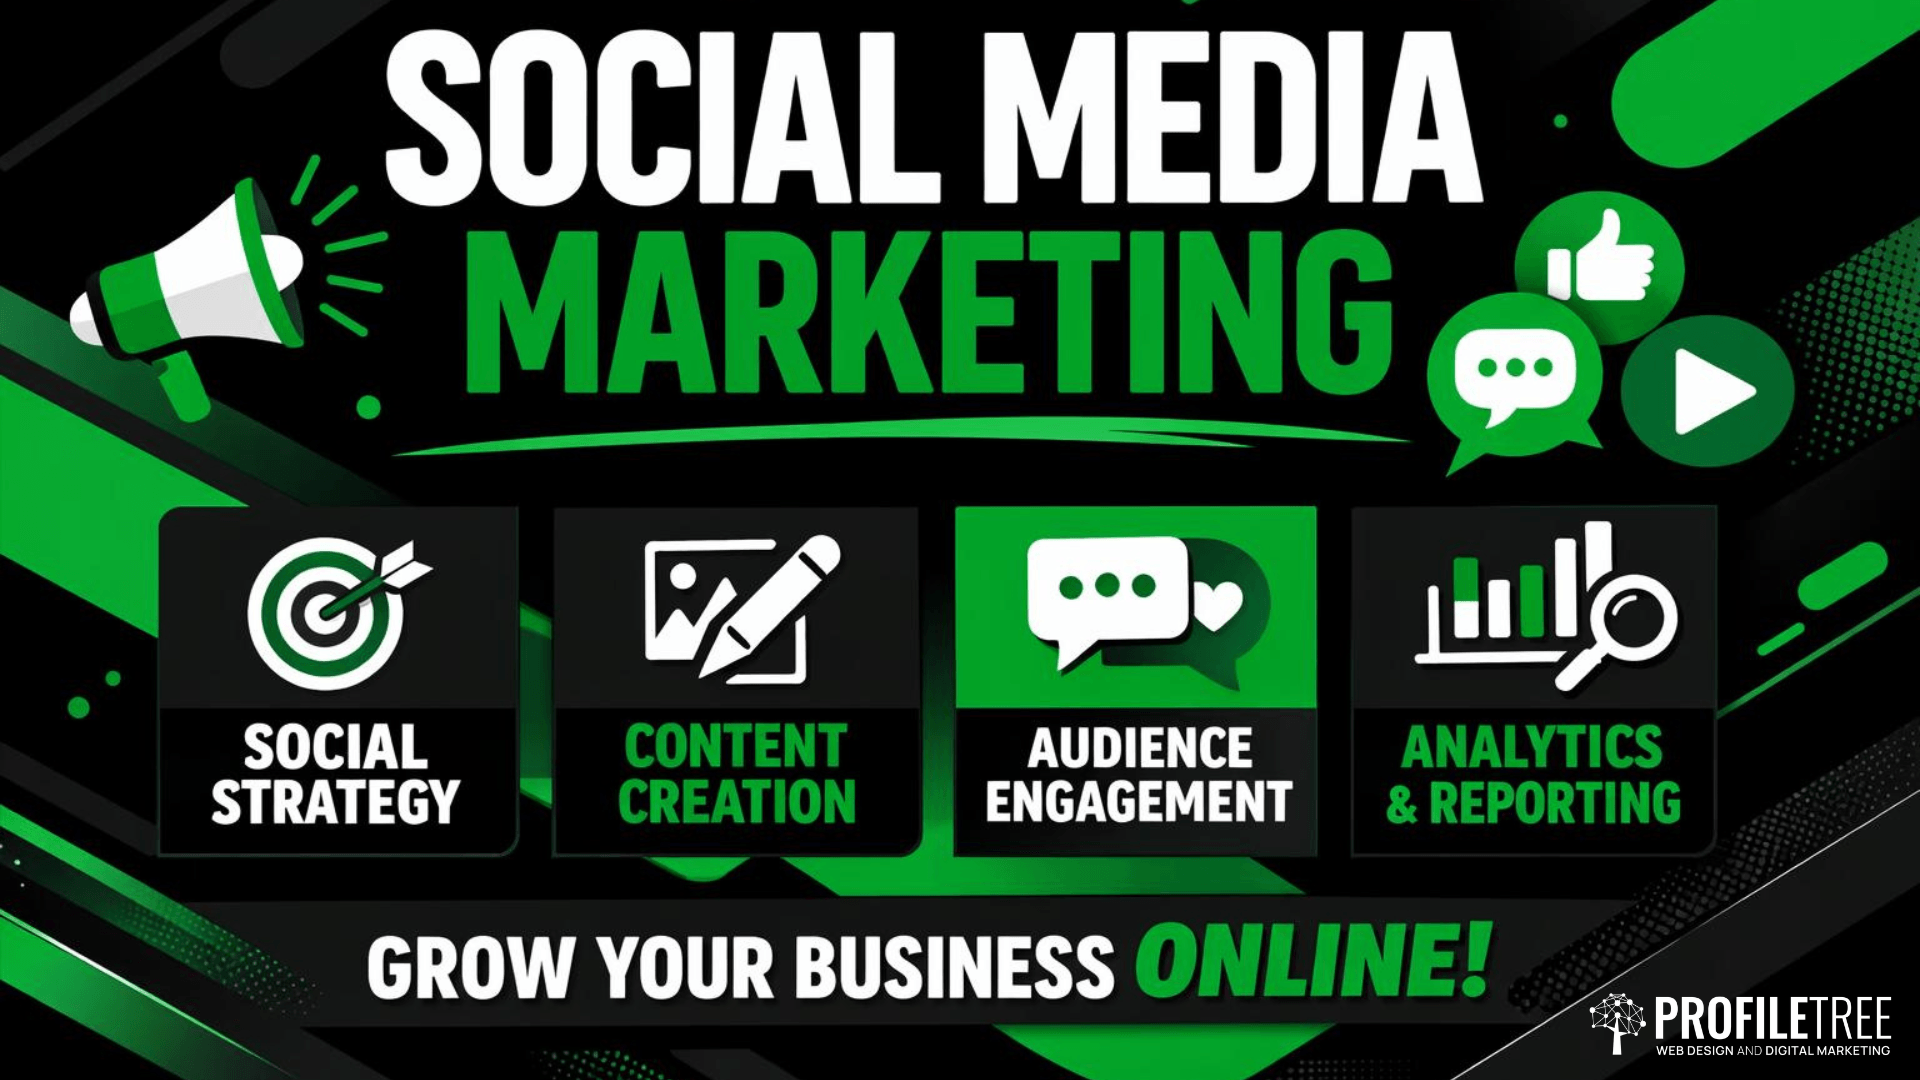
What Our Social Media Marketing Service Covers
Our social media marketing service is entirely organic. We do not manage paid social advertising campaigns; if you are looking for paid social support, our team can point you in the right direction. What we do is help businesses build a genuine presence on the platforms that matter to their audience, through strategy, content creation, channel management, and community engagement.
Here is what a social media engagement with ProfileTree typically involves:
- Organic Strategy Development
- Content Creation
- Channel Management
- Community Engagement
Before we create a single post, we work with you to define what success actually looks like. That means identifying your target audience, understanding the platforms they use, agreeing on the tone and positioning that fits your brand, and setting realistic goals for reach, engagement, and business outcomes.
Every social media strategy we build is tailored to the individual business. A B2B professional services firm in Belfast will need a different approach to LinkedIn than a food producer targeting consumers on Instagram or a retailer looking to grow a TikTok audience. There is no off-the-shelf template here.

Content is where most businesses struggle, and it is the core of what we do. Our team creates written, visual, and video content that performs on each platform we manage. That includes post copy, graphics, short-form video scripts and production guidance, story formats, and carousel content.
We pay attention to the culture of each platform. What works on LinkedIn rarely lands on Instagram, and what performs on TikTok will not automatically translate to Facebook. Tailored social posts, formatted correctly and written with the platform audience in mind, consistently outperform generic repurposed content.
Consistency is one of the hardest things for SMEs to maintain on social media. Running a business and producing regular content at the same time is genuinely difficult. Our channel management service takes that responsibility off your plate. We plan content calendars, schedule posts, maintain your brand voice across platforms, and keep your channels active and professional.
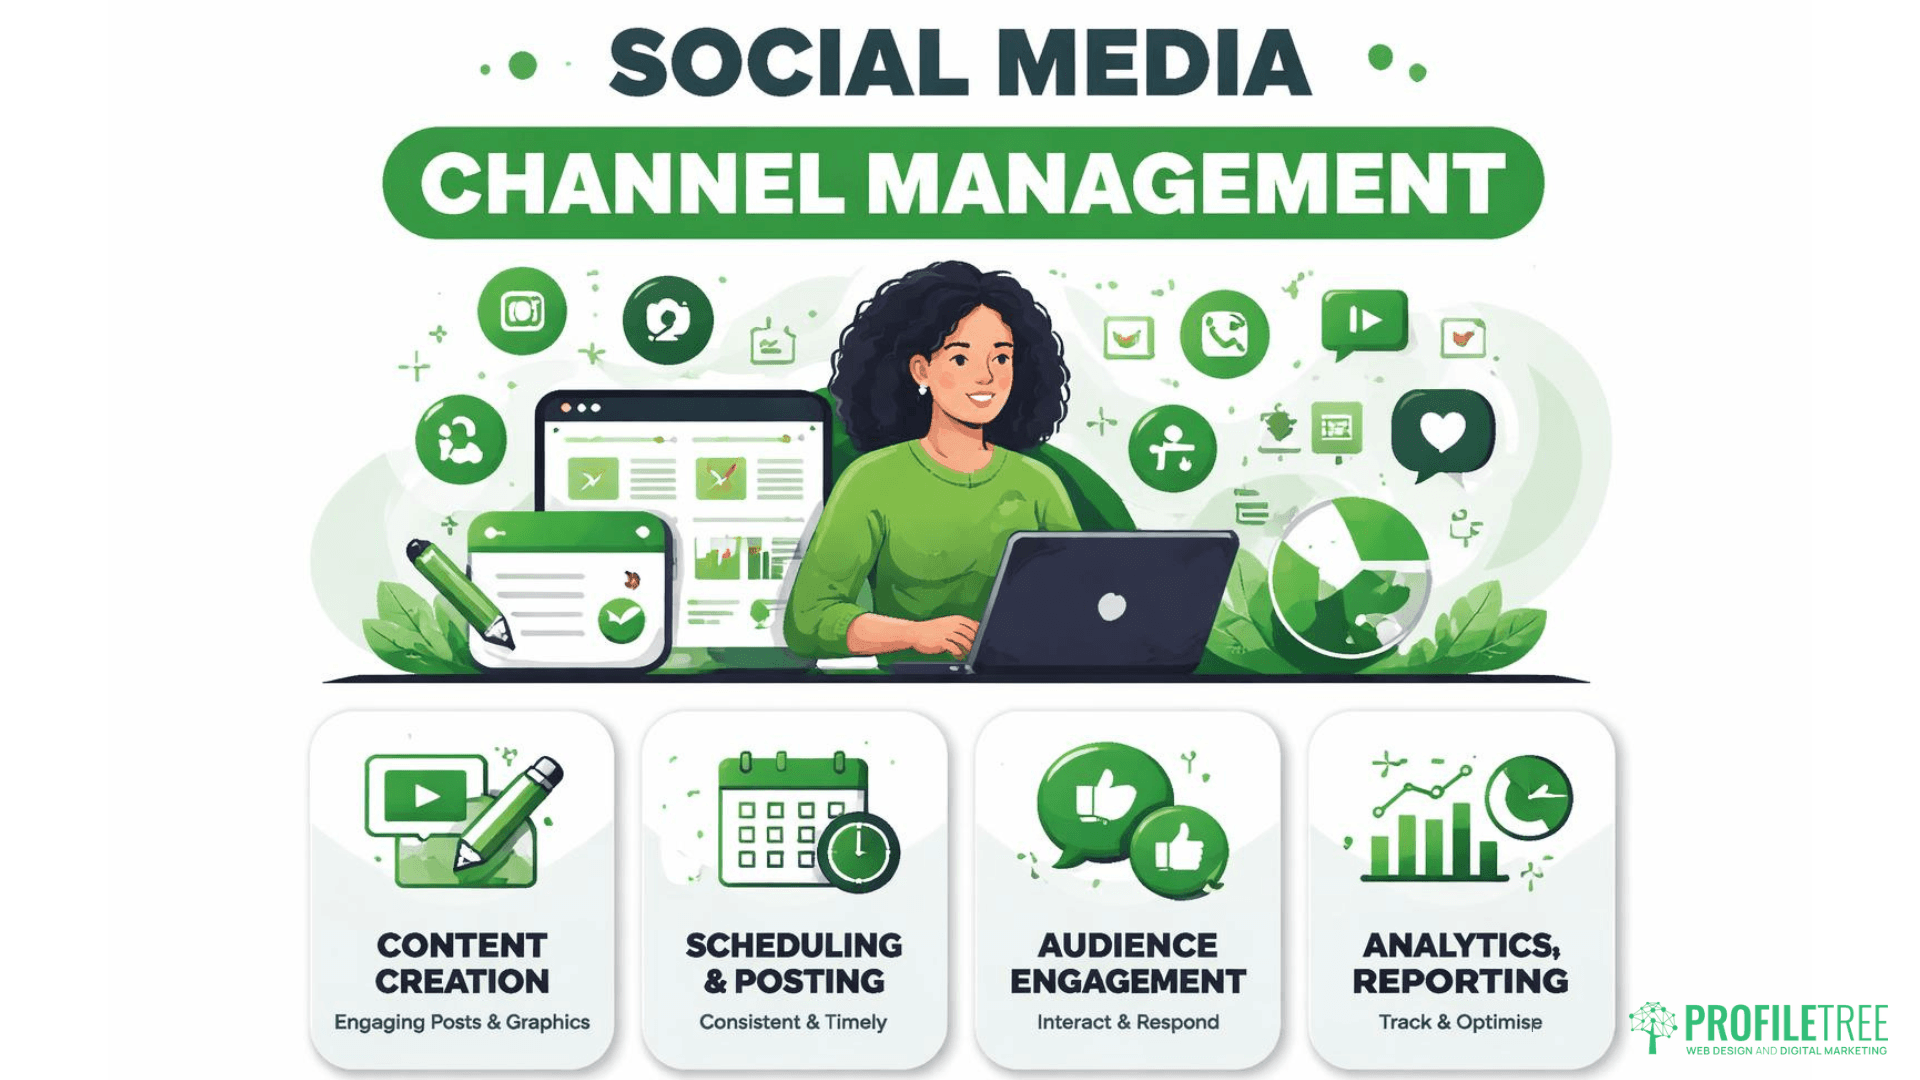
Social media is a two-way channel. An account that posts but never responds to comments or messages loses credibility quickly. We monitor your channels, manage replies, engage with relevant conversations in your industry, and flag anything that needs your direct attention. Building an active, engaged community around your brand takes time, but it is one of the most durable forms of online presence a business can have.
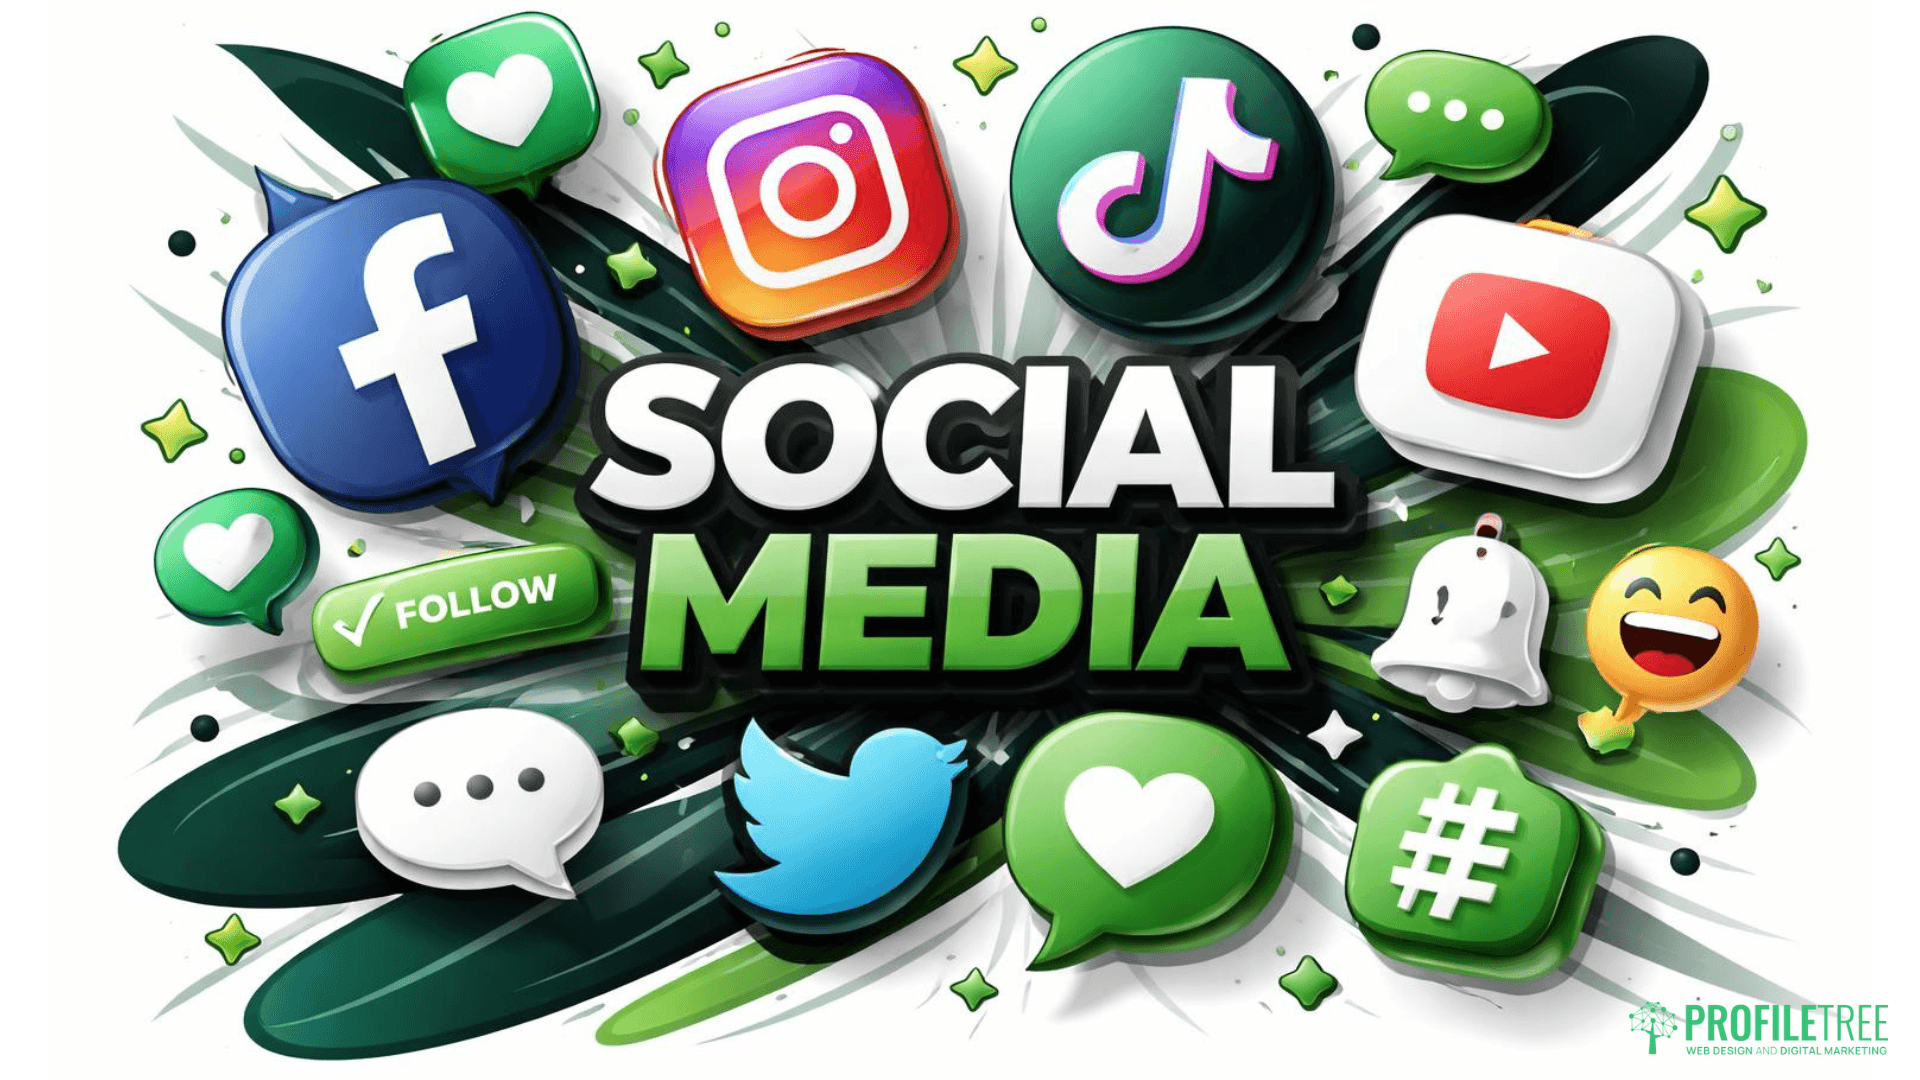
Which Platforms Does ProfileTree Work With?
We work across the major social platforms, with focus guided by where your audience actually spends time.
Our first step in any engagement is to assess which social media platforms genuinely suit your business. Spreading effort too thinly across every available channel is one of the most common mistakes SMEs make. Better to do two platforms well than five poorly.
LinkedIn is the platform of choice for most B2B businesses in Northern Ireland and the UK. If you are selling to other businesses, reaching decision-makers, or building thought leadership in your sector, LinkedIn is usually where your effort will deliver the most return.
Instagram rewards consistent visual content and works well for businesses with a strong product, service environment, or brand aesthetic. It is particularly effective for retail, food and drink, hospitality, interiors, and any sector where showing the work matters.
Facebook remains the largest social platform in the UK and is particularly well-used by local businesses targeting community audiences, older demographics, and local event-based marketing.
TikTok has grown significantly as a content discovery platform, not just a youth channel. For businesses that can produce short-form video content and are willing to show a more human, behind-the-scenes side of what they do, it offers strong organic reach that other platforms have largely restricted.
X (formerly Twitter) suits businesses that want to participate in real-time conversations, monitor their industry, or engage with media and journalists. It is more niche than it once was, but remains relevant for certain sectors and audiences. Instagram and X/Twitter integration, for example, can be a useful tactic for cross-posting content efficiently.
Why Choose ProfileTree as Your Social Media Marketing Agency?
Plenty of agencies will tell you they manage social media. Fewer can show you they have actually built audiences from scratch, across multiple platforms, for real brands with real followings. ProfileTree has done exactly that.
No Outsourcing, No Off-the-Shelf Templates
Founded in Belfast in 2011, ProfileTree holds a 5-star rating from over 460 Google reviews. We do not outsource work overseas and we do not apply generic content templates. Every strategy is built around your specific business, your audience, and your commercial goals.
Proof of Work, Not Just Promises
Most agencies talk about what they can do for your channels. We can show you what we have already done on our own. Building YouTube channel past 250,000 subscribers, growing ConnollyCove and Learning Mole to significant audiences, and producing content that has reached millions of views organically are not theoretical achievements. They are the foundation of the practical knowledge we bring to every client engagement. When we recommend a content format, a posting frequency, or a platform strategy, it comes from direct experience of what actually works.

A Team That Works With You, Not Around You
We stay in regular contact, share content for your review before anything goes live, and give you honest assessments of what is and is not performing. Businesses across Belfast and Northern Ireland have been relying on that working relationship for over a decade, and the reviews reflect it.
Ready to grow online? Start your project today!
How Social Media Marketing Can Help Your Business
For SMEs in Northern Ireland and across the UK, organic social media does three things well: it keeps your brand visible to people who already know you, it introduces you to people who do not, and it gives potential clients a way to assess your credibility before they pick up the phone or fill in a contact form.
That last point is more important than most businesses realise. A prospect who has found your business through a referral or a Google search will often check your social channels before they enquire. An active, consistent presence tells them you are established and worth contacting. A dormant account with the last post from eighteen months ago tells them the opposite.
What social media does not do well, organically, is generate fast results. It is a sustained effort over months, not a campaign you switch on and off. The businesses that get the most from it are the ones who commit to consistency and treat it as part of a broader digital strategy rather than a standalone activity.
How Social Media Connects to Your Wider Digital Strategy
Social media does not sit in isolation from the rest of your digital presence. It is part of a connected system, and understanding how it feeds into other channels is important for setting realistic expectations.
Social media can drive traffic to your website when content links back to relevant service pages, blog posts, or landing pages. It supports your SEO indirectly by building brand search volume, generating mentions, and driving engaged visitors to pages that matter. It reinforces the credibility signals that potential clients look for before they enquire: an active, well-maintained social presence tells a prospect that you are an established business worth contacting.
“The businesses we work with that see the strongest results from social media are the ones who treat it as part of a broader online marketing strategy,” says Ciaran Connolly, founder of ProfileTree. “They connect their content to their website, their SEO goals, and their customer conversations. When all those pieces align, social becomes genuinely powerful for a local or regional business.”
At ProfileTree, our social media work sits alongside our SEO, content marketing, and web design services, which means we can identify how your channels connect and make sure they work together rather than in parallel.
How We Approach Social Discoverability
Most social media advice focuses on engagement: likes, comments, shares. That matters, but it misses something increasingly important for businesses trying to grow organically.
Social platforms now function as search engines. TikTok and Instagram are used by millions of people to search for local businesses, services, and recommendations. LinkedIn is used by B2B buyers to find and evaluate suppliers before they make contact. If your content is not optimised for discovery within these platforms, you are invisible to the portion of your audience actively searching for what you offer.
Practical discoverability means writing captions with the search terms your audience uses, adding alt text to images so algorithms can index your visual content, and treating video transcripts and on-screen text as indexable material rather than decoration.
LinkedIn as a Search Engine for B2B Buyers
For B2B businesses in Northern Ireland and across the UK, a LinkedIn company page optimised with the terms your clients actually search puts you in front of high-intent buyers at the moment they are looking. That is a sales asset, not a social nicety.
The 3-3-3 and 30-30-30 Frameworks
Two frameworks our team uses when structuring content for maximum reach are the 3-3-3 rule (first three seconds of video to hook, three key points, one clear next step) and the 30-30-30 rule (one third educational, one third brand and culture, one third promotional). Neither is rigid, but both give businesses a practical way to plan content that stays useful rather than defaulting to constant self-promotion.
Our Stance on AI and Authentic Content
Automated content tools have flooded social media feeds with material that looks polished but feels hollow. Audiences notice and platform algorithms are beginning to favour authentic, original content in distribution.
At ProfileTree, we use AI for research, planning, and data analysis. We do not use it to replace human writing, human-shot video, or the contextual knowledge that comes from actually understanding your business. Every piece of content we produce is written and reviewed by people, filmed on location where video is involved, and edited to reflect how your brand genuinely communicates.
UK and Irish advertising regulations add another layer of responsibility here. The ASA has clear rules around disclosure for sponsored content and influencer relationships. GDPR applies to any retargeting activity involving website visitor tracking. These are not optional, and they are areas where agencies working from generic global playbooks frequently fall short. We build compliance into every strategy from the outset.
What a Social Media Engagement With ProfileTree Looks Like
Every project starts with a discovery call where we get to understand your business, your goals, and your current online presence. From there, we carry out a social media audit, reviewing your existing channels, content performance, audience data, and the competitive landscape in your sector.
We then develop a social media strategy document that covers platform priorities, content pillars, posting frequency, tone of voice guidelines, and the metrics we will track together. Once that is agreed, we move into content creation and channel management.
You stay in the loop throughout. We share content calendars for review before anything goes live, provide regular performance updates, and adapt the social media strategy based on what the data tells us. Social media is not set-and-forget; it needs ongoing attention and honest assessment.
Realistic Expectations for Organic Social Media Results
Organic social media growth takes time. If you are expecting significant follower numbers or lead volume within the first four to six weeks, social is likely not the right channel, or the expectations need adjusting.
What you can realistically expect from a well-executed organic strategy over a sustained period of three to six months is a more consistent brand presence, a growing and more engaged audience, increased traffic to your website from social referrals, and stronger credibility signals for people who search your business after hearing about you through other channels.
The businesses that get the most from organic social are those with a clear audience, interesting things to say, a willingness to show the people and process behind their brand, and the patience to stay consistent. If that sounds like your business, the returns are real.
What Our Social Media Marketing Clients Say
These client experiences reflect the kind of work our social media marketing team delivers week to week: strategy that is specific to the business, content guidance that translates into actual posts, and practical skills that our clients can carry forward independently. For business owners and marketing decision-makers, they offer a direct window into what working with ProfileTree looks like.
"We had some social media mentoring and training with ProfileTree and I'd happily recommend them, Gabbi very clearly knew her stuff and tailored our sessions to my specific needs.
Between some immediate improvements we could make literally while on the call and some longer term strategy we're putting in place as a result, we can already see the benefit."
Toby Osbourn
"Wilson Power and Energy recently had the pleasure of working with ProfileTree, and I can confidently say that their expertise in social media and YouTube marketing will enhance our online presence! From the very beginning, the team was incredibly knowledgeable and attentive, taking the time to understand our brand and objectives.
Their tailored strategies for our social media platforms will completely redefine how we engage with our audience. They also provided invaluable insights into the best practices for managing our YouTube channel, helping us enhance our video content, optimise our uploads for SEO, and attract a wider audience.
Whether you're a small business or looking to elevate your brand on social media or YouTube, I highly recommend ProfileTree."
Victoria Campbell
"Just completed 15 hours of social media training with Laura Logan, which included use of Facebook, Instagram, Canva & AI tools to help grow our Yoga & Wellness business.
So informative, invaluable, and completely on point! Laura made our learning experience so enjoyable with her fun approach and incredible patience. Grateful for the insights and practical knowledge shared!"
Emma Wasson
Start Building a Social Media Presence that Supports Your Business
A social media presence that consistently generates enquiries, builds credibility, and supports your wider digital strategy does not happen by accident. It takes a clear plan, content worth publishing, and the discipline to stay consistent across months rather than weeks.
ProfileTree has been helping businesses across Belfast, Northern Ireland, Ireland, and the UK build exactly that since 2011. If you are ready to move beyond sporadic posting and build something that actually works, our team is ready to talk.
Social Media Marketing FAQ’s
Start with the platforms where your audience is most active, not where you feel most comfortable. For most B2B businesses, that is LinkedIn; for consumer-facing businesses, Instagram and Facebook are usually the most productive starting point.
Organic social is content you post without paying for distribution, building audience and credibility over time. Paid social involves paying the platform to reach a defined audience directly; ProfileTree’s social media service focuses on organic strategy only.
Consistency matters more than frequency. Three to five times per week on Instagram, TikTok, and Facebook, and two to three times on LinkedIn, is a workable baseline for most SMEs.
It depends on your goal: reach and impressions for awareness, engagement rates for content performance, referral traffic for website impact, and attributed enquiries for lead generation.
Yes. Without a clear plan covering audience, platforms, content, and posting frequency, social media activity tends to be reactive, inconsistent, and largely ineffective.
We review your existing channels, content performance, audience data, posting consistency, and how your profiles appear in platform search. The audit gives us a clear baseline before building any strategy.
Yes. For businesses that want to manage their own channels, we offer tailored social media training through ProfileTree and our sister brand Future Business Academy. Training covers platform strategy, content creation, scheduling tools, AI implementation, and analytics.
We work with businesses across Belfast, Northern Ireland, Ireland, and the UK, both in person and remotely. Most ongoing social media management is handled remotely, with in-person sessions available for Belfast and Northern Ireland clients where needed.

Web Design
We design stunning, user focused websites that present your brand beautifully and convert visitors into customers.

Web Development
We use the latest development tools to build websites that are optimised for peak performance at all times.

Website Hosting
We manage everything from site updates and reports to hosting, allowing you to focus on running your business.

Search Engine Optimisation
Using the latest SEO techniques, we help your brand get found for the right terms and by the right people.

Digital Marketing Strategy
Navigate the digital landscape with a marketing strategy. Our team crafts comprehensive plans that resonate with your target audience, drive engagement, and boost conversions.

Digital Marketing Training
Elevate your digital proficiency. Our in-depth training sessions equip your business with cutting-edge digital marketing techniques to outperform competitors and thrive online.

Social Media Strategy
Captivate and grow your social following. We create tailored social media strategies that ignite engagement, amplify your brand's online presence, and foster lasting connections.

Email Marketing Solutions
Harness the power of your mailing list. Our precision-targeted email marketing campaigns are engineered to nurture relationships and drive tangible business outcomes.

Content Marketing Services
Elevate your brand with our content marketing mastery. From thought-provoking blogs to eye-catching infographics, we craft content that captivates, informs, and converts your ideal audience.

Video Production
Capture your audience with compelling video content. Our production team creates visual stories that engage, inform, and leave a lasting impression.

Brand Storytelling
Bring your brand's story to life with authenticity. We craft compelling narratives that strike a chord with your audience, forging a powerful emotional bond with your brand.

Content Strategy Development
Strategic content that drives action. We develop content strategies that align with your business goals, ensuring every piece of content counts.

AI Training
Empower your business with AI expertise. Our tailored training demystifies AI, equipping your team with the knowledge to leverage its potential for growth and innovation.

AI Chatbots
Transform customer service with AI chatbots. We develop sophisticated chatbots that elevate user experience, streamline interactions, and deliver unparalleled efficiency.

AI Marketing
Transform your reach with AI-driven marketing. Harness data-driven insights for laser-targeted campaigns that captivate, engage, and convert your audience.

AI Tools for Business
Optimise your operations with cutting-edge AI tools. We integrate intelligent solutions that streamline processes, enhance efficiency, and support data-driven decision-making.
Join Our Mailing List
Grow your business with expert web design, AI strategies and digital marketing tips straight to your inbox. Subscribe to our newsletter.