Canva WordPress Design: Create Professional Sites Without Code
Table of Contents
Business owners face a common challenge: creating professional website designs without extensive technical skills or large budgets. WordPress powers 43% of websites globally, while Canva has attracted over 150 million monthly active users seeking accessible design solutions. The intersection of these platforms provides a practical pathway for businesses to create visually compelling websites that drive traffic and conversions.
This guide demonstrates how to combine Canva’s design capabilities with WordPress functionality to create websites that perform effectively. We’ll examine integration methods, design workflows, and implementation strategies that align with business objectives rather than simply producing attractive layouts.
Canva WordPress Integration
The relationship between Canva and WordPress extends beyond basic graphic creation. When implemented correctly, this integration streamlines content production, maintains brand consistency, and reduces dependency on specialist designers for routine visual updates.
Understanding the Integration Framework
WordPress sites require consistent visual content across multiple touchpoints: featured images, social media graphics, infographics, presentation materials, and promotional banners. Canva addresses this requirement through a structured design system that non-technical team members can operate.
The integration functions through three primary methods:
Direct Plugin Connection: The official Canva plugin establishes a direct link between your WordPress dashboard and your Canva account. This connection enables team members to create, edit, and insert designs directly within the WordPress environment. The workflow reduction proves particularly valuable for content teams managing multiple posts weekly.
Asset Library Management: Canva serves as a centralised repository for brand assets. Logos, colour palettes, typography selections, and approved imagery remain accessible to all authorised users. This centralisation prevents the brand inconsistency that emerges when design assets scatter across individual computers and cloud storage accounts.
Template Standardisation: Creating approved templates for recurring content types (such as blog headers, social graphics, and case study layouts) enables consistent output quality, regardless of which team member produces the content. This standardisation matters more than aesthetic preference—it builds visual recognition that strengthens brand recall.
Small and medium enterprises across Northern Ireland and the UK that implement structured design systems through Canva WordPress integration reduce content production time by 40-60% while maintaining higher visual consistency than those relying on ad-hoc design approaches.
Technical Implementation Process
Setting up an effective Canva WordPress integration requires a methodical approach rather than complex technical knowledge.
Step 1: Account Architecture
Begin by establishing a Canva Pro or Teams account rather than relying on free accounts. The investment (approximately £10-13 monthly for Pro, £25-30 for Teams) provides essential features: brand kit access, background remover, resize functionality, and team collaboration tools. Free accounts lack these capabilities, creating workflow bottlenecks that cost more in lost productivity than the subscription saves.
Create separate folders within Canva for different content categories, such as blog graphics, social media content, email headers, presentation materials, and advertising creatives. This organisational structure prevents the chaos that emerges when hundreds of designs accumulate without categorisation.
Step 2: Plugin Configuration
Install the official Canva plugin through your WordPress dashboard. Navigate to Plugins > Add New, search “Canva,” and install the plugin published by Canva. After activation, connect your Canva account through the plugin settings.
The connection process requests authorisation for the plugin to access your Canva designs. Grant these permissions—the plugin requires read access to display your designs within WordPress and write access if you want to create new designs directly from the WordPress editor.
Step 3: Workflow Integration
Train team members on the integrated workflow. When creating or editing WordPress posts, users can now access Canva directly through the editor interface. They can search existing designs, modify templates, or create new graphics without having to switch platforms.
This seamless integration matters because context switching (moving between applications) consumes cognitive resources and time. Studies indicate that returning to a task after interruption requires an average of 23 minutes to regain complete focus. Keeping design work within the content creation environment preserves momentum.
Brand Kit Configuration
The Brand Kit represents Canva’s most valuable feature for businesses, enabling them to maintain a consistent visual identity across all marketing channels.
Colour Palette Setup
Input your exact brand colours using HEX codes rather than approximating shades visually. This precision matters—colour variations of even 10-15% register as “off-brand” to audiences, even when they cannot articulate the specific difference they perceive.
Include primary brand colours (typically 2-3 shades), secondary colours for accents and highlighting, and neutral colours for backgrounds and text. Document the specific use cases for each colour to guide team members in creating designs.
Typography Standards
Select and load your brand fonts into Canva. If your brand fonts aren’t available within Canva’s library, upload them as custom fonts (available in Pro and Team accounts). Establish clear hierarchy rules: determine which font and size to use for headlines, subheadings, body text, and captions.
Typography inconsistency undermines professional perception more severely than most businesses recognise. Research from the Baymard Institute indicates that typography issues contribute to a 37% abandonment rate on content pages. Users subconsciously register inconsistent typography as a signal of unreliability.
Logo Management
Upload all logo variations: primary logo, secondary logo, icon-only version, and inverse colour versions for different backgrounds. Include minimum size specifications to prevent illegibility when logos appear in small formats.
Create templates that automatically position logos correctly according to your brand guidelines. This automation removes the decision-making burden from content creators and prevents the common mistake of oversized or poorly positioned logos, which can appear amateurish.
“The businesses that succeed with design integration aren’t necessarily those with the largest budgets or most creative teams,” notes Ciaran Connolly, Director of ProfileTree. “They’re the ones who establish systems that make consistency easier than inconsistency. When your brand guidelines live in templates rather than PDF documents, people actually follow them.”
Design Features Overview
Understanding Canva’s feature set enables strategic deployment rather than random experimentation. Not every feature serves every business objective, and knowing which tools address specific needs prevents wasted effort on capabilities that don’t advance your goals.
Template System Architecture
Canva offers over 250,000 templates across various categories; however, this abundance can create choice paralysis rather than efficiency for many businesses. The solution lies in curating a custom template library tailored to your specific requirements, rather than browsing the entire catalogue for each project.
Blog and Article Graphics
Featured images have a significant impact on click-through rates on social media and search results. Data from CoSchedule indicates that articles with relevant featured images receive 94% more views than those without imagery. However, “relevant” means purposefully designed, rather than randomly selected stock photography.
Create standardised blog templates that include:
- Consistent dimensions (1200 x 630 pixels optimised for social sharing)
- Brand colours and typography
- Space for article headlines (maximum 60-70 characters for legibility)
- Optional space for category badges or topic indicators
- Author attribution if running a multi-author blog
This standardisation serves dual purposes: it accelerates production when you’re publishing multiple articles weekly, and it builds visual brand recognition when your content appears in social feeds alongside competitor content.
Social Media Content Templates
Each social platform requires specific dimensions for optimal display. Rather than manually resizing content for each platform, create master templates at the correct dimensions for your active channels:
- Instagram posts: 1080 x 1080 pixels (square) or 1080 x 1350 pixels (portrait)
- Facebook posts: 1200 x 630 pixels
- LinkedIn posts: 1200 x 627 pixels
- Twitter/X posts: 1200 x 675 pixels
- Pinterest pins: 1000 x 1500 pixels
Design templates that accommodate your typical content patterns. If you regularly share statistics, create templates with designated areas for numerical data. If you frequently share tips, develop templates structured for list-format content.
The resize function in Canva Pro enables you to adapt a design created for one platform to other dimensions. However, starting with platform-specific templates produces better results than relying entirely on automated resizing.
Visual Element Library
Canva’s element library contains millions of graphics, icons, photos, and illustrations. This abundance creates both opportunity and risk—opportunity to find appropriate visuals for any topic, and risk of selecting elements that don’t align with your brand aesthetic.
Photography Selection Strategy
Stock photography within Canva ranges from high-quality professional imagery to obviously staged content that audiences immediately recognise as generic. The distinction matters because authentic-appearing visuals increase engagement rates by 35% compared to obviously staged photography.
When selecting photos, prioritise:
- Natural lighting over studio-lit compositions
- Genuine expressions over forced smiles
- Diverse representation reflecting your actual audience
- Workplace environments matching your industry
- Products or scenarios relevant to your content topic
Avoid typical stock photography clichés: hands shaking in exaggerated business handshakes, groups of diverse people pointing at laptops while grinning unnaturally, isolated objects on pure white backgrounds (unless this matches your brand aesthetic specifically).
Icon and Graphic Elements
Icons serve functional purposes in design, directing attention, breaking up text-heavy sections, and providing visual shorthand for concepts. However, icon style must remain consistent across your content.
Select a single icon style (line, solid, or duotone) and maintain it across all designs. Mixing flat icons with dimensional icons, or geometric icons with organic icons, creates visual discord that appears unprofessional.
Create a saved collection of approved icons within Canva. When team members need icons, they draw from this curated collection rather than searching the entire library, ensuring consistency without requiring individual judgment calls about style appropriateness.
Colour and Typography Controls
Colour psychology influences user behaviour, though the effects prove less deterministic than popular articles suggest. The relationship between colour and conversion isn’t simple cause-and-effect—context, contrast, and consistency matter more than the specific psychological associations of individual colours.
Colour Contrast Requirements
Web Content Accessibility Guidelines (WCAG) specify minimum contrast ratios between text and backgrounds: 4.5:1 for standard text and 3:1 for large text (18pt or 14pt bold). These requirements exist because insufficient contrast creates reading difficulty, particularly for users with visual impairments or those viewing content on mobile devices in bright sunlight.
Canva doesn’t automatically check contrast ratios, so verify your colour combinations using tools like WebAIM’s Contrast Checker before finalising templates. This verification prevents accessibility issues that could exclude portions of your audience and expose you to legal risk under UK accessibility regulations.
Typography Hierarchy
Effective typography creates a visual hierarchy that guides readers through content in the intended sequence. This hierarchy relies on three variables: size, weight, and colour.
Establish clear distinctions between hierarchy levels:
- Headlines: 40-60pt, bold weight, primary brand colour
- Subheadings: 28-36pt, medium or semibold weight, primary or secondary colour
- Body text: 16-20pt, regular weight, neutral colour with high contrast
- Captions: 12-14pt, regular weight, secondary colour
Avoid using more than two fonts in a single design. One font for headlines and another for body text provides sufficient variety without creating visual chaos. If you use only one font family, vary the weight (light, regular, medium, bold) to create hierarchy.
Animation and Interactive Elements
Canva’s animation features allow you to add motion to designs, creating animated social media posts, presentation slides, or website graphics. Animation attracts attention in social feeds where static content increasingly struggles to generate engagement.
Animation Types and Applications
Canva provides several animation styles:
Rise: Elements appear from bottom to top, suitable for revealing lists or sequential information. Pan: Camera-like movement across the design, effective for before/after comparisons. Breathe: Subtle scaling that draws attention without overwhelming the content. Tumble: Playful rotation, appropriate for informal or creative brands. Fade: Elements gradually appear, creating sophisticated transitions.
Select animation styles that match your content tone. Financial services or legal content typically requires subtle animations, such as Fade or Breathe, while creative agencies or entertainment brands can employ more dynamic options, like Tumble or Pan.
Animation duration matters as much as style. Designs with animations exceeding 8-10 seconds risk losing viewer attention before they are completed. Most social platforms auto-play video content, but users scroll quickly—your animated content must deliver its message within 3-5 seconds to capture attention before users scroll past.
Video Content Creation
Canva’s video editor enables the creation of social media videos, promotional content, and presentation videos without the need for professional video editing software. This capability proves valuable for businesses that require regular video content but lack the budget for professional video production.
Create video templates for recurring content types, such as product features, customer testimonials, statistical highlights, or educational content. These templates establish consistent branding while reducing production time from hours to minutes.
However, recognise Canva’s limitations for video content—complex editing, transitions, or effects requiring precise timing work better in dedicated video editing software. Canva excels at producing straightforward social videos and simple promotional content rather than replacing comprehensive video production capabilities.
Advanced Design Techniques
Moving beyond basic template usage to advanced design implementation separates adequate visual content from compelling material that drives engagement and conversions.
Custom Graphics and Illustrations
While Canva’s library contains millions of elements, creating custom graphics establishes a unique visual identity that differentiates your brand from competitors using the same stock elements.
Shape Combination Techniques
Canva’s shape tools (circles, squares, triangles, and lines) combine to create custom graphics without the need for illustration software. This technique, called “shape building,” produces ownable visual assets through strategic layering and colour application.
For example, creating custom icons:
- Start with basic geometric shapes that represent your concept
- Layer shapes with varying opacity to create depth
- Apply brand colours for consistency
- Group elements to create reusable components
This approach requires more time than selecting existing icons, but produces visuals that competitors cannot replicate. Consider investing in key brand elements that appear repeatedly, such as service icons, product category graphics, or process diagrams.
Photo Editing and Manipulation
Canva Pro includes photo editing features that enhance images without external software:
Background Removal: The automatic background remover isolates subjects from backgrounds, enabling placement on custom backgrounds or transparent use. This feature proves particularly valuable for product photography or creating consistent headshot presentations.
Filters and Adjustments: Apply consistent photo treatments across all imagery. Create and save custom filters that match your brand aesthetic, then apply them to all photographs for visual cohesion.
Photo Overlays: Layer semi-transparent colours or gradients over photographs to reduce visual intensity and improve text legibility. This technique works particularly well for hero images with overlaid text—the overlay creates sufficient contrast between background imagery and foreground text.
Data Visualisation
Presenting data effectively requires more than inserting numbers into generic chart templates. Effective data visualisation highlights insights rather than simply displaying numbers.
Chart Selection Strategy
Different data relationships require different chart types:
Bar Charts: Best for comparing discrete categories (sales by region, products by revenue) Line Graphs: Ideal for showing trends over time (monthly traffic, quarterly revenue) Pie Charts: Effective for showing parts of a whole (market share, budget allocation)—but only when you have 3-6 segments; more segments create confusion Icons and Numbers: Sometimes simple presentation of key statistics works better than charts—particularly for single impressive numbers
The common mistake lies in using charts for data that doesn’t require graphical representation. If you’re showing only 2-3 data points, present them as styled numbers with icons rather than forcing them into a chart format.
Clarity Over Decoration
Data visualisation should simplify understanding, not complicate it. Research from the Nielsen Norman Group indicates that users spend 20% longer understanding data when visualisations include unnecessary decorative elements.
Follow these principles:
- Remove gridlines unless essential for reading specific values
- Use colour to highlight key insights rather than decorating every element
- Label directly on charts rather than requiring legend consultation
- Round numbers to appropriate precision (£45,300 instead of £45,289.67 unless the precision matters)
- Include sources for credibility
Brand Photography Integration
Original photography creates stronger connections than stock imagery, but most businesses lack professional photography budgets for all content. The solution combines selective professional photography with optimised use of stock imagery.
Creating Photo Style Guidelines
Establish specific criteria for photography selection and creation:
Colour Palette: Photos should feature colours that harmonise with your brand palette. If your brand uses blue and orange, prioritise images featuring these colours or neutral tones that accommodate overlays in brand colours.
Composition Style: Define whether you use centred, rule-of-thirds, or other compositional approaches. Consistency in composition creates subliminal visual coherence.
Subject Matter: Specify what types of imagery represent your brand. B2B professional services typically require workplace settings, while consumer brands might feature lifestyle contexts. Document these preferences to guide both photography selection and the direction of the original photo.
Mobile-First Design Approach
Over 60% of web traffic originates from mobile devices, yet many businesses create designs optimised for desktop viewing that fail on mobile screens. This mismatch costs conversions and engagement.
Mobile-Specific Considerations
Text size on mobile devices requires larger point sizes than those used in desktop designs. Minimum 16pt body text ensures legibility without zooming. Headlines should use a minimum of 32-40pt to create an adequate hierarchy on small screens.
Vertical formats tend to perform better on mobile devices than horizontal designs. Create Instagram Story dimensions (1080 x 1920 pixels) for all content, even if it’s not explicitly intended for Stories. This vertical format displays well on mobile devices, where users typically view content in portrait orientation.
Touch targets must be at least 44 x 44 pixels (iOS guidelines) or 48 x 48 pixels (Android guidelines) for buttons and interactive elements. Designs with smaller touch targets can create frustration when users struggle to tap the intended elements accurately.
Test designs on actual mobile devices rather than relying on desktop previews. Colours appear differently on mobile screens, and what seems sufficiently large on a desktop monitor may prove illegible on a 5-inch smartphone screen.
Business Implementation Strategy
Design capabilities matter less than implementation strategy. Businesses that succeed with Canva WordPress integration implement systems that ensure consistent execution rather than relying on individual creativity for each project.
Content Production Workflows
Establishing standardised workflows prevents the typical pattern where content creation bogs down in design decisions and revision cycles.
Template-Based Production System
Create approval workflows where:
- Content writers draft copy according to specifications (word counts, headline lengths)
- Designers create graphics using approved templates
- Managers review for brand compliance rather than subjective preferences
- Content is published according to the schedule
This system separates content strategy decisions (made during planning) from tactical execution (producing individual pieces). Strategy decisions benefit from debate and refinement; tactical execution requires speed and consistency.
Resource Allocation
Allocate design time based on content visibility and longevity rather than treating all content equally:
High-Investment Content: Service pages, resource guides, and case studies—content that remains relevant for months or years—justify the use of custom graphics and original photography.
Medium-Investment Content: Blog posts, social media content for campaigns—use template-based designs with customised elements.
Low-Investment Content: Routine social posts, internal communications—rely entirely on templates with minimal customisation.
This tiered approach directs design resources where they generate the most return rather than distributing effort equally across all content.
Performance Tracking and Optimisation
Design decisions should be informed by performance data rather than aesthetic preferences alone. Track specific metrics that indicate design effectiveness:
Engagement Metrics
Click-through rates on different visual styles reveal which design approaches resonate with your audience. A/B test variations of featured images, social graphics, or email headers to identify patterns that drive engagement.
Time-on-page correlates with content consumption. Pages with clear visual hierarchy, appropriate use of images to break text sections, and readable typography retain visitors longer than pages with poor visual structure.
Conversion Metrics
Track conversions associated with specific visual treatments. Do pages with photography convert better than those with illustrations? Do minimal designs outperform detailed graphics? These answers vary by audience and industry—let data guide decisions rather than assumptions.
Cost-Benefit Analysis
Evaluating the return on design investment requires comparing the costs of the design system against those of alternative approaches.
Direct Costs
Canva Pro subscription: approximately £120-156 annually. Design time: estimate hours required for template creation and training WordPress plugin: free (official Canva plugin)
Indirect Costs
Opportunity cost of time spent on design versus other business activities, Learning curve during initial implementation, Potential need for occasional professional design assistance for complex projects
Alternatives Comparison
Hiring professional designers: typically £40-80 per hour in the UK. Pre-designed WordPress themes: £30-60 one-time cost, but limited customisation. Basic design software subscriptions: comparable costs to Canva but steeper learning curves
For most SMEs, Canva’s WordPress integration provides a cost-effective approach to maintaining professional visual standards without the need for full-time design staff or extensive outsourcing.
Team Training and Adoption
Technology adoption fails when implementation focuses on features rather than workflows and users resist systems that add complexity to existing processes.
Training Structure
Conduct role-specific training rather than comprehensive overview sessions:
Content Creators: Focus on accessing templates, inserting designs into posts, and basic customisation. Marketing Managers: Cover template creation, brand kit management, and team coordination. Leadership: Explain reporting capabilities, approval workflows, and ROI metrics
This targeted approach respects time constraints while ensuring team members learn capabilities relevant to their responsibilities.
Adoption Incentives
Create positive reinforcement for using the design system:
- Recognise well-executed designs in team meetings
- Share performance data showing improved engagement from consistent branding
- Reduce approval steps for content following templates correctly
Avoid punishing deviations from templates—instead, improve templates when team members consistently modify them, as this indicates template inadequacies rather than user error.
Canva Versus WordPress Website Builders
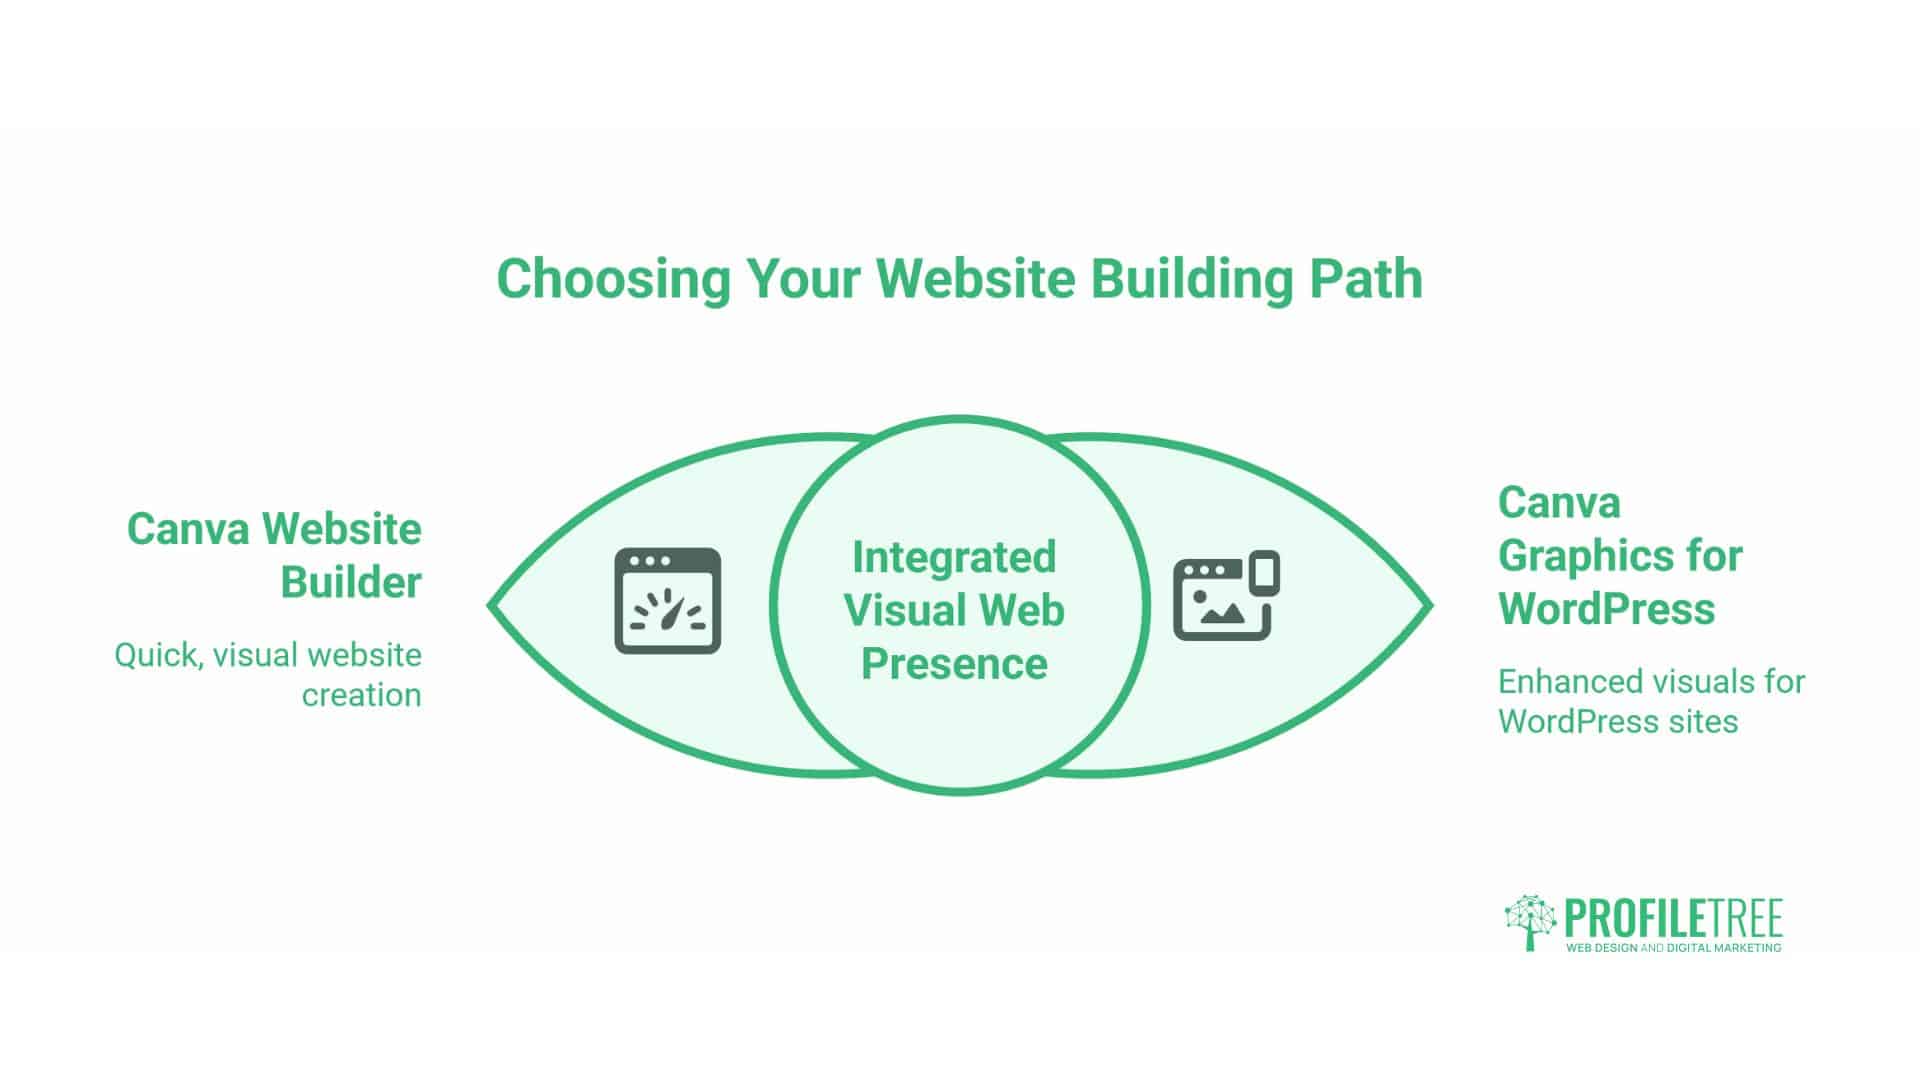
Business owners frequently ask whether to build websites directly in Canva or use Canva solely for graphics within a WordPress site. Understanding the capabilities and limitations of each approach clarifies this decision.
Canva Website Builder Capabilities
Canva introduced website-building functionality, enabling users to create and publish simple websites directly within Canva, eliminating the need for WordPress. These websites use Canva’s design interface and are hosted on Canva’s infrastructure.
Canva Website Strengths
Speed of deployment: You can create a simple website in hours rather than days or weeks. Design flexibility: The familiar Canva interface makes layout modifications straightforward. No technical knowledge required: No hosting, domains, or plugins to configure. Built-in animation and interactivity: Engaging elements without coding
Canva Website Limitations
SEO capabilities are generally more basic compared to WordPress. You cannot install SEO plugins like Yoast or Rank Math, implement advanced schema markup, or optimise for technical SEO factors that influence search rankings.
Functionality constraints: No e-commerce capabilities, limited forms, no membership systems, and no integration with most marketing automation tools.
Customisation ceiling: Design follows Canva’s framework. You cannot implement custom functionality or advanced features without substantial workarounds.
Scalability issues: As your business grows and website requirements become more complex, you’ll likely need to migrate to a more robust platform, requiring the reconstruction of your entire site.
WordPress with Canva Graphics Approach
Using WordPress as your website platform while creating graphics in Canva provides a balanced approach, combining WordPress’s functionality with Canva’s design accessibility.
WordPress Platform Advantages
SEO control: Complete access to technical SEO elements, structured data implementation, and optimisation plugins that can significantly impact search visibility.
Functionality expansion: Install plugins for e-commerce, membership areas, learning management systems, appointment booking, or virtually any business functionality.
Professional credibility: WordPress sites, particularly with custom or premium themes, convey an established business presence more effectively than platforms associated with quick deployment.
Ownership and portability: You control your content and can migrate hosts or frameworks without losing your entire site structure.
Optimal Integration Strategy
For businesses requiring professional web presence, use WordPress for your website infrastructure and Canva for visual content creation:
- Service pages, case studies, and conversion-focused content: Build in WordPress using optimised themes and layouts
- Featured images, social graphics, infographics, and visual elements: Create in Canva and insert into WordPress
- Blog content: Write and publish in WordPress, enhance with Canva-created images
This division leverages the strengths of each platform while mitigating its weaknesses.
Converting Canva Website to WordPress
Businesses that initially built their sites in Canva often reach limitations that require a WordPress migration. Understanding this process helps avoid common pitfalls during the conversion process.
Content Migration Planning
Canva websites don’t export directly to WordPress format. Migration requires the manual recreation of content structure within WordPress; however, you can reuse visual assets created in Canva.
Pre-Migration Audit
Document your existing Canva website structure:
- List all pages and their hierarchical relationships
- Export or screenshot each page layout
- Identify reusable design elements
- Note any forms or interactive elements requiring recreation
- Document current URL structure for redirect planning
This audit prevents content loss during migration and ensures you replicate or improve upon existing functionality.
WordPress Theme Selection
Select a WordPress theme that suits your content structure, rather than forcing your content into predetermined templates. Consider:
Elementor or Divi themes: Provide drag-and-drop building similar to Canva’s interface, easing the transition for team members accustomed to visual editing
Gutenberg block themes: WordPress’s native block editor offers increasing sophistication for visual layouts without third-party page builders
Custom theme development: For businesses with specific requirements or those seeking maximum performance, custom WordPress theme development provides complete control
ProfileTree specialises in WordPress development that prioritises ranking potential, traffic generation, and conversion optimisation over aesthetic preferences alone. A website’s primary function lies in business results rather than design awards.
Technical Migration Considerations
URL Structure Preservation
Canva websites use their own URL structure (yoursite.my.canva.site/page-name). When migrating to WordPress, implement 301 redirects from old URLs to new WordPress URLs to preserve any search rankings or incoming links your Canva site accumulated.
Configure redirects through a WordPress redirect plugin or directly in your .htaccess file. Failing to implement redirects abandons existing search visibility and creates broken links from any external sources pointing to your old URLs.
Image Optimisation
Export all images from Canva at appropriate resolutions for web use. Canva allows downloading at various quality levels—select “Standard” or “High” quality rather than “Best” quality, as the file size difference rarely produces visible quality improvements while significantly increasing page load times.
Implement image compression using WordPress plugins like ShortPixel or Imagify before uploading to WordPress. These tools reduce file sizes by 40-70% without noticeable degradation in quality, thereby improving site performance.
Form and Functionality Recreation
Any forms, email signup capabilities, or interactive elements from your Canva site require recreation in WordPress using appropriate plugins:
- Contact forms: WPForms, Gravity Forms, or Contact Form 7
- Email signups: Mailchimp for WordPress, OptinMonster, or integrated solutions with your email platform
- Calendars or event features: The Events Calendar or similar plugins
Test all functionality thoroughly before redirecting traffic from your Canva site to your new WordPress site.
Implementing Professional Design Systems
The businesses that extract maximum value from Canva WordPress integration recognise that tools themselves don’t create results—implementation systems do. A sophisticated design system, poorly implemented, generates less business impact than a basic system consistently executed.
Starting Point Recommendations
Begin with minimal templates addressing your highest-volume needs:
- Blog post featured image template
- Social media post template for your primary platform
- Basic infographic template for data presentation
Master these three templates before expanding to additional formats. Perfectionism in design systems can create paralysis—adequate templates used consistently often outperform perfect templates used sporadically.
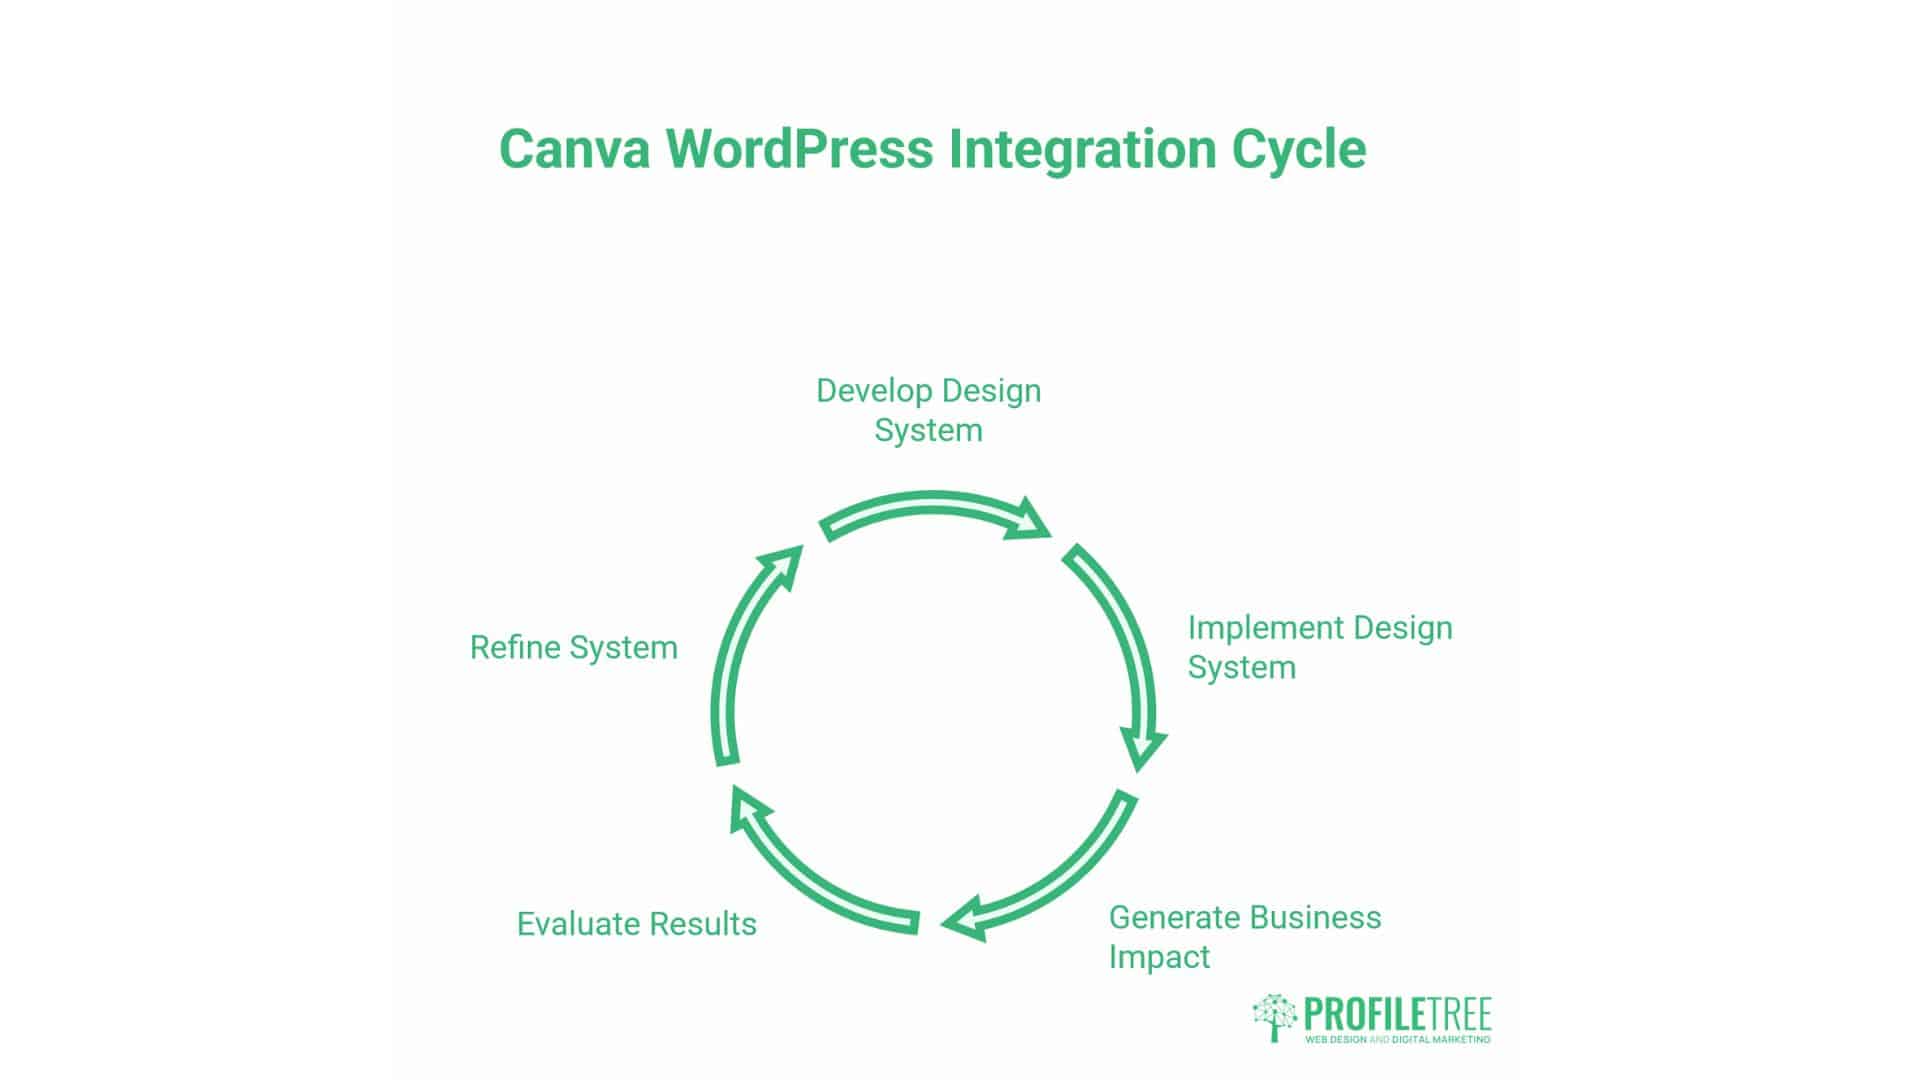
Measurement and Iteration
Track specific metrics indicating design system effectiveness:
- Content production time (should decrease by 30-50% within three months)
- Engagement rates on visually enhanced content versus text-only content
- Brand recognition (survey audiences about brand recall)
- Team satisfaction with design resources (reduced design bottlenecks)
Review these metrics quarterly and refine templates based on performance data rather than subjective preferences.
Professional Support Integration
Design systems don’t eliminate the need for professional expertise—they concentrate it at strategic points. Engage professional designers for:
- Initial template creation, establishing your visual framework
- Periodic audits ensure templates remain current with design trends
- Complex projects requiring custom work beyond template capabilities
- Training sessions when onboarding new team members
This approach maintains professional standards while empowering team members to execute routine design work independently.
Conclusion
Canva WordPress integration delivers results when treated as a business system rather than a design tool. Success requires three elements: standardised templates that ensure consistency, performance data that guides decisions, and workflows that match your team’s actual capabilities.
The competitive advantage comes from implementation, not features. Canva’s tools are available to everyone—what differentiates your business is how effectively you deploy them. Template quality, brand consistency, and measurement separate adequate visual content from material that drives conversions.
Start with clear objectives: define what specific business outcomes your design system should support before creating templates. Begin this week with one template, use it for actual content, measure the results, and refine it based on the data.
For businesses across Northern Ireland, Ireland, and the UK, this approach scales from solo operations to marketing teams without requiring dedicated designers or substantial outsourcing budgets. The combination of WordPress functionality and Canva accessibility makes professional visual standards achievable for organisations of any size.
Implementation determines whether potential becomes reality. Build systems that prioritise consistency over inconsistency, and your visual content will support business growth rather than simply filling space.
FAQs
How do I connect Canva to my WordPress website?
Install the official Canva plugin from your WordPress dashboard by navigating to Plugins > Add New, searching “Canva,” and installing the plugin. After activation, connect your Canva account through the plugin settings by authorising the connection. You can then access Canva designs directly within the WordPress post editor.
Can I use Canva to build a complete WordPress website?
Canva cannot build WordPress sites—it creates graphics that enhance WordPress sites. For website building, use WordPress themes and page builders, and utilise Canva for visual content, such as featured images, graphics, and social media content. Some businesses initially build simple sites in Canva’s own website builder, then migrate to WordPress as requirements grow.
What size should I make images in Canva for WordPress?
Featured images should be 1200 x 630 pixels to optimise for social sharing. In-content images can vary based on usage, but a 1200-pixel width accommodates most layouts while maintaining quality. Always export at appropriate compression levels rather than maximum quality to balance visual appeal with page load speed.
Is Canva Pro worth it for WordPress website design?
Canva Pro offers significant value for businesses that create regular content, providing features not available in free accounts, including a background remover, brand kit, resize functionality, team collaboration, and access to premium stock photos and graphics. The subscription costs approximately £10-£ 13 per month—easily justified if it saves even one hour of design time per month.