Squarespace SEO and Analytics: What Your Data Is Telling You
Table of Contents
Plenty of Squarespace sites rank on page one and still get almost no clicks. That is rarely a topic problem. It is usually a gap between what the search result promises and what the searcher wanted, or a sign that the platform’s built-in tools have reached their limit. This guide shows how to read your SEO and analytics data, fix the common causes, and recognise when the platform itself is the bottleneck. ProfileTree, the Belfast digital agency, works through this process with businesses across Northern Ireland, Ireland, and the UK as part of its SEO services and web design work.
What Squarespace SEO Can And Cannot Do
Bottom line: Squarespace covers the SEO basics well, title tags, meta descriptions, clean URLs, automatic SSL, image alt text, and on version 7.1 an SEO Report tool that flags missing fields. It blocks third-party SEO plugins and gives limited control over structured data and indexing. For most brochure sites that is fine. For competitive terms, the gaps start to matter.
The Built-In Features You Should Be Using
Each page, blog post, and product takes its own SEO title and meta description, set in the page settings under the SEO tab. Squarespace recommends keeping titles under 60 characters with a keyword, and although it allows descriptions up to 300 characters, aim for roughly 150 to 160 so the text is not truncated in Google.
URLs are customisable and clean, and you should put the focus keyword in the slug rather than leaving an auto-generated string. Every image has an alt text field, and compression is automatic. Free SSL is included on all plans, so HTTPS is on by default. None of this needs code, which is why the platform suits owners who want to publish quickly. On version 7.1, the built-in Squarespace SEO checklist and report tool scans the site for missing alt text and descriptions and offers suggestions.
Setting Up Title Tags, Meta Descriptions, And URLs
Work through your priority pages first. For the homepage, set the site title and site description under Marketing, then SEO Appearance. For every other page, open the Pages panel, hover over the page, open settings, and use the SEO tab. Give each page a unique title and description; duplicate metadata across pages weakens all of them. Put the focus keyword near the front of the title and once, naturally, in the description. Use a different primary keyword on each page, because Google rarely shows the same site more than twice for one query, so reusing a keyword everywhere caps your visibility rather than multiplying it.
Header Structure And Heading Hierarchy
Headings tell search engines how your content is organised. Each page should have one H1, usually the page title, with the focus keyword in it. Use H2s for main sections and H3s within them. A common mistake on builder sites is faking headings with bold or capitalised text instead of applying real heading styles, which hurts both screen-reader accessibility and indexing. In the Squarespace editor, highlight the text and pick the heading level from the formatting menu rather than just bolding it.
Image Optimisation
Compress images before upload, give them readable, keyword-aware file names instead of strings like IMG00023, and add descriptive alt text. Squarespace recommends keeping individual images under 500KB and total page size under 5MB so pages load well. Good image handling supports both accessibility and the page speed that feeds into rankings.
The Limits That Hold Pages Back
Squarespace does not allow third-party SEO plugins, so the deeper controls available on a custom-built or WordPress site are not there. Native structured data is thin, so rich results often need manual schema added through code injection. Index management is partly automatic, and the controls to fix it (robots.txt edits) only appear on Business plans and higher. Older 7.0 sites can struggle to meet Google’s Core Web Vitals as cleanly as 7.1 sites. Each limit is workable on its own. Together, on a competitive term, they cap how far a page can climb.
Practical Workarounds
Use the built-in SEO panel on every page rather than leaving defaults in place. Add custom schema such as LocalBusiness through code injection in the header. Compress images before upload and pick a lighter template if speed matters. On Business plans, use robots.txt to stop Squarespace’s automatic index and tag pages diluting your priority pages. After updating a page, request a re-index through Google Search Console so the changes show sooner. These steps recover a lot of ground, and they are part of any hosting and site management routine worth running.
Local SEO On Squarespace
For businesses serving Northern Ireland, Ireland, or specific UK regions, local visibility comes from three things. Create genuinely distinct pages for each service area rather than swapping a town name on a template. Connect the site to a Google Business Profile and keep your name, address, and phone consistent everywhere. Add LocalBusiness schema through code injection with accurate details. Local intent is where a well-run Squarespace site competes most effectively with larger competitors, so it is worth getting right.
Squarespace Analytics Versus Google Analytics
Bottom line: Squarespace’s built-in analytics are good enough for a quick read on traffic and popular pages. Google Analytics gives you the depth needed to see why pages convert or do not. Run both. Use Squarespace for the at-a-glance view and Google Analytics for the decisions.
What Squarespace Analytics Shows
The native panel reports total and unique visitors, page views, average time on site, bounce rate, traffic sources, and your most viewed pages. It also shows entry and exit pages and time on each page. Commerce plans add conversion rate, revenue, product performance, and abandoned cart data. Audience views cover location, device, browser, and new versus returning visitors. For a weekly health check, that is enough to spot what is working and what is fading.
What Google Analytics Adds
Google Analytics tracks user flow across the site, lets you define goals and conversions, and connects search behaviour to on-site actions. To add it, go to Settings, then Advanced, then External API Keys, and enter your tracking ID. Confirm data is arriving with the real-time reports before you rely on it, then set up the goals that match real business outcomes such as form submissions or calls. For the full picture you also want Google Analytics linked to Search Console, which is where query and ranking data lives. If you want this set up properly, that falls under ongoing digital marketing support.
A Quick Comparison
| Capability | Squarespace Analytics | Google Analytics |
|---|---|---|
| Traffic and page views | Yes | Yes |
| Traffic sources | Basic | Detailed, with channels |
| Goals and conversions | Commerce plans only | Fully configurable |
| User flow and paths | No | Yes |
| Search query data | No | Via Search Console link |
| Setup effort | None, built in | Tracking ID required |
Using Analytics To Improve SEO Performance
Data only helps if you act on it. Find your highest-traffic pages and study what they do well, then repeat that pattern on weaker pages. Look for high bounce rates and low time on page, which point to content that does not match the search intent. Track which terms bring people in through Search Console and adjust pages to target the valuable ones more directly. Watch user flow to see where visitors drop off before converting, and compare mobile against desktop, since mobile-first indexing means mobile performance usually matters most.
Reading Your Data: Clicks, Positions, And Intent
Bottom line: The pattern in your data tells you what to fix. Page-one ranking with no clicks is a title and meta problem. Clicks but a falling position is a content depth problem. Visits that never convert is usually an audience or intent problem. Match the fix to the pattern.
Ranking Well But No One Clicks
If a page sits in the top ten and earns almost no clicks, the title and meta description are not matching what searchers want. Although Google says meta descriptions are not a direct ranking factor, a well-written one lifts click-through rate, and click-through is widely treated as a quality signal. Rewrite the title so it names the specific outcome, not the topic in general. Rewrite the meta description to answer the actual question and add one proof point or a soft call to action. If the page ranks for queries that do not match its content, that is an intent mismatch, and the fix is repositioning the angle rather than tweaking the words.
Clicks But Slipping Down The Results
When people click but the page drifts to page two or three, the content is usually thinner than what ranks above it. Expand the depth, answer the related sub-questions on the same page, and add internal links from related articles. Put the main answer at the top of each section so both readers and AI systems can extract it. A short page of strong content can still lose to a deeper page, so the fix is substance, not length for its own sake.
Traffic That Never Converts
If a page gets visits but no enquiries, check the queries bringing people in. DIY and free-tool searches rarely turn into customers, so no amount of button tweaking will fix wrong-audience traffic. Where the audience is right but the page is passive, add a clear next step within the first few sections, link to the relevant service rather than the homepage, and place a proof point such as a client result or review rating near the call to action. A short digital strategy review often surfaces which pages are worth this effort and which are not.
Two Pages Competing For The Same Term
If two pages chase the same keyword with the same intent, they split impressions and neither ranks well. Pick the stronger page, merge the best of the weaker one into it, then redirect the weaker URL and update internal links to point at the survivor. A service page and a blog post can target related terms without clashing, as long as they serve clearly different intents.
When To Move From Squarespace To WordPress For Better SEO
Bottom line: Stay on Squarespace while your pages still rank and convert on the terms that matter. Plan a move to WordPress once you keep hitting the platform’s ceiling: advanced schema you cannot add cleanly, indexing you cannot control, speed you cannot fix, or commercial keywords where you stall on page two no matter how good the content is.
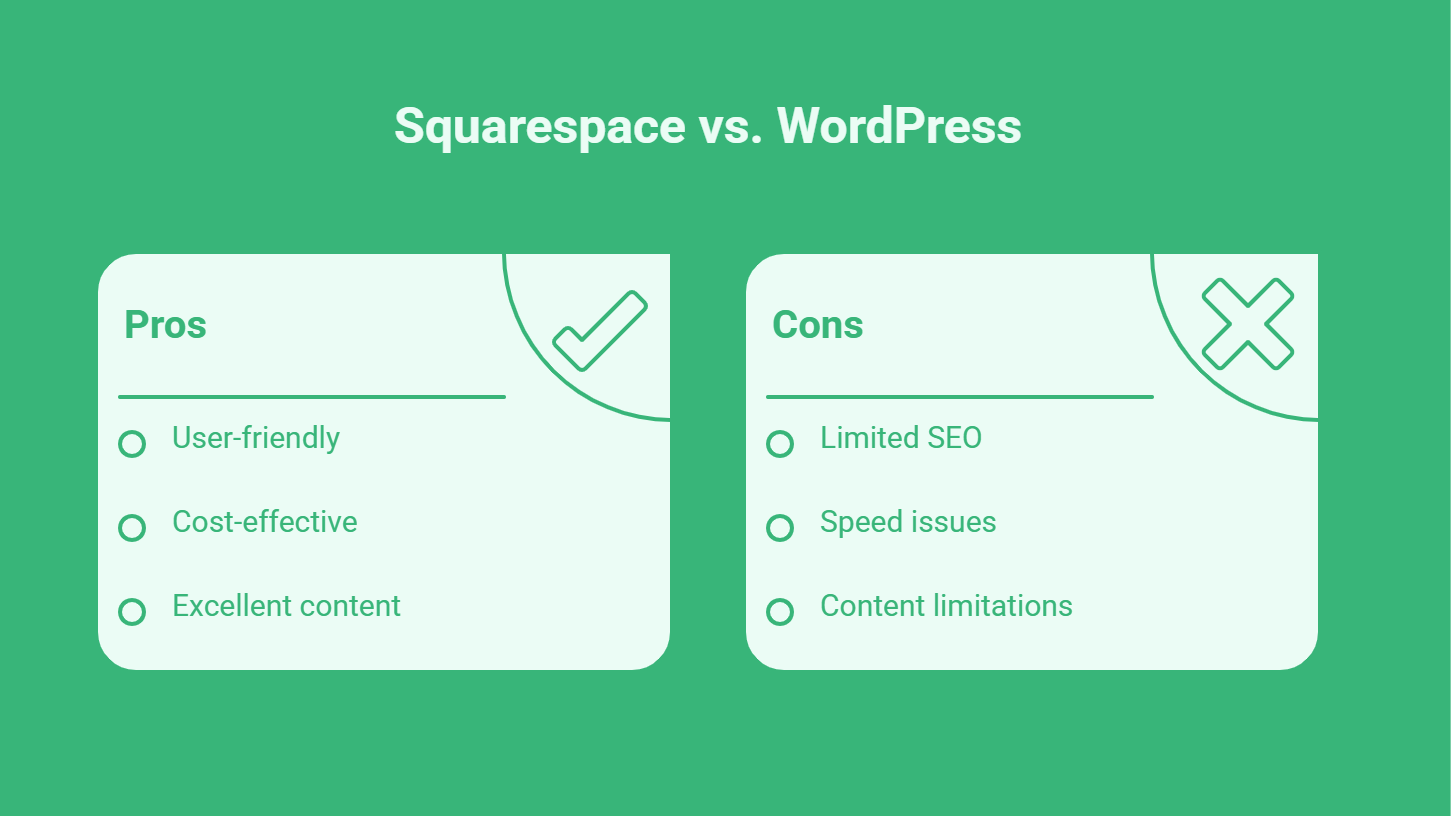
Most Squarespace sites do not need to move. The platform is a sensible choice for a clean brochure site or a small shop, and a slower Squarespace site with excellent content will usually outperform a fast site with weak content. The question is whether your data shows you fighting the platform rather than your competitors. If your priority pages have strong content, correct titles, and good internal links, yet still cannot break past page two on the terms that bring revenue, the constraint may be structural rather than editorial.
Signs it is time to consider a migration include needing custom structured data the platform cannot generate, wanting full control over indexing and redirects, persistent speed problems on commercial pages, and a content programme that has outgrown the editor. A planned move keeps your URLs and rankings intact through proper redirects, which is the part most DIY migrations get wrong. ProfileTree handles this through its web design service, with the search side covered by its SEO services so rankings are protected during the change.
“Squarespace is a fine starting point, and we never tell a business to move just because they can. The signal we look for is in the data. When a site has the right content and clean titles but keeps stalling on page two for the terms that actually bring in work, the platform is usually the limit, not the writing. That is the point where a planned move to WordPress, with the redirects done properly, earns its keep.”Ciaran Connolly, founder of ProfileTree
If you are weighing this up, the safest first step is a data review rather than a rebuild. Look at which pages rank, on what terms, and whether they convert. That tells you whether you need better optimisation within Squarespace or a new foundation underneath it. The platform handles the basics well; visibility comes down to the detail you add and knowing when you have outgrown the tools.
Frequently Asked Questions
Is Squarespace Good For SEO?
Squarespace handles the fundamentals well. It gives you editable title tags and meta descriptions, clean URLs, automatic SSL, image alt text, and, on version 7.1, a built-in SEO report tool, all without code. For a brochure site or small shop, that is usually enough to rank for local and lower-competition terms. The limits show up on competitive keywords, where the lack of plugins, thin native schema, and restricted index control make it harder to compete with sites that have full technical access.
What Is The Difference Between Squarespace Analytics And Google Analytics?
Squarespace analytics gives you a quick built-in view of visitors, page views, traffic sources, and popular pages, with conversion data on Commerce plans. Google Analytics goes deeper: user flow across the site, configurable goals and conversions, and a link to Search Console for query data. Most businesses run both, using the native panel for a fast check and Google Analytics for decisions about content and conversion.
Why Does My Squarespace Page Rank But Get No Clicks?
A page that ranks on page one with almost no clicks usually has a title and meta description that do not match what the searcher wanted, or it ranks for queries that do not fit its content. Rewrite the title to name a specific outcome and the meta description to answer the real question with a proof point. If the page ranks for the wrong intent entirely, reposition the angle rather than just editing the text.
When Should I Move From Squarespace To WordPress?
Consider moving when your data shows you fighting the platform rather than competitors: priority pages with strong content and correct titles that still cannot pass page two on revenue terms, custom schema you cannot add, indexing or redirects you cannot control, or speed problems you cannot resolve. A planned migration keeps URLs and rankings intact through proper redirects. If your pages still rank and convert, there is no need to move.
Can I Add Schema Markup To Squarespace?
Yes, but only manually. Squarespace generates some basic schema from its location and business settings, but for richer structured data, you add custom markup through the code injection feature in the header or footer. This works, though it is more involved than the structured data handling available on a custom-built or WordPress site, and it needs to be maintained whenever your content changes.
Does Squarespace Version 7.1 Have Better SEO Than 7.0?
Version 7.1 has the edge for most sites. It includes the built-in SEO report tool and an AI generator for SEO descriptions, and it tends to meet Google’s Core Web Vitals more cleanly than 7.0. If you are serious about searching and choosing between versions, 7.1 is the safer starting point. Sites still on 7.0 can rank well with strong content, but they carry more technical limitations.