How to Design Professional Web Graphics in Google Slides
Table of Contents
If you are searching for a free, accessible way to create web graphics without a steep learning curve, Google Slides is worth far more attention than most people give it. It sits quietly inside the Google account you already use, and with the right techniques it can produce sharp social media assets, blog post headers, presentation graphics, and branded visuals that look genuinely professional. Google Slides is not a replacement for dedicated design software in every situation, but for small business owners, marketers, and content creators who need to work quickly and collaboratively, it punches well above its weight. This guide covers everything from setting up your first canvas in Google Slides to building reusable brand templates, exporting graphics at the right resolution, and understanding honestly where the tool has limits. ProfileTree’s digital team uses Google Slides regularly in client work and training sessions, so what follows is practical rather than theoretical.
Why Use Google Slides for Web Graphic Design?
Most conversations about web graphic design jump straight to specialist tools. Google Slides rarely gets a seat at that table, which is exactly why it deserves one here.
The Real Advantages
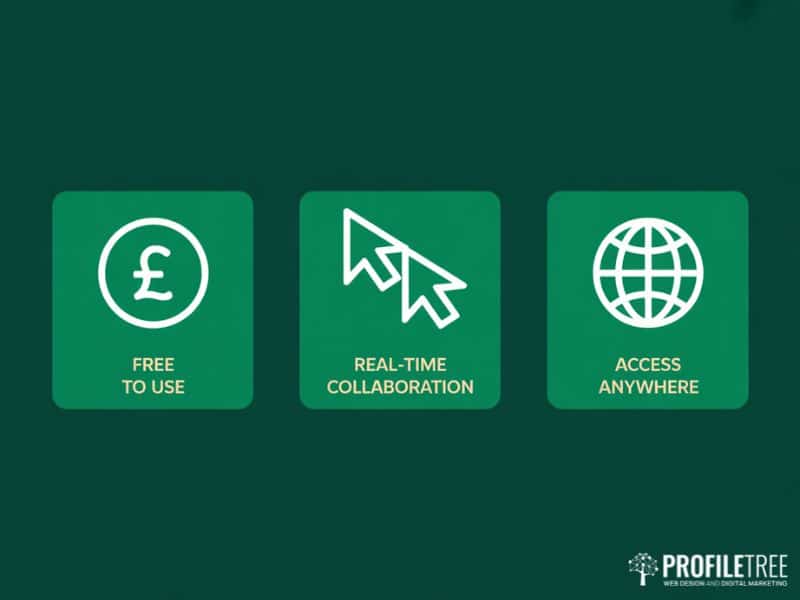
Google Slides is free with any Google account. There are no premium tiers hiding the features that actually matter. You can access your designs from any device with a browser, share them with colleagues for real-time feedback, and track every change through the revision history. That collaborative layer alone makes Google Slides more practical for many teams than tools that charge per seat for the same functionality.
The built-in shape library, line controls, transparency settings, and layer ordering give you enough vector-like control to build custom icons, infographics, and branded templates. Google Fonts integrates directly into Google Slides, giving you access to over 1,400 typefaces without any download or installation. For a digital agency like ProfileTree, which works with businesses across Northern Ireland, Ireland, and the UK, Google Slides provides a genuinely accessible starting point for clients who want to produce consistent visual content without relying on a designer for every asset. This is particularly relevant for businesses that are developing a digital marketing strategy and need to produce branded content at pace.
When to Choose a Different Tool
Honesty matters here. Google Slides operates in the RGB colour model, which is correct for screen graphics but incompatible with professional print workflows that require CMYK. If you need to produce business cards or printed brochures for a commercial printer, use a dedicated application instead. Similarly, Google Slides cannot export to scalable vector formats such as SVG or EPS. If your logo or graphic needs to scale without quality loss across very large formats, you need Figma or Adobe Illustrator for the final file.
Layer management in Google Slides is functional but limited. Once a design contains many overlapping elements, the “Order” controls become slow to use compared with a dedicated layers panel. For highly complex compositions, the tool will frustrate you. For most social media graphics, blog headers, presentation slides, and simple web visuals, it will not.
Google Slides vs PowerPoint
Both tools produce polished presentations and can be repurposed for web graphic creation, but they differ in meaningful ways. Google Slides runs entirely in the browser, saves automatically, and makes real-time collaboration straightforward. PowerPoint offers more advanced animation options and deeper formatting controls for complex documents. For web graphics specifically, the differences are minor: both let you set custom canvas dimensions, both support PNG export, and both give you sufficient control over shapes, text, and images. The decisive factor for most businesses is that Google Slides costs nothing and requires no installation. Understanding which tools suit your workflow is something ProfileTree covers in depth through our digital training for businesses.
Setting Up Your Canvas in Google Slides
Before you place a single element, the canvas dimensions determine whether your exported graphic will look sharp or soft. Getting this right at the start saves time later.
How to Set a Custom Page Size
Google Slides defaults to a widescreen 16:9 slide format, which is not the right starting point for every web graphic. To change it, go to File, then Page Setup, then select Custom from the dropdown. You can enter dimensions in pixels, centimetres, or inches. Set the size to match the exact output you need before you begin designing, because resizing a completed canvas distorts every element proportionally rather than intelligently.
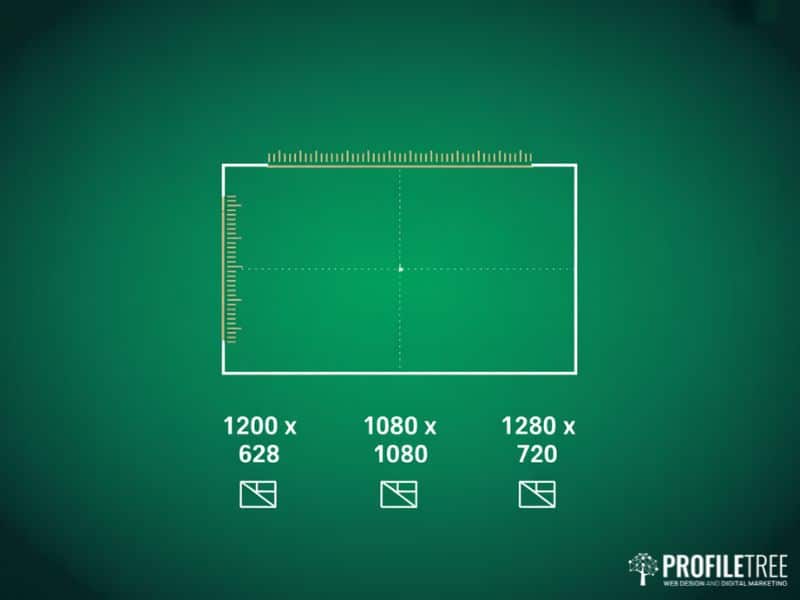
Common Dimensions for Social Media and Web
The table below covers the formats you are most likely to need. These reflect current platform specifications for web and screen use. If you are running an active social media marketing programme, bookmarking these dimensions will save you time every week.
| Graphic Type | Width | Height | Notes |
|---|---|---|---|
| Blog post header | 1200px | 628px | Also works for LinkedIn and Facebook shares |
| YouTube thumbnail | 1280px | 720px | Minimum 640px wide per YouTube guidelines |
| Instagram square post | 1080px | 1080px | 1:1 ratio, enter in inches at 72dpi equivalent |
| Instagram Story / Reel | 1080px | 1920px | 9:16 ratio |
| Facebook cover photo | 820px | 312px | Centred content avoids cropping on mobile |
| Twitter / X header | 1500px | 500px | Profile photo overlaps the lower-left corner |
| Email header | 600px | 200px | Keep essential content within the central 480px |
Because Google Slides uses points internally, entering pixel values in the custom page setup gives you the closest equivalent for screen graphics. Test your first export before completing a full design to confirm sharpness.
Working with Transparent Backgrounds
Google Slides does not natively support transparent background export; every PNG you download includes a white background. If you need a transparent version, the workaround is to export from Google Slides at the correct dimensions, then remove the background using a free tool such as remove.bg or the background removal feature available in several browser-based design apps. Plan for this step if your graphic needs to sit on a coloured website background.
Mastering the Core Design Tools in Google Slides
Google Slides contains more design capability than most users discover, because the useful features are not prominently signposted. This section covers what actually moves the needle.
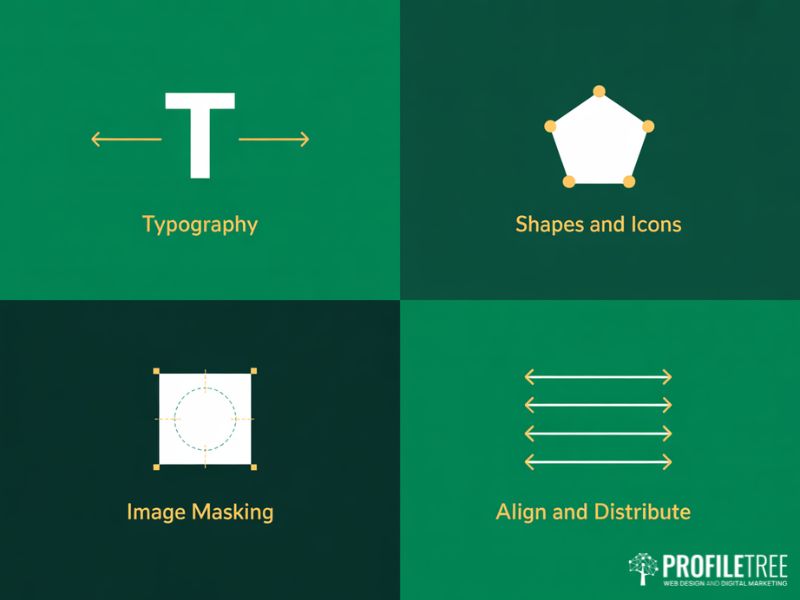
Working with Text and Typography
Typography in Google Slides improves significantly once you move beyond the default fonts. Click on the font name in the toolbar and type directly to search the full Google Fonts library. For web graphics, limit yourself to two fonts: one for headlines and one for body text. This is not a rule of thumb; it is the difference between a design that looks considered and one that looks assembled.
Vary your text sizes to create visual hierarchy. A headline at 48 to 60 points, a subheading at 24 to 32 points, and body text at 14 to 18 points gives readers a clear path through the graphic. Use the text box padding controls, accessible through Format then Text Fitting, to manage spacing precisely rather than nudging text boxes by hand.
Avoid centring all text by default. Left-aligned or right-aligned text creates a cleaner edge against white space, which tends to read as more professional than centred blocks on most web graphic formats. Typography choices also tie directly into your broader content marketing approach, where visual consistency across written and graphic assets strengthens brand recognition.
Shapes, Lines, and Custom Icons
The shape library in Google Slides includes standard geometric forms plus arrows, callouts, and equation shapes. More usefully, you can combine basic shapes using the Edit Points function, which appears when you right-click any shape, to create custom outlines. This is not as fluid as a dedicated vector editor, but it is sufficient to build simple icons, directional markers, and abstract brand shapes.
Group multiple shapes together using Arrange then Group, or Command G on Mac and Ctrl G on PC. Once grouped, you can resize and reposition them as a single unit without the elements shifting relative to each other. This is essential for building reusable template components in Google Slides.
For icons, the most efficient approach is to insert them via the image search within Google Slides. Go to Insert, then Image, then Search the web, and filter results by “Labelled for reuse.” Alternatively, paste SVG-based icons from a library such as The Noun Project directly into your Google Slides canvas; they will import as grouped shape objects that you can recolour.
Image Cropping and Masking
Standard image cropping in Google Slides is straightforward: select your image and drag the crop handles. The more useful feature is image masking, which lets you crop an image into a custom shape. Select the image, click the dropdown arrow next to the crop icon in the toolbar, and choose any shape from the library. The image fills the shape, creating rounded photos, circular headshots, or angled image frames without any third-party tools. If your business uses a lot of custom photography and video in its marketing, our video marketing and production service can supply assets that are already sized and formatted for digital use.
Adjust how an image sits within its mask by double-clicking it. This puts you into edit-within-crop mode, where you can reposition and rescale the image inside the shape boundary.
Alignment and Distribution
Consistent spacing is what separates a polished graphic from one that looks approximate. Select multiple elements in Google Slides, then use Arrange then Align or Distribute to space them precisely. “Distribute horizontally” creates equal gaps between a row of elements without manual measurement. “Align centre” locks them to a shared horizontal axis. These controls are available in the toolbar once two or more objects are selected.
The “Snap to guides” option, available under View then Guides, gives you persistent reference lines across the canvas. For template work especially, setting guides at your standard margin positions makes every new asset consistent without re-measuring each time.
Building Reusable Brand Templates in Google Slides
Creating one-off graphics is useful. Creating a system of branded templates in Google Slides that the whole team can use is what actually solves the consistency problem that most small businesses face. If your brand identity needs development before you build templates around it, ProfileTree’s website design services include brand guidelines work that feeds directly into assets like these.
This is the area where Google Slides offers something that most basic design tutorials do not cover: the Theme Builder, accessed via Slide then Edit Theme. It works on the same principle as a master slide in PowerPoint. Changes made in the Theme Builder propagate automatically to every slide in the presentation that uses that layout.
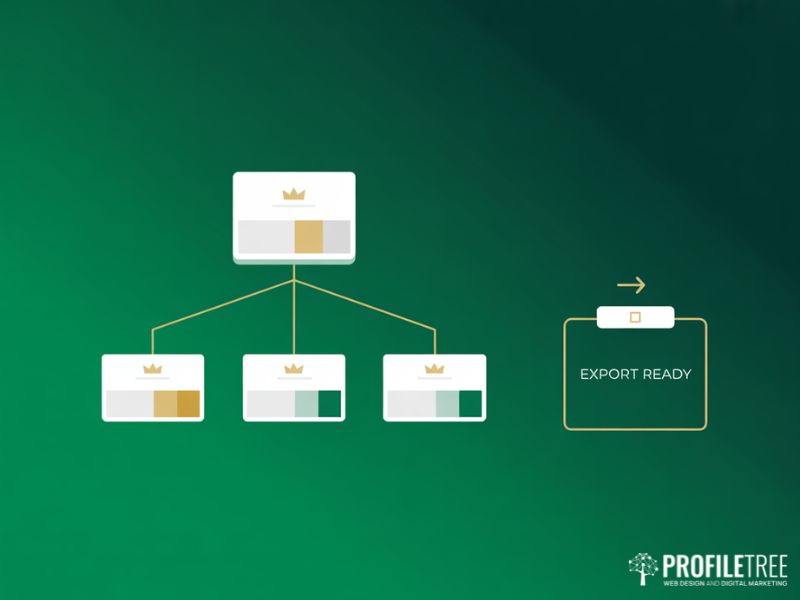
Setting Up a Master Slide for Brand Consistency
Open the Theme Builder and you will see a hierarchy of slide layouts. The topmost slide is the master; every layout beneath it inherits from it. Add your logo, set your brand colour palette, and define your standard typefaces here. When you close the Theme Builder and return to your presentation, every new slide you add will carry those brand elements automatically.
For web graphic work, create one layout per graphic type: a blog header layout, a social media square layout, a YouTube thumbnail layout. Each inherits the master brand settings but has its own proportions and placeholder positions. When a team member needs to create a new asset, they duplicate the relevant layout, swap in the new text and image, and export. The brand stays consistent without anyone needing to remember the exact hex codes or font names.
“The single biggest time-waster I see in small business marketing is teams rebuilding the same branded graphic from scratch every single time,” says Ciaran Connolly, founder of ProfileTree, a Belfast-based web design and digital marketing agency. “Setting up a Google Slides template system takes an afternoon and saves hours every month. It is the kind of practical digital skill we teach through our Future Business Academy training precisely because the return on that investment is immediate.”
Building a Blog Post Header Template: Step by Step
- Open a new Google Slides presentation and set the page size to 1200 x 628 pixels via File then Page Setup then Custom.
- Open the Theme Builder via Slide then Edit Theme.
- On the master slide, set your background colour. Add your logo to the bottom-right corner at roughly 80 pixels high.
- Create a new layout beneath the master. Add a full-bleed image placeholder across the entire canvas.
- Add a dark overlay rectangle at 60% opacity over the image placeholder. This ensures your text reads clearly regardless of the image used.
- Add a text placeholder for the headline, positioned in the lower third. Set the font to your brand headline typeface at 48 to 56 points, white.
- Add a smaller text placeholder above the headline for a category label or publication name.
- Close the Theme Builder. Your template is ready.
To use it, duplicate the layout, insert a new background image, type the headline, and export. The whole process takes under two minutes once the template is built.
Maintaining Colour Consistency
Go to Slide then Change Theme then Customise to access the colour palette editor within Google Slides. Add your exact brand hex codes here. Once saved, these colours appear in the standard colour picker across all shape fills, text colours, and borders, so no one on the team needs to remember or look up the values. Consistent visual branding across web graphics, social posts, and your website also supports the broader goal of SEO services that rely on brand recognition and trust signals.
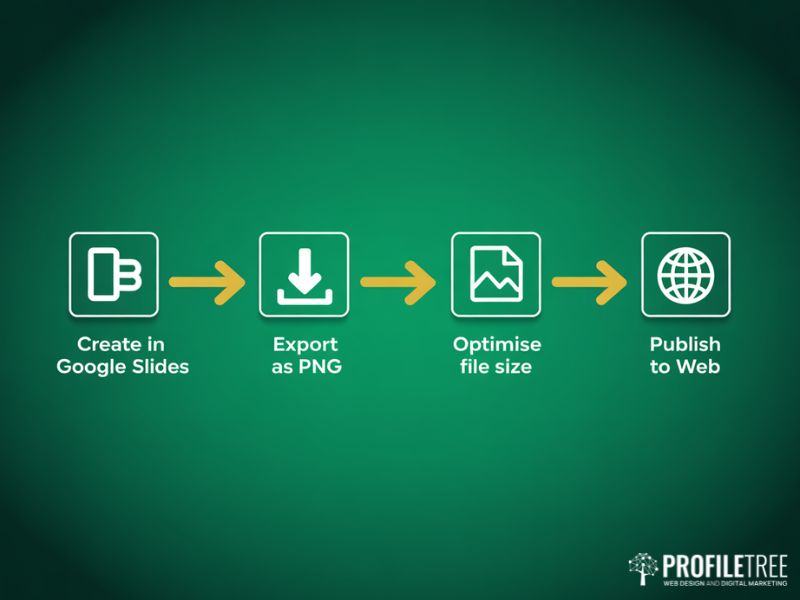
Exporting and Sharing Web Graphics from Google Slides

The quality of your exported graphic depends on the decisions you make at this stage. Google Slides offers a few export paths, and choosing the right one matters.
PNG vs JPEG: Which Format to Use
PNG preserves sharp edges and supports fine text, making it the right choice for most web graphics, logos, and anything with geometric shapes. The files are larger than JPEGs but the quality difference is visible, particularly at edges and on text.
JPEG is better suited to photographic images where file size matters more than absolute sharpness. If your graphic is primarily a full-bleed photograph with minimal text overlay, exporting as JPEG at a quality setting of 80 to 90 per cent gives you a good balance between visual quality and load speed. Page load speed is a direct ranking factor, and correctly formatted images are one of the fastest wins available in an SEO audit.
To export from Google Slides, go to File then Download and choose PNG image or JPEG image. This exports only the current slide. If you need to export all slides as a batch, go to File then Download then PDF, which creates a single file you can split with a tool such as Smallpdf.
Increasing Export Resolution
Google Slides exports PNG files at 96 DPI by default, which is adequate for screen use. If you need a higher resolution for a high-DPI display, set your canvas to a multiple of the final size. For a 1200 x 628 pixel graphic, set the canvas to 2400 x 1256 pixels, design at that size, and export. The resulting PNG will be double the resolution when displayed at the intended size. It is a workaround rather than a proper high-resolution export, but it produces noticeably sharper results for applications where standard export looks soft.
Sharing and Collaboration
One of Google Slides’ strongest features for team-based graphic production is its sharing system. Click Share in the top-right corner, set permissions to “Editor” for team members who need to add to the template library, or “Viewer” for stakeholders who need to approve designs. Every change is tracked automatically; you can review the version history and restore any previous state via File then Version History.
For client approvals, sharing a view-only link to the Google Slides file lets clients comment directly on the canvas without needing a Google account, using the “Anyone with the link can comment” permission setting.
Using Google Slides to Support Your Digital Marketing
Beyond individual graphics, Google Slides fits into a wider digital marketing workflow in ways that are worth spelling out for businesses thinking about how to build consistent content at scale.
At ProfileTree, we work with businesses across Northern Ireland and beyond to build digital content systems that do not depend on expensive software licences or specialist designers for every output. Google Slides sits naturally within that approach. When combined with a clear brand guide, a set of master templates, and a simple naming and filing convention in Google Drive, it gives a marketing team the ability to produce consistent visual content for social media, email campaigns, and blog posts without a bottleneck. For businesses that want a more structured approach, our content marketing services help build the editorial and visual systems that make this sustainable at scale.
For SEO content specifically, web graphics that are properly named using descriptive filenames rather than “Slide1.png”, resized to the correct dimensions, and compressed before upload contribute to page load performance. Google’s Core Web Vitals assessment includes Largest Contentful Paint, which measures how quickly the main visible element of a page loads. Oversized images are one of the most common causes of poor LCP scores. Exporting from Google Slides at the correct canvas size means you are starting with the right dimensions rather than relying on your website hosting and management setup to resize them at render time, which adds unnecessary processing overhead.
Conclusion
Google Slides is a practical, genuinely capable tool for businesses that need to produce consistent web graphics without investing in specialist software or dedicated design time. The key is moving beyond the default presentation mindset: set your canvas to the exact output dimensions you need, use the Theme Builder to create a reusable brand system, and export at the right format for each use case.
For businesses in Northern Ireland, Ireland, and the UK that are building their digital content presence, ProfileTree offers digital training for teams covering practical tools including Google Slides, alongside web design, SEO, content strategy, and AI transformation services. If you want to understand how tools like this fit into a wider digital marketing strategy for your business, our team is happy to talk through your specific situation.
FAQs
Can Google Slides be used for professional graphic design?
Yes, for digital outputs. Google Slides produces sharp results for web and social media graphics. It is not suitable for print work requiring CMYK colour or vector formats such as SVG.
How do I add custom fonts to Google Slides?
Click the font dropdown in the toolbar, type the name of any Google Font, and apply it directly. No download or installation is needed.
Can I create animated graphics in Google Slides?
Google Slides supports element animations such as fades and fly-ins via Insert then Animation. These play within the presentation but do not export to PNG or JPEG files.
What is the difference between Google Slides and Canva for web graphics?
Canva offers more pre-built templates and native transparent PNG export. Google Slides has stronger real-time collaboration and a Theme Builder for maintaining brand consistency across a team. The right choice depends on whether variety or consistency matters more to your workflow.
How do I export high-resolution images from Google Slides?
Set your canvas to double the intended output size before designing, then export as PNG. The result displays at double the standard resolution when used at the intended dimensions.
Does Google Slides work for creating YouTube thumbnails?
Yes. Set a custom page size of 1280 x 720 pixels, design your thumbnail, and export as PNG. Check the file size meets YouTube’s 2MB minimum recommendation.